Dark Angels Horus Heresy : Step-by-Step Painting Guide
Paint gritty Dark Angels armour with sponge-built blue volume, brush-painted metallics and a Marine Juice finish. No airbrush required.

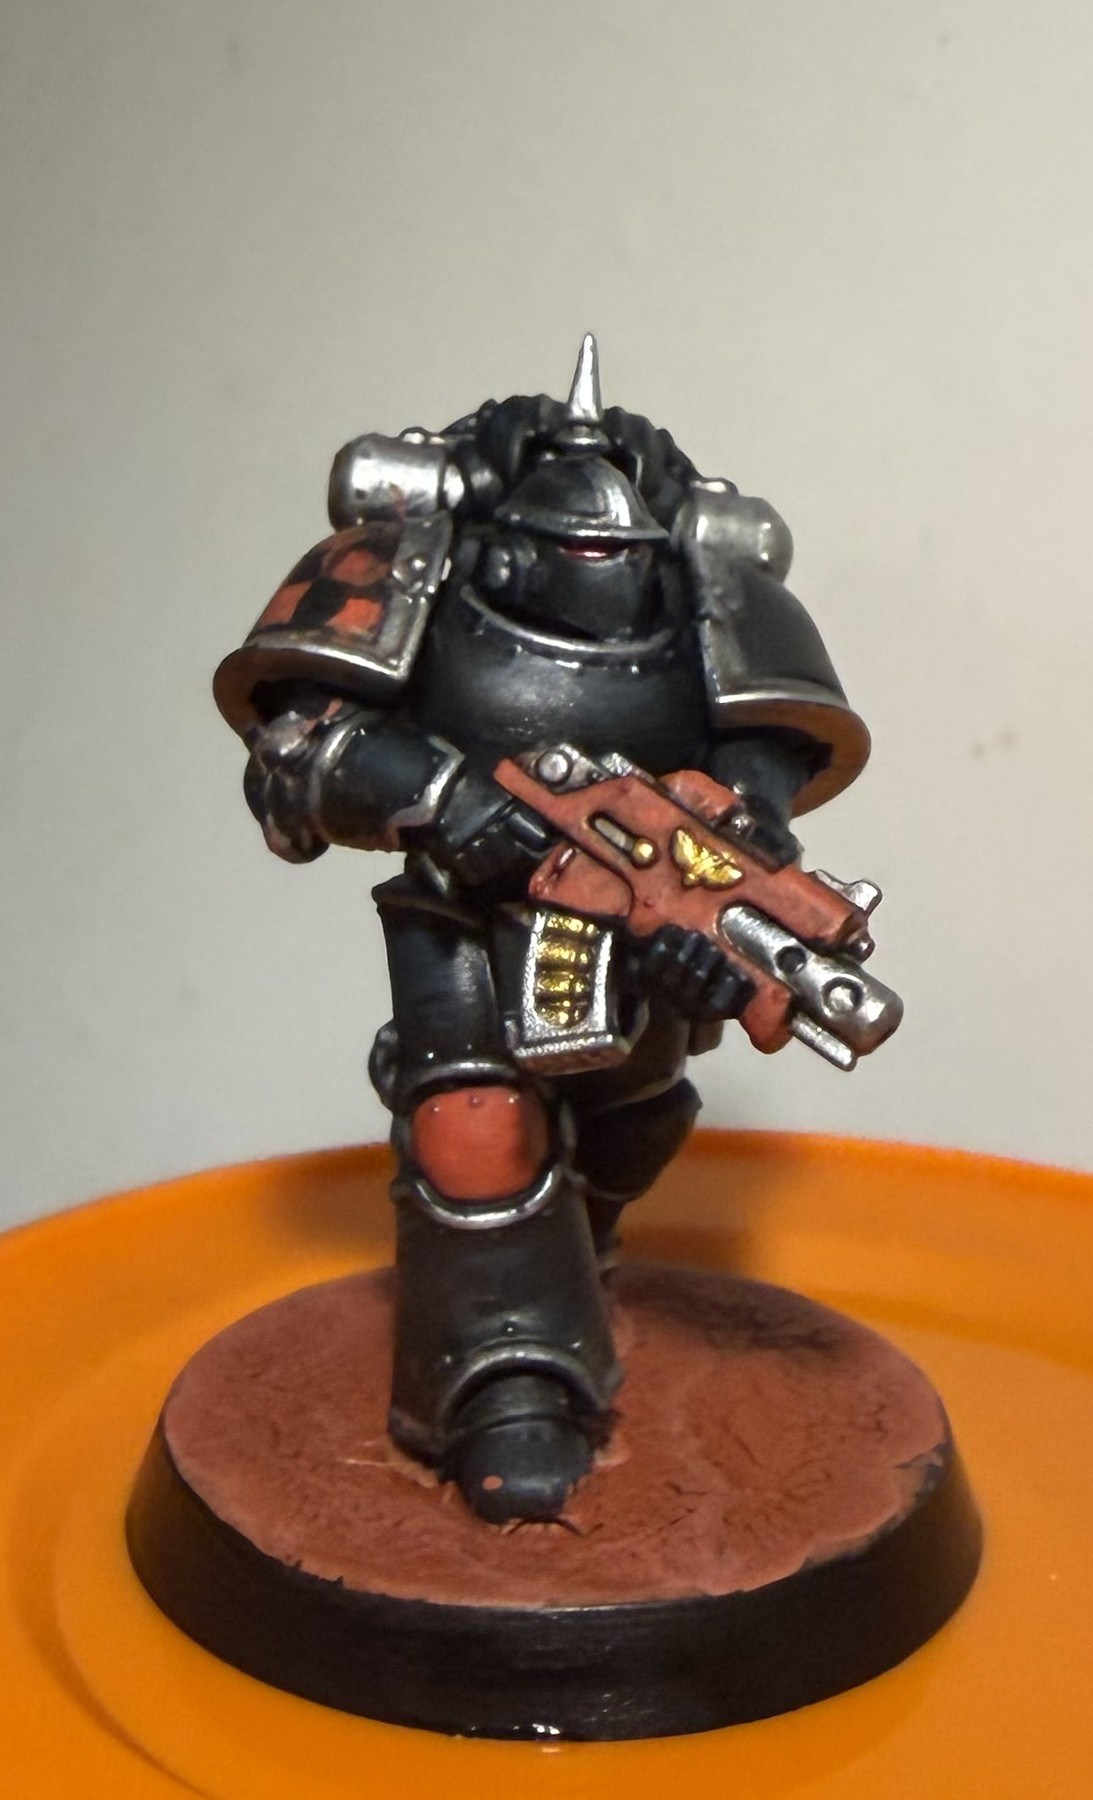
Grim black armour built with a sponge: cold blue volume, brush-painted true metallic metals, red Heresy details and a Marine Juice finish.
Before you start
This is a no-airbrush armour recipe. The gritty Heresy texture is deliberate: prime black, sponge the volume, then rebuild with paint rather than spraying a smooth zenithal.
Follow the stages in order. Marine Juice goes on only after every major colour, heraldry and the small details are blocked in. Let the shade dry completely before refining the highlights.
Step 1: Clean build
Bare Mk III reference views before any paint.
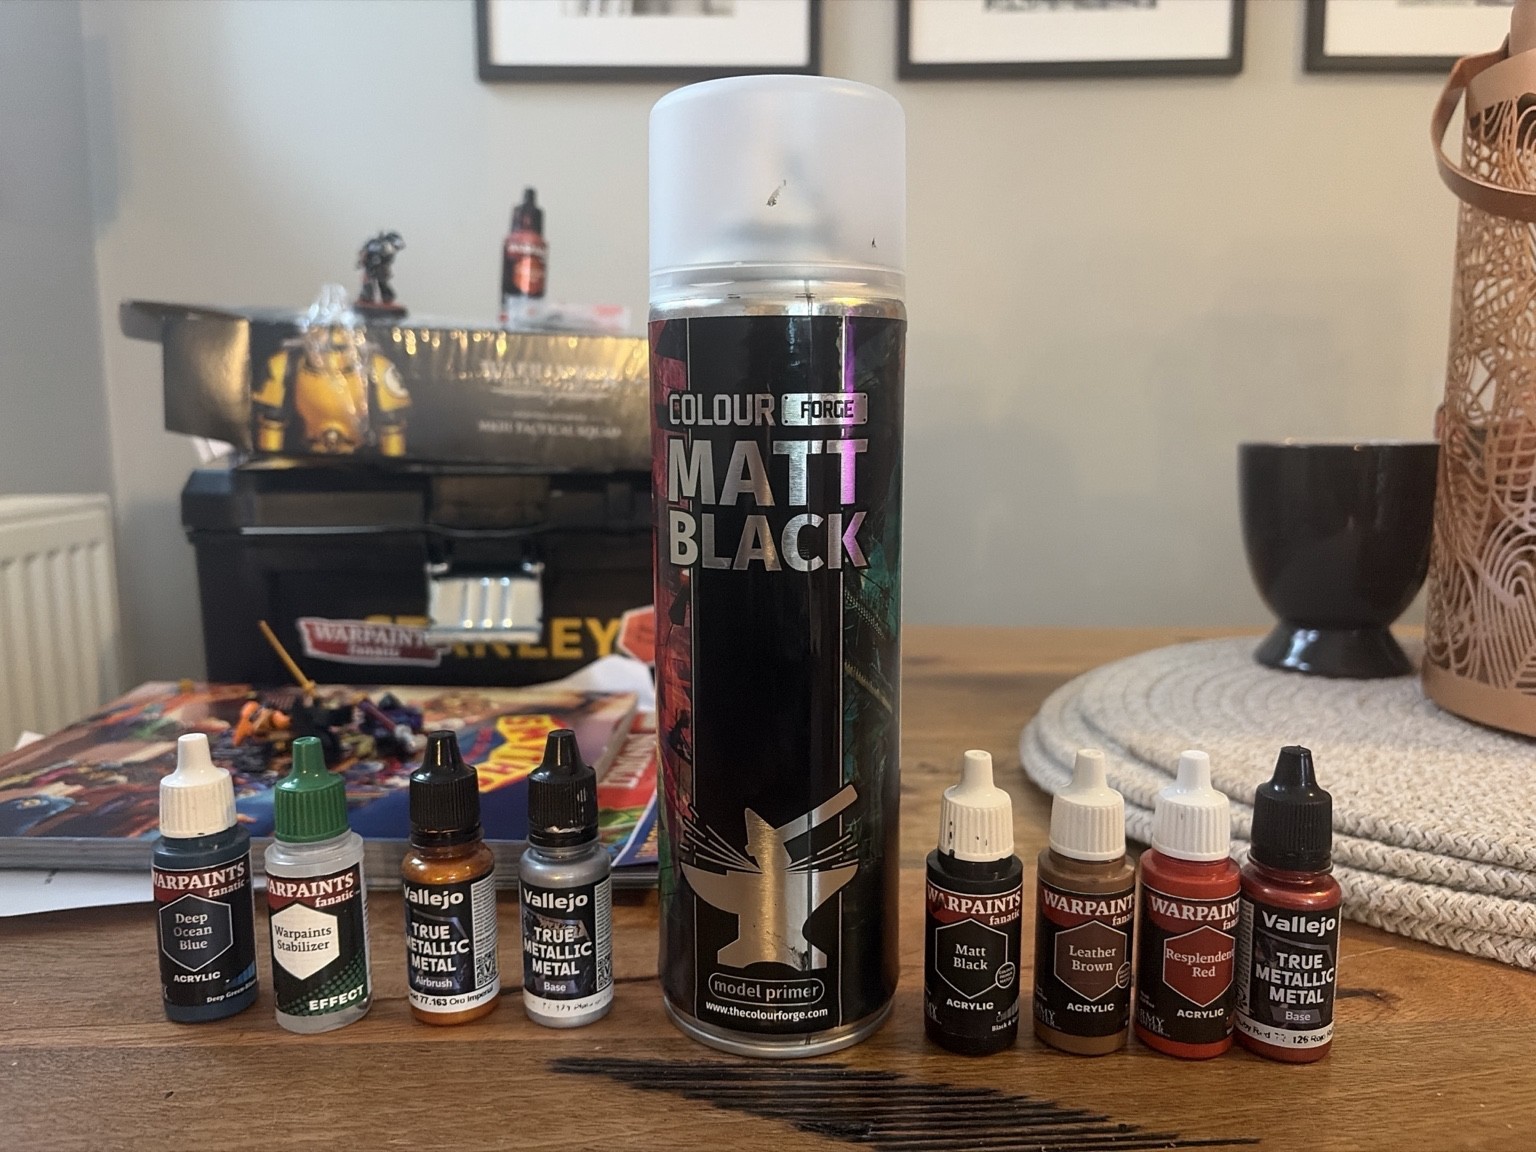
Paints and materials
- Built Mk III miniature
- Hobby knife / file as required
Method
Clean the model, check joins and mould lines, and make sure the bolter, shoulder rims, pouches and backpack are accessible. This is Mk III armour, so keep the plate shapes crisp - the later sponge work relies on those hard forms.
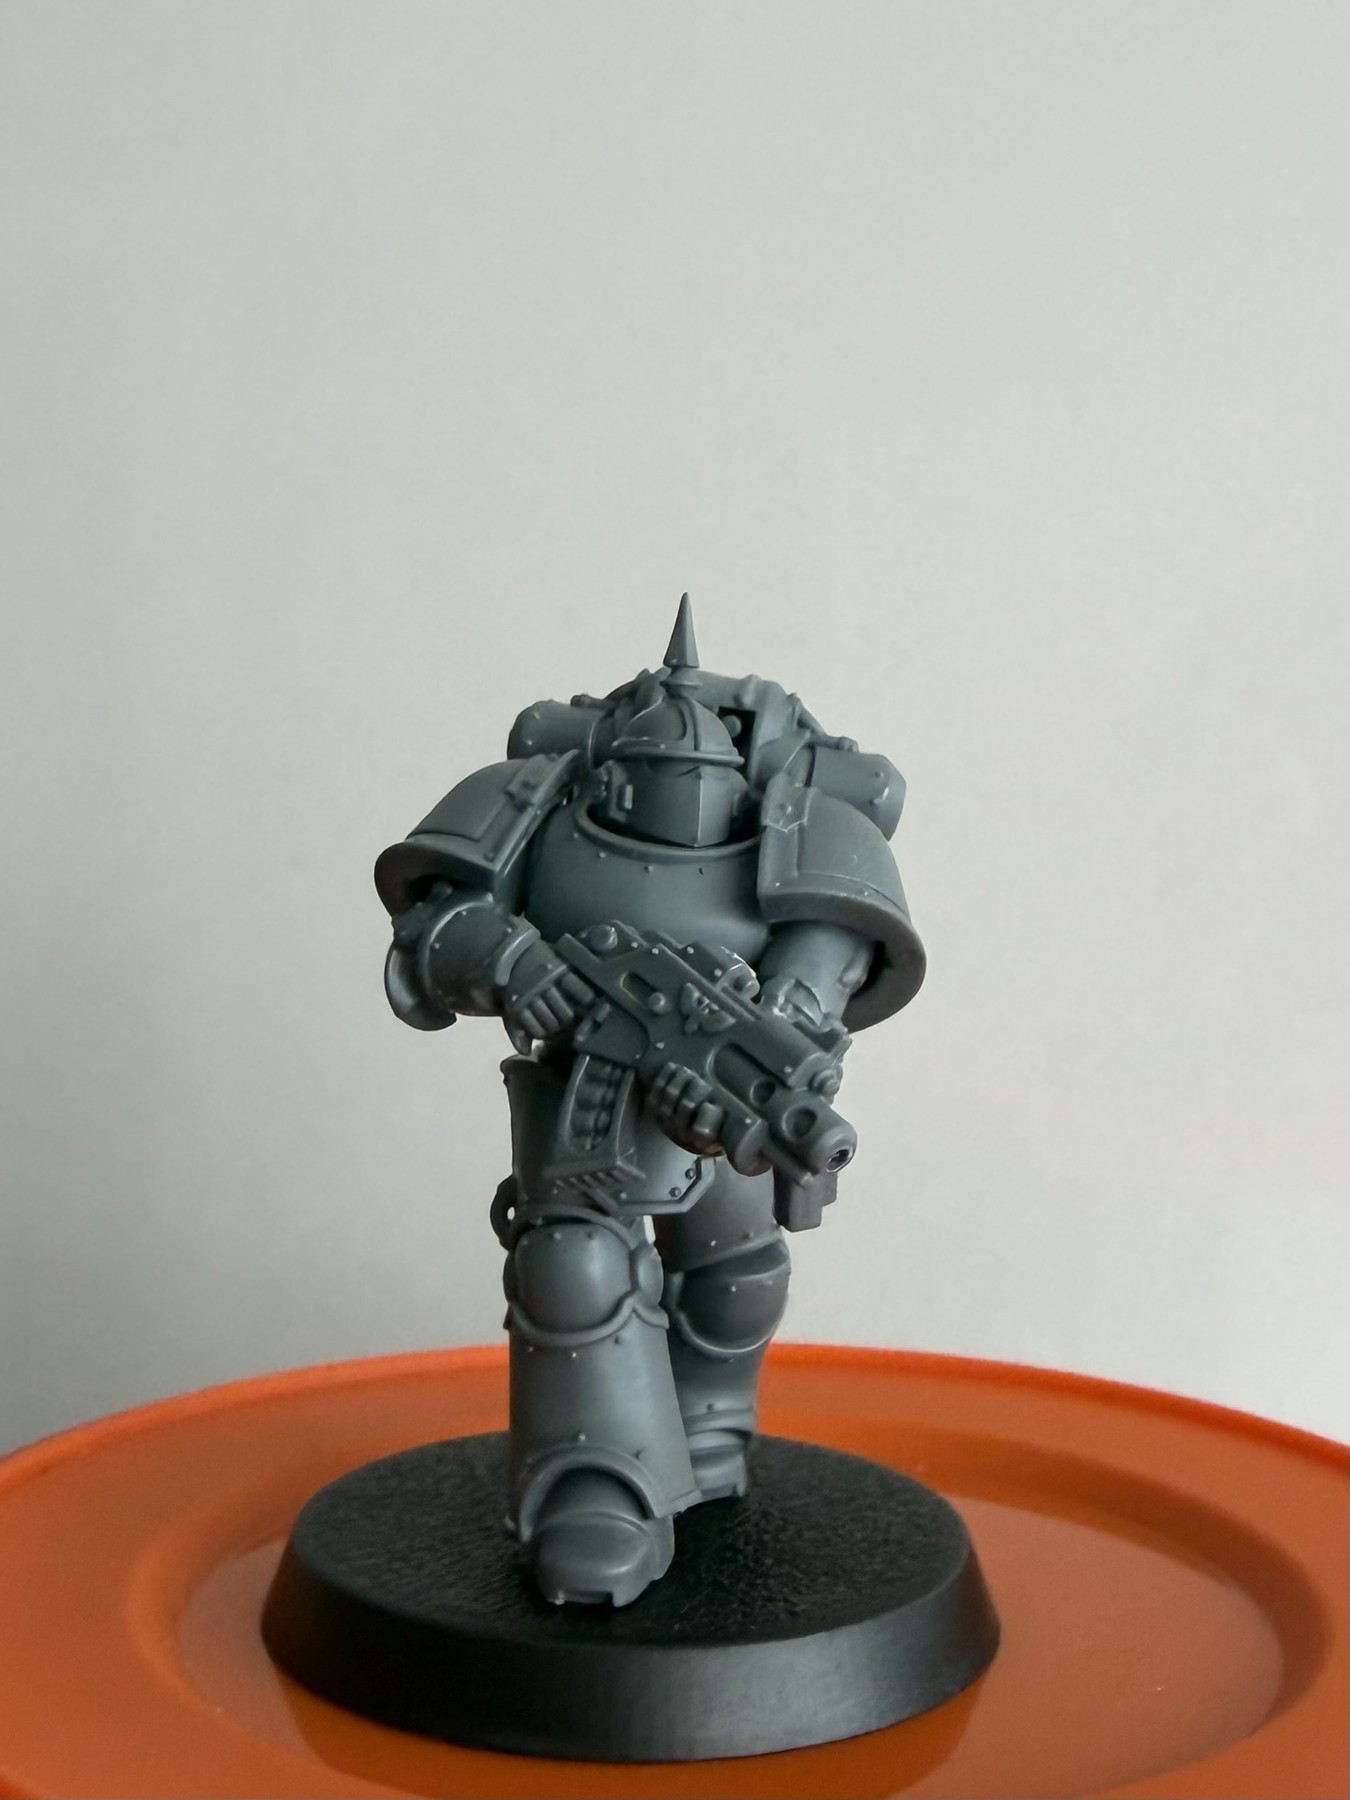
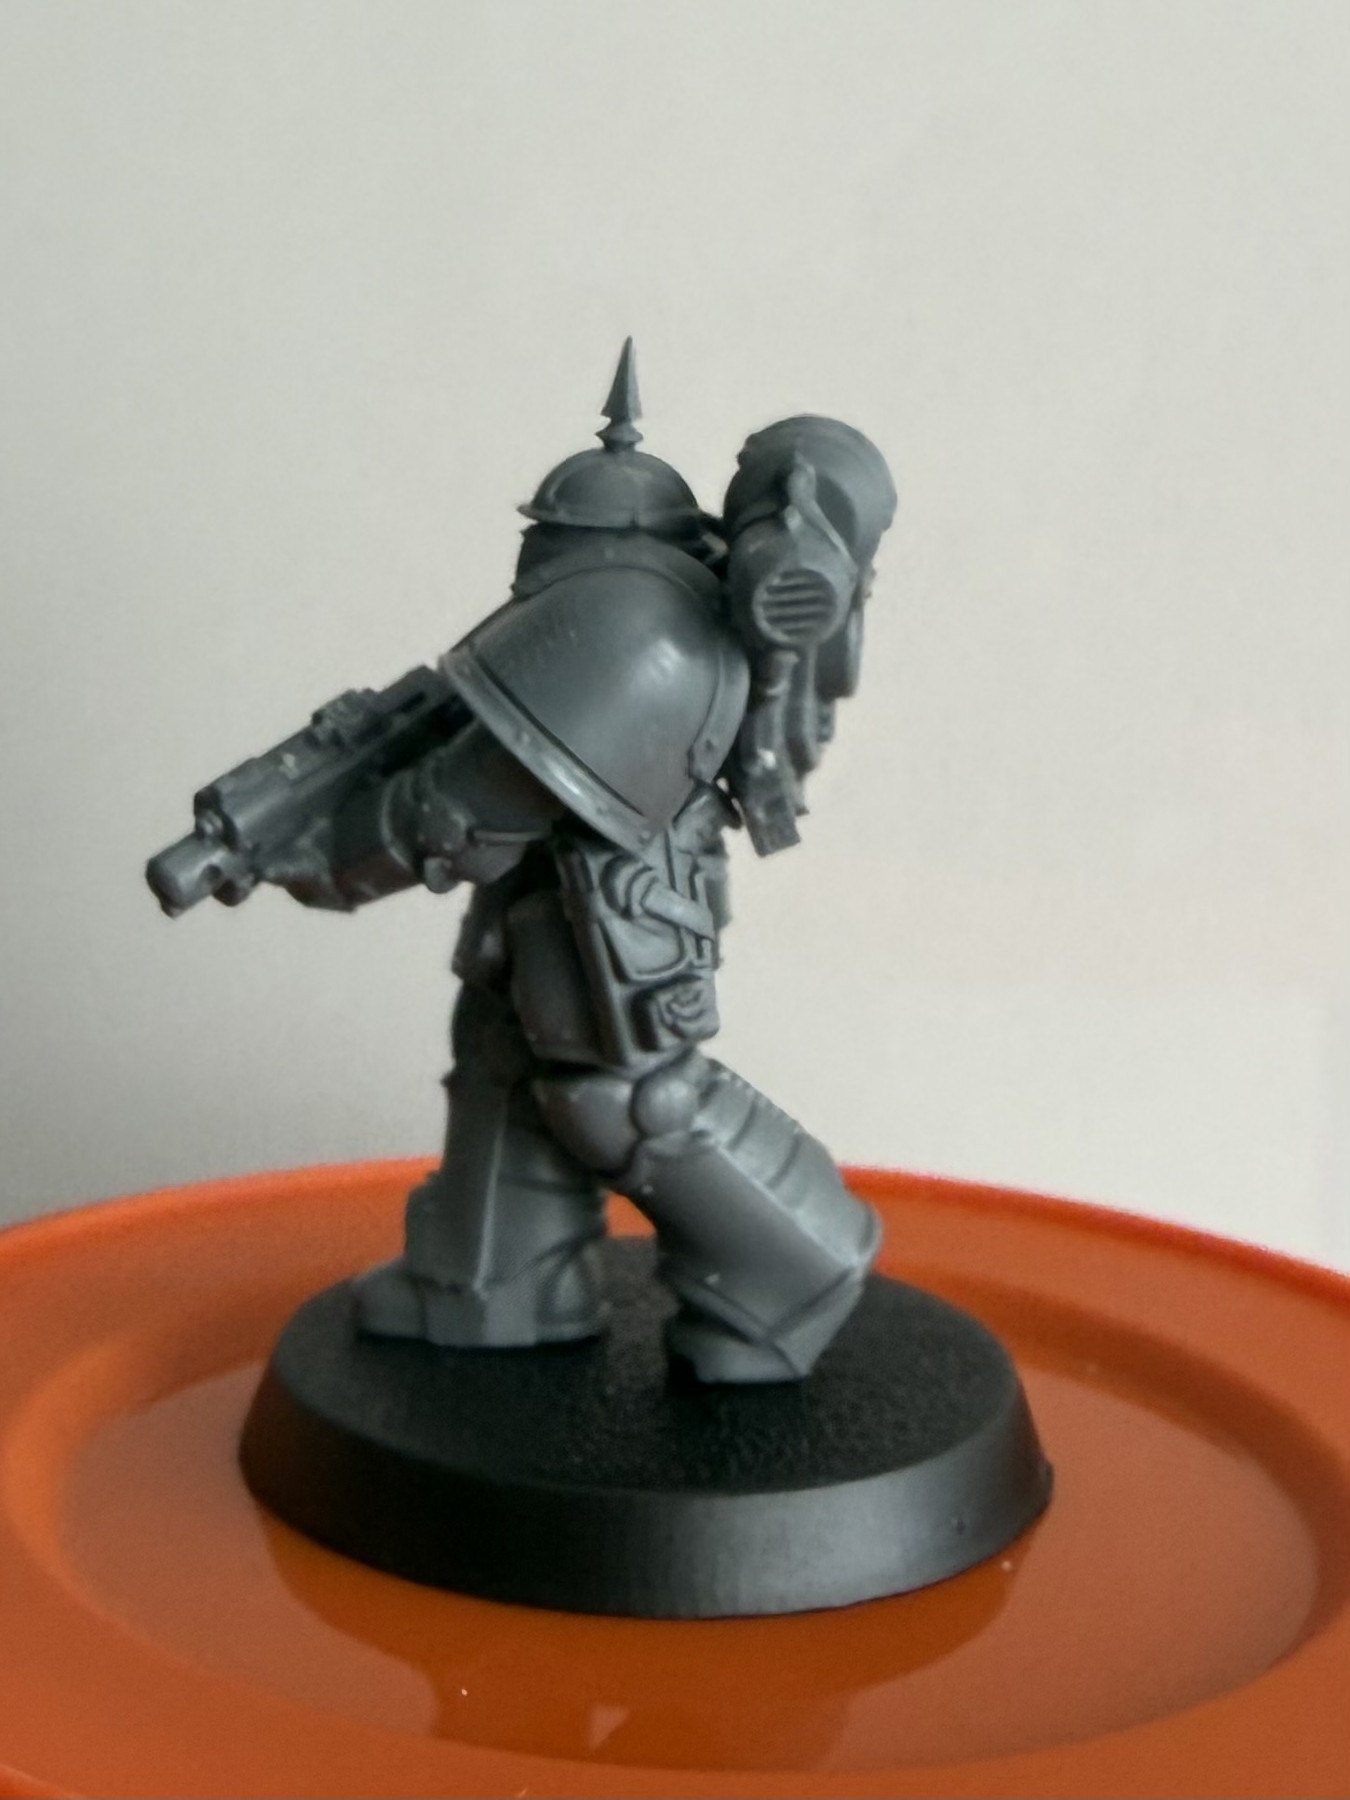
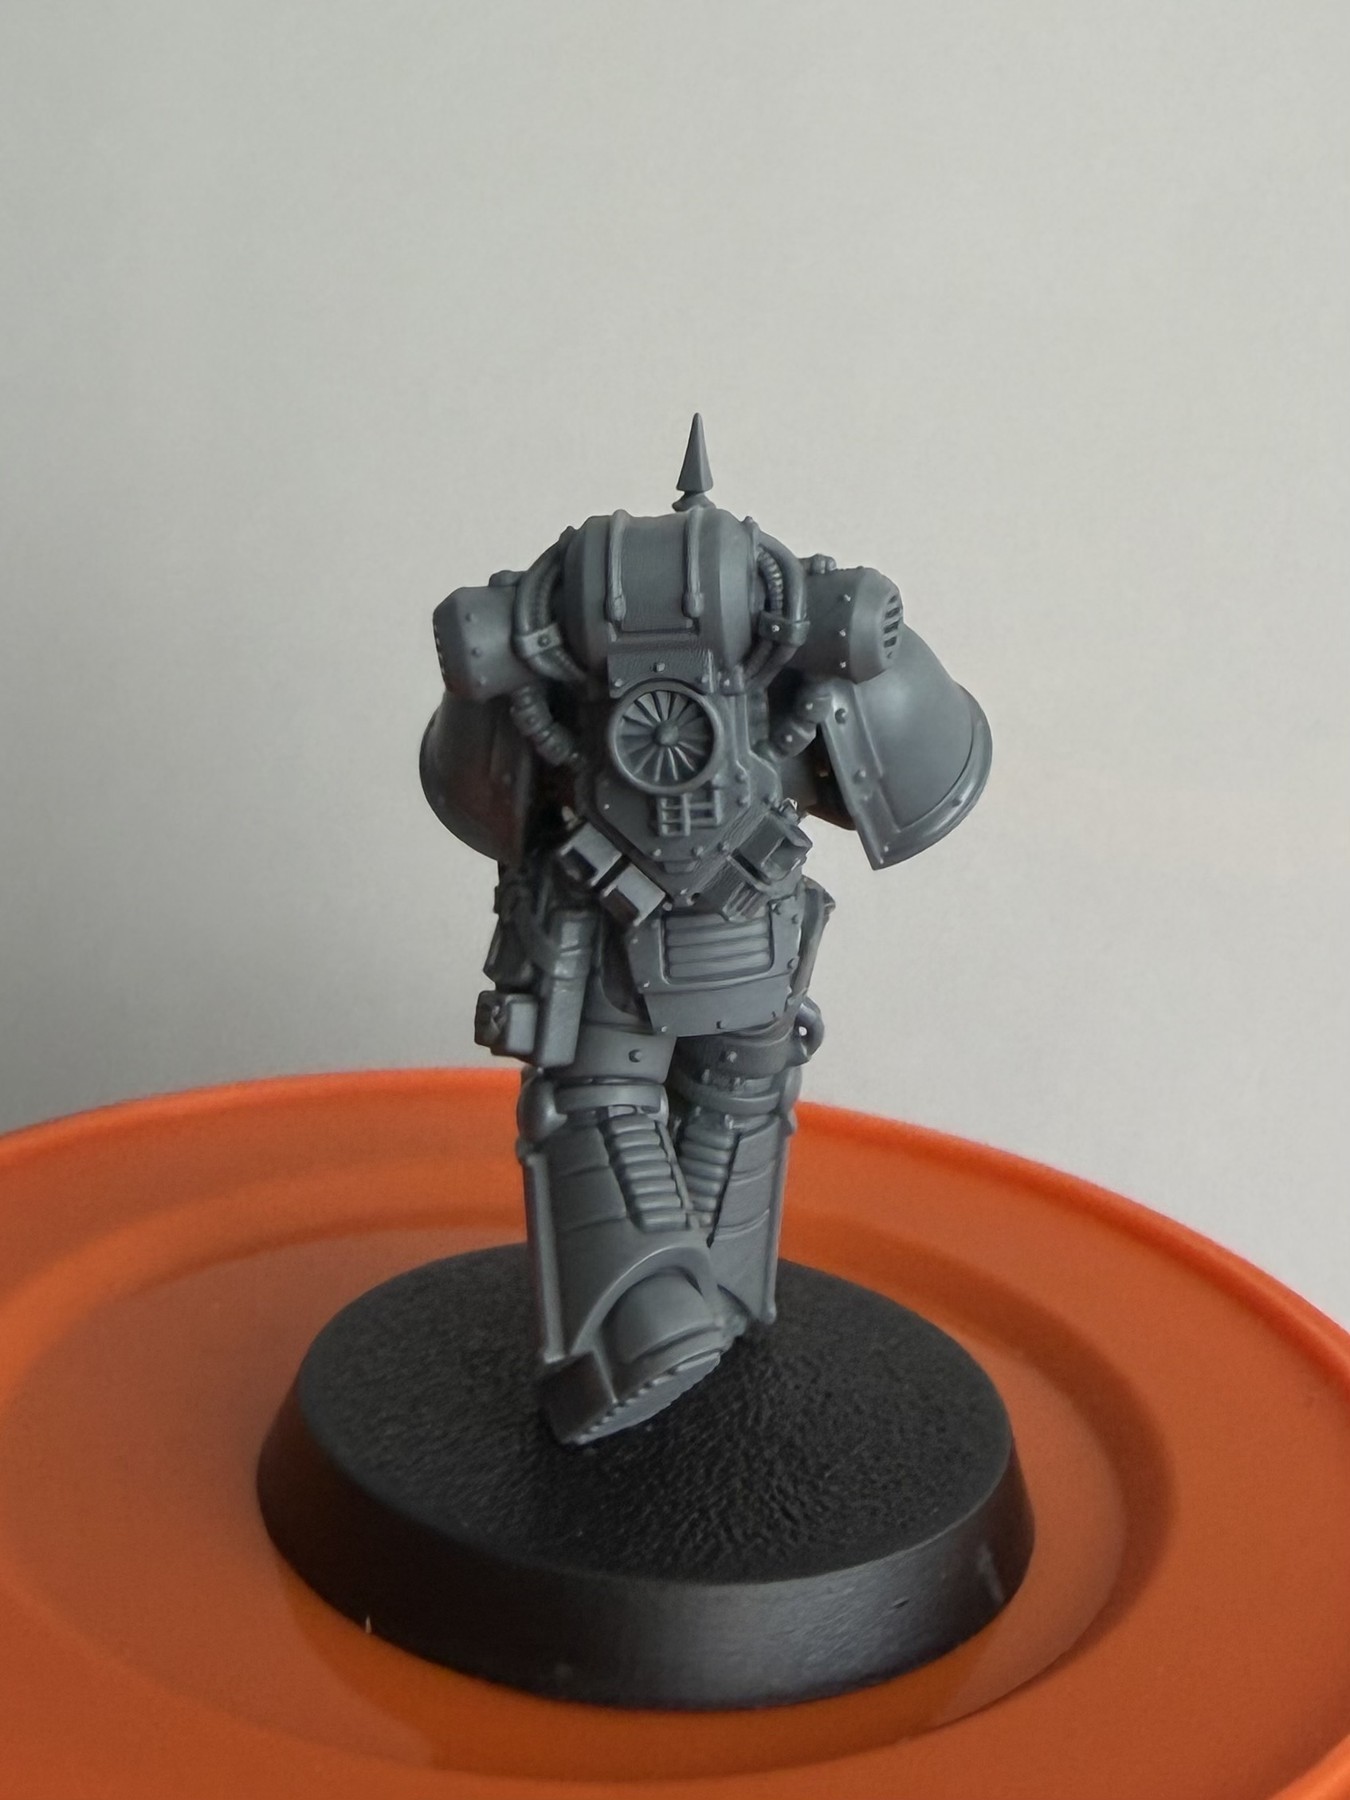
Lewis’s tip: Take reference photos now. They make it much easier to judge whether the later black volume is actually doing anything.
Step 2: Solid matt black foundation
Colour Forge Matt Black is the anchor for the whole scheme.
Paints and materials
- Colour Forge Matt Black model primer
Method
Prime with Colour Forge Matt Black and make it genuinely solid. Look underneath the shoulder rims, around the backpack and between the legs. Thin or grey patches will show through the later sponge stages and make the black look inconsistent.
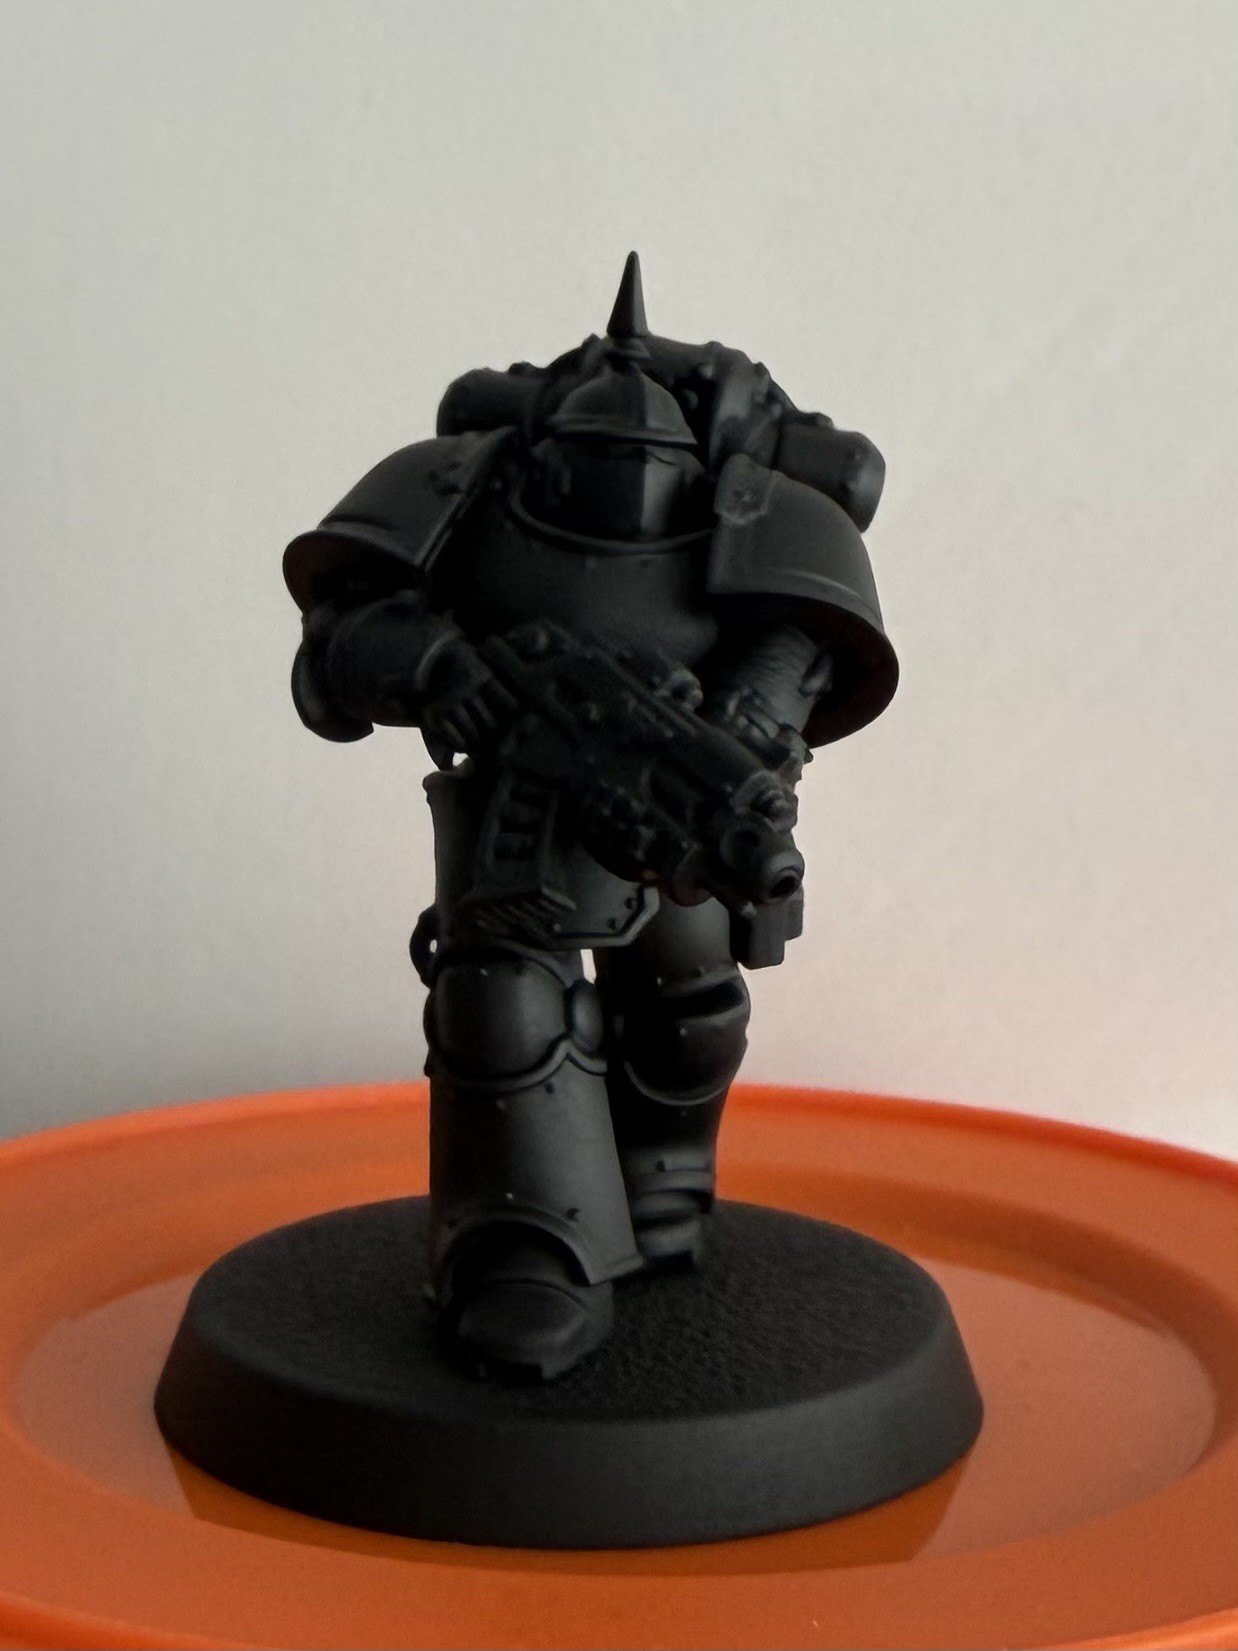
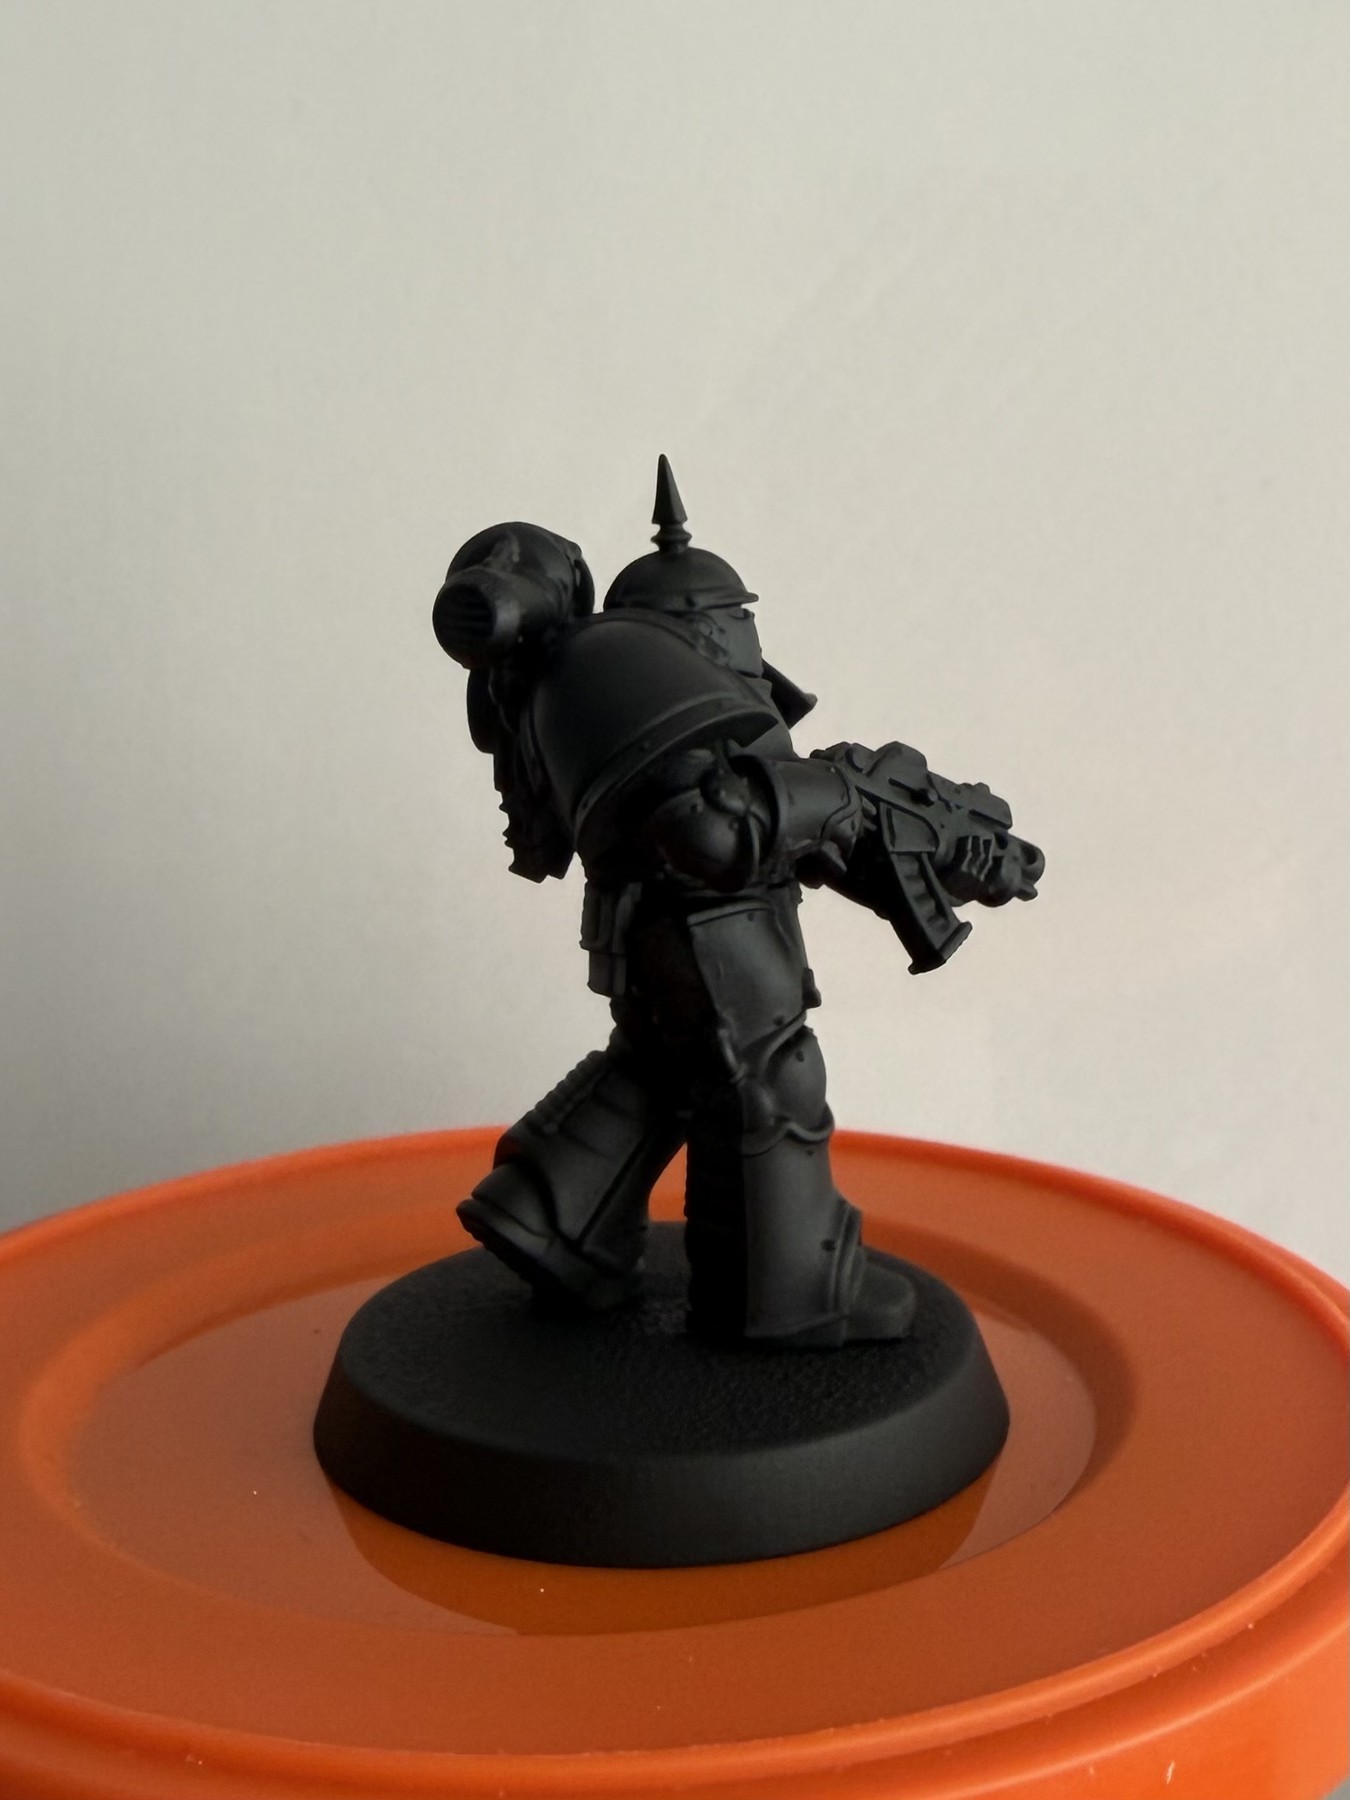
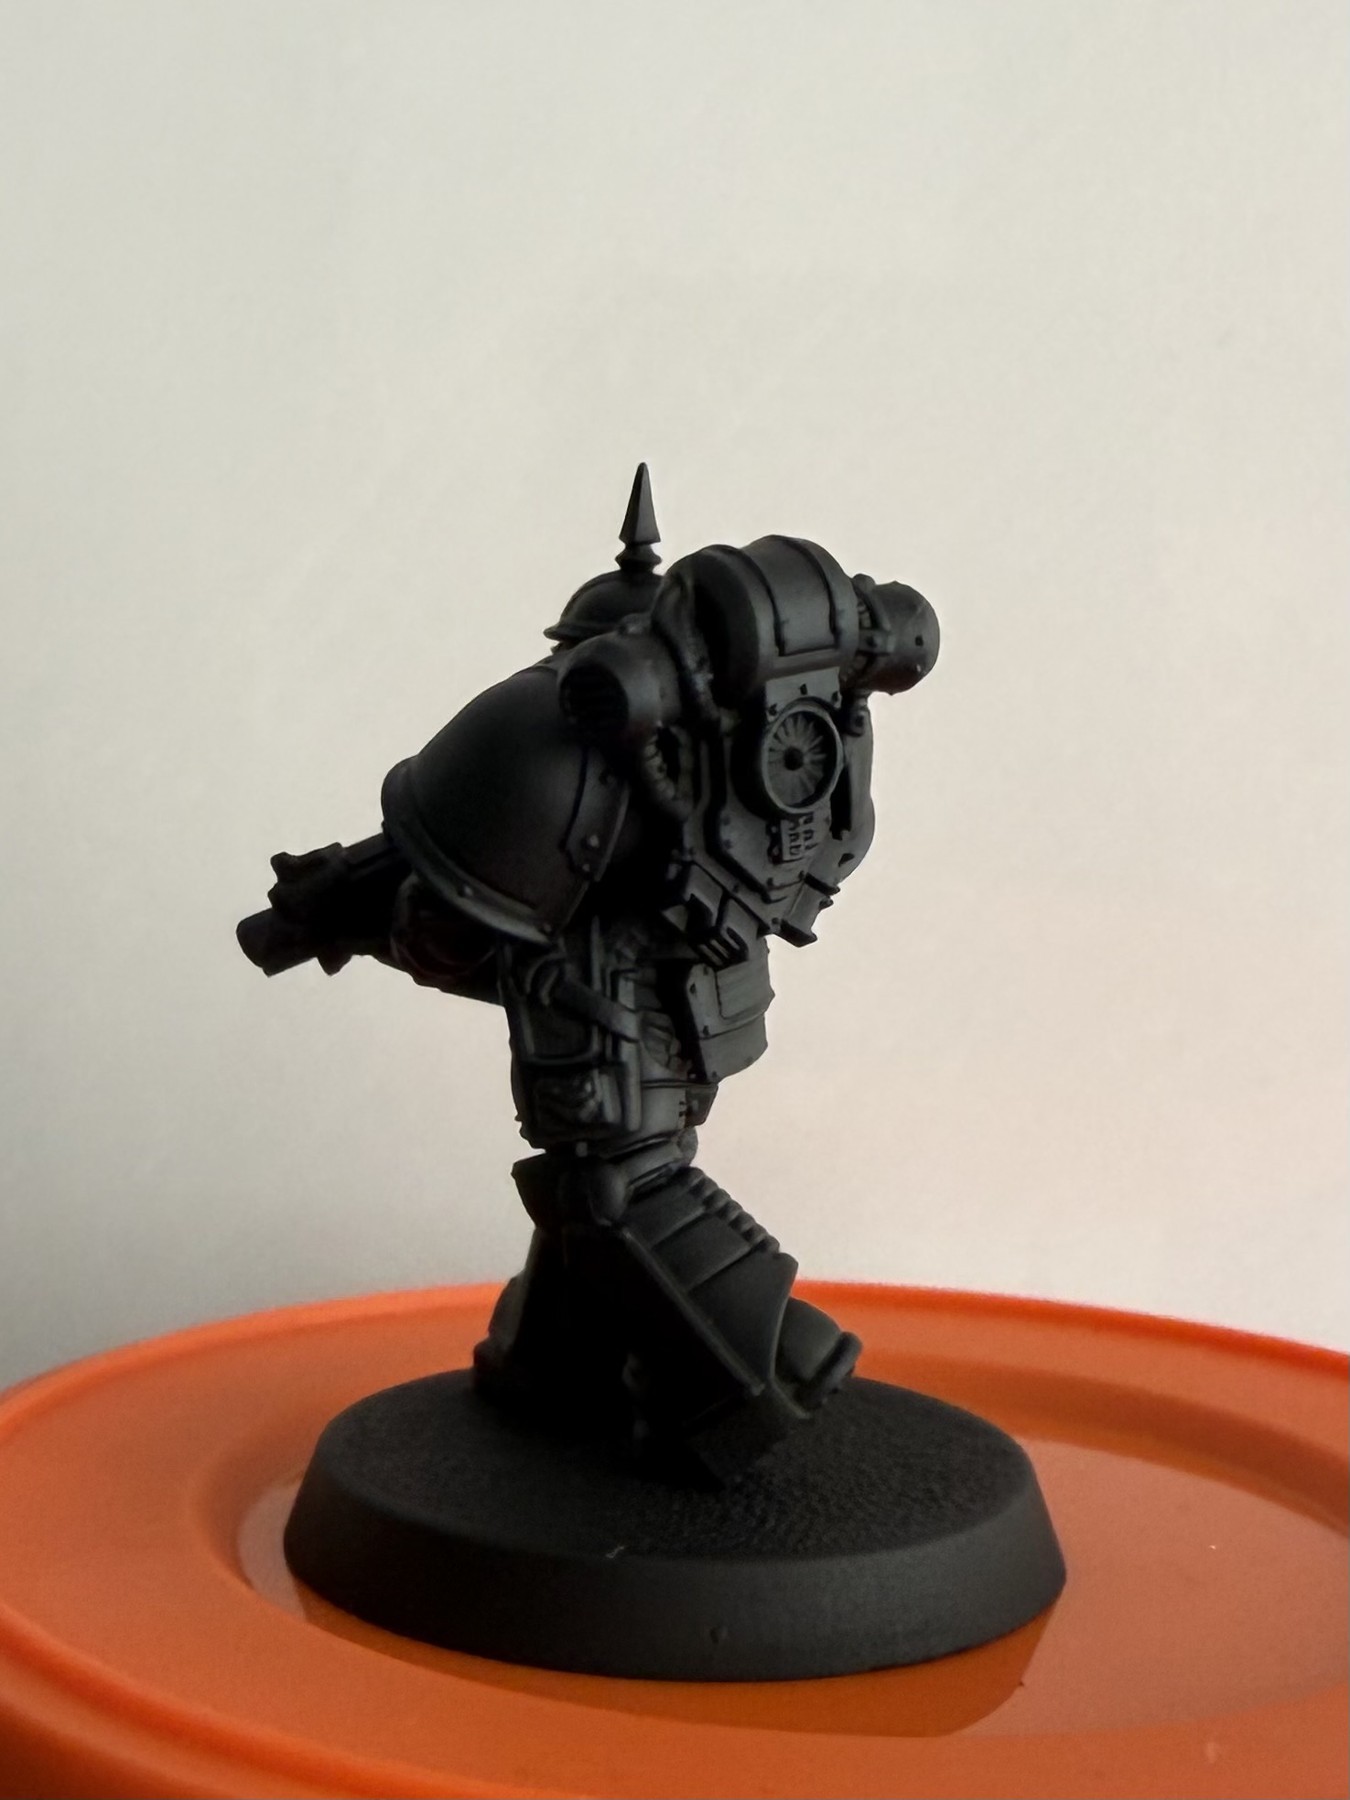
Lewis’s tip: Do not use this stage to create highlights. The job here is simple: complete, even black coverage.
Step 3: Build cold volume
Sponge Deep Ocean Blue to establish the lighting.
Paints and materials
- Army Painter Fanatic Deep Ocean Blue
- Small torn sponge
- Warpaints Fanatic Stabilizer — optional, only if needed for control
Method
Use a small piece of sponge and remove most of the paint before touching the model. Stipple Deep Ocean Blue onto the top-facing and light-catching planes: helmet, upper chest, shoulder curves, backpack and upper legs. Build it in several light passes rather than one heavy coat. The armour should still read as black.
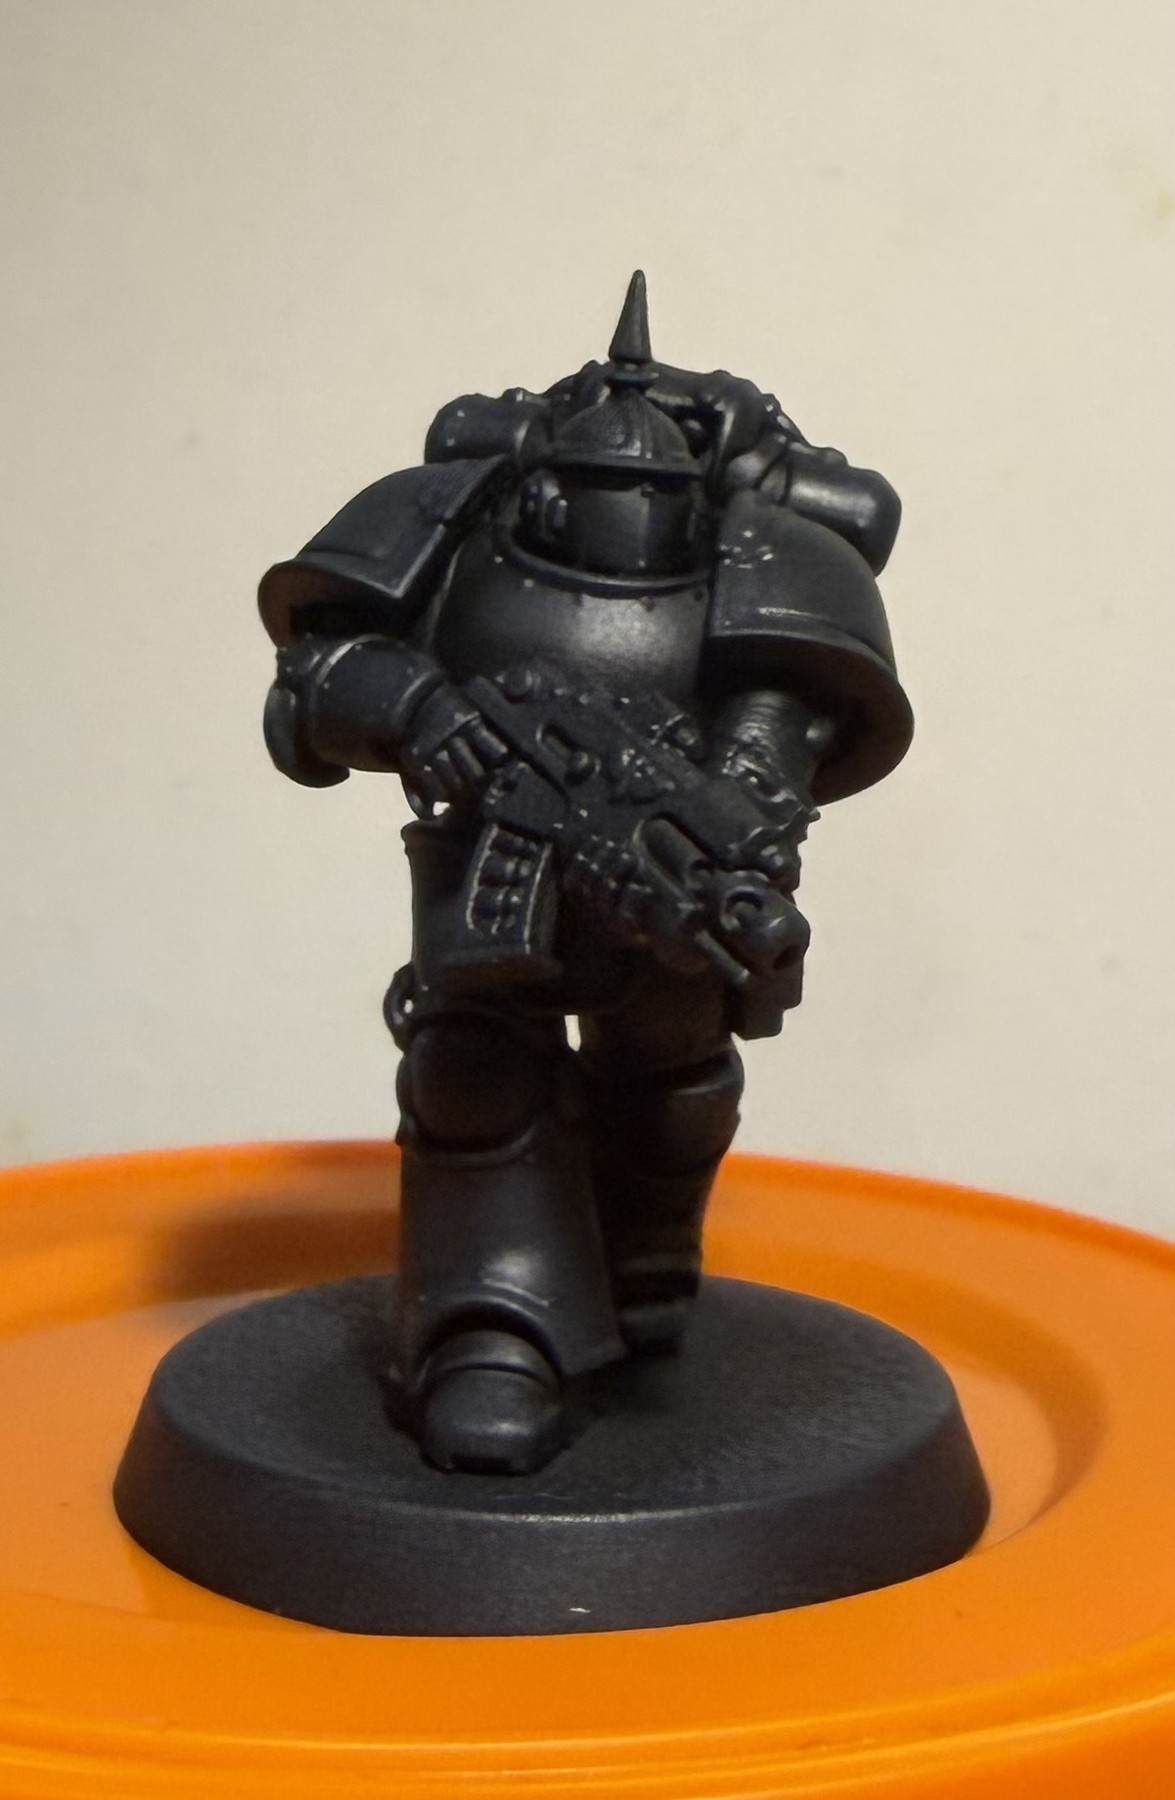
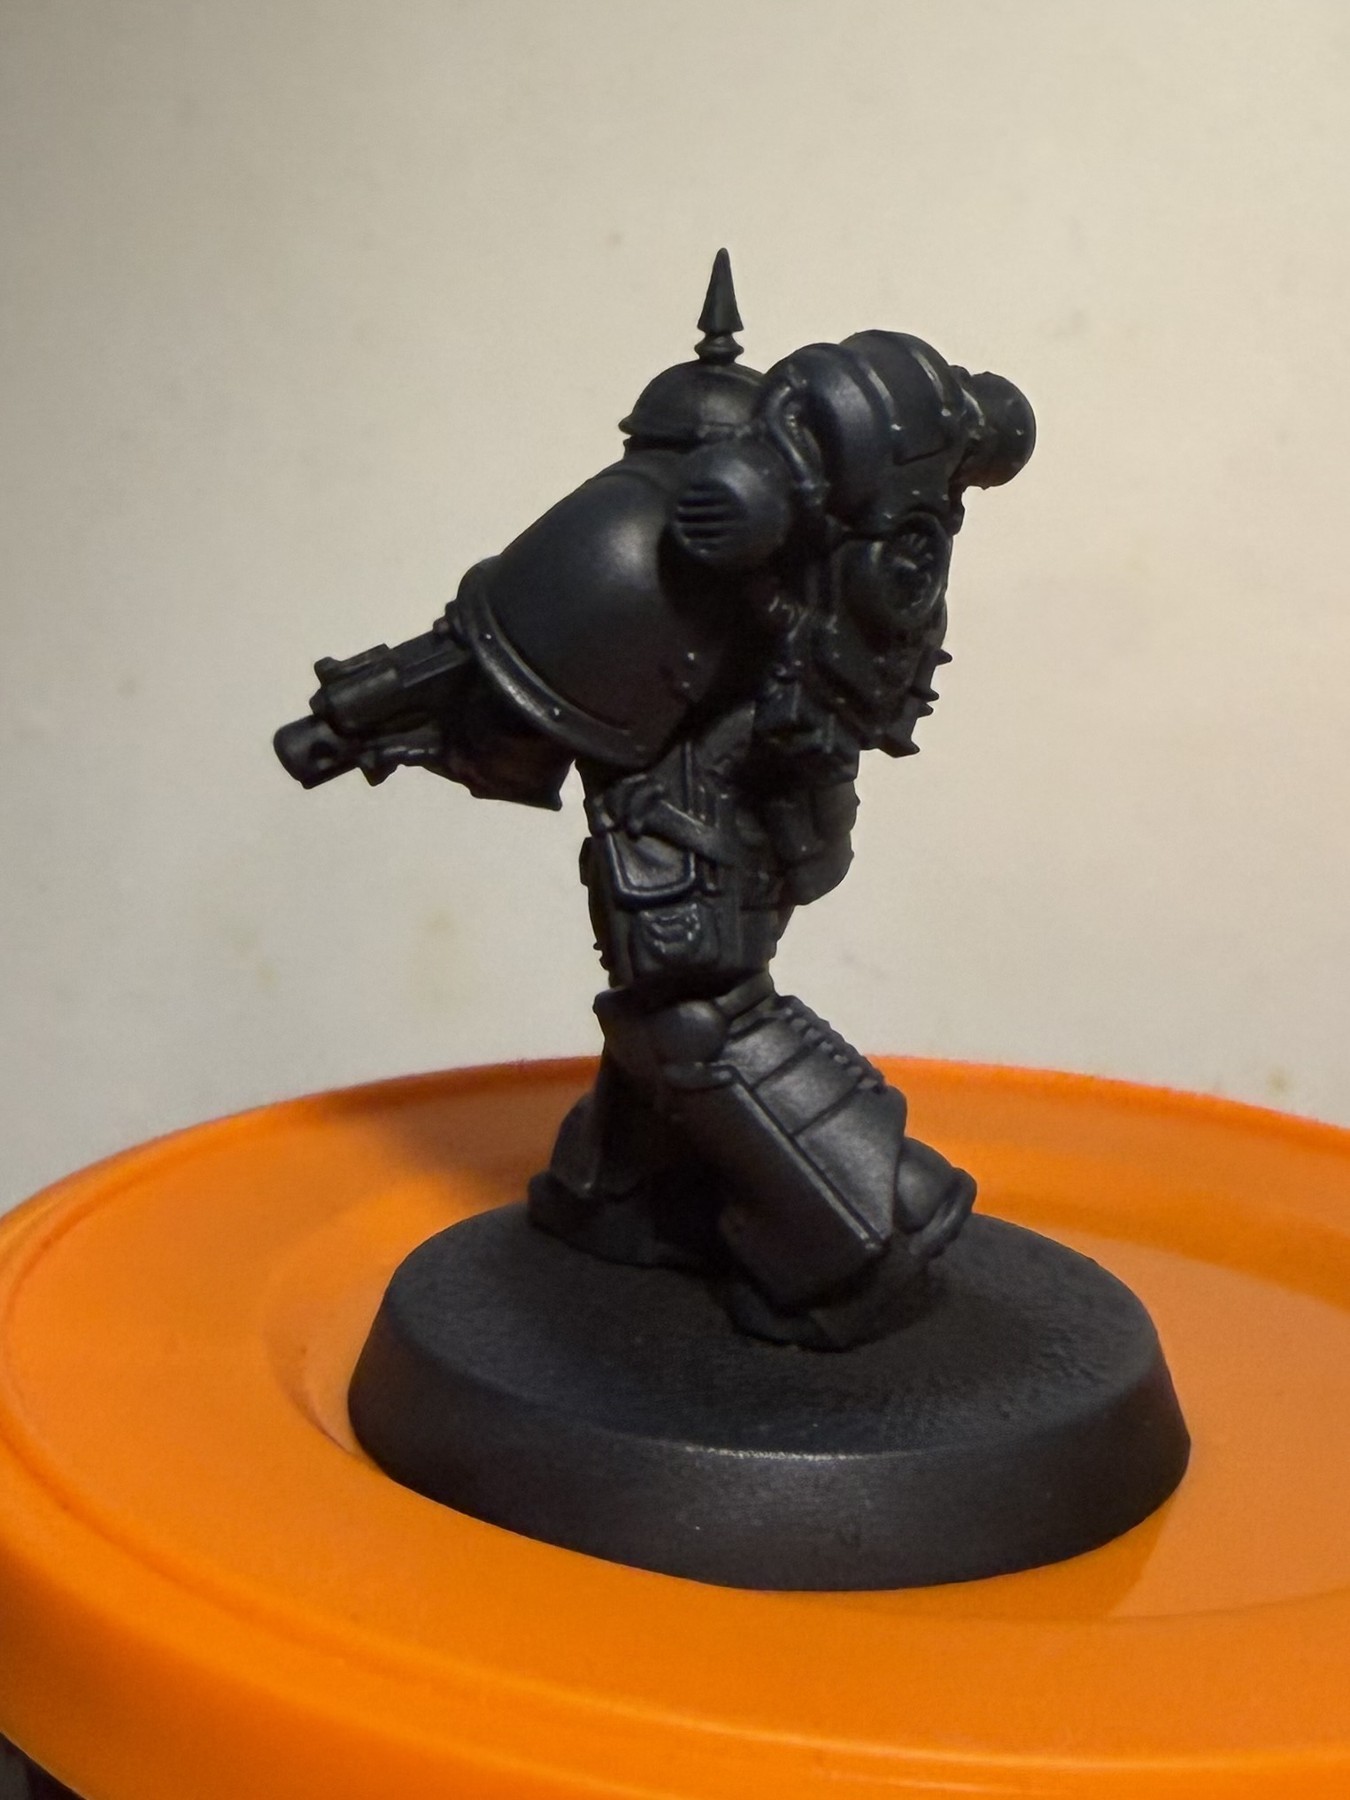
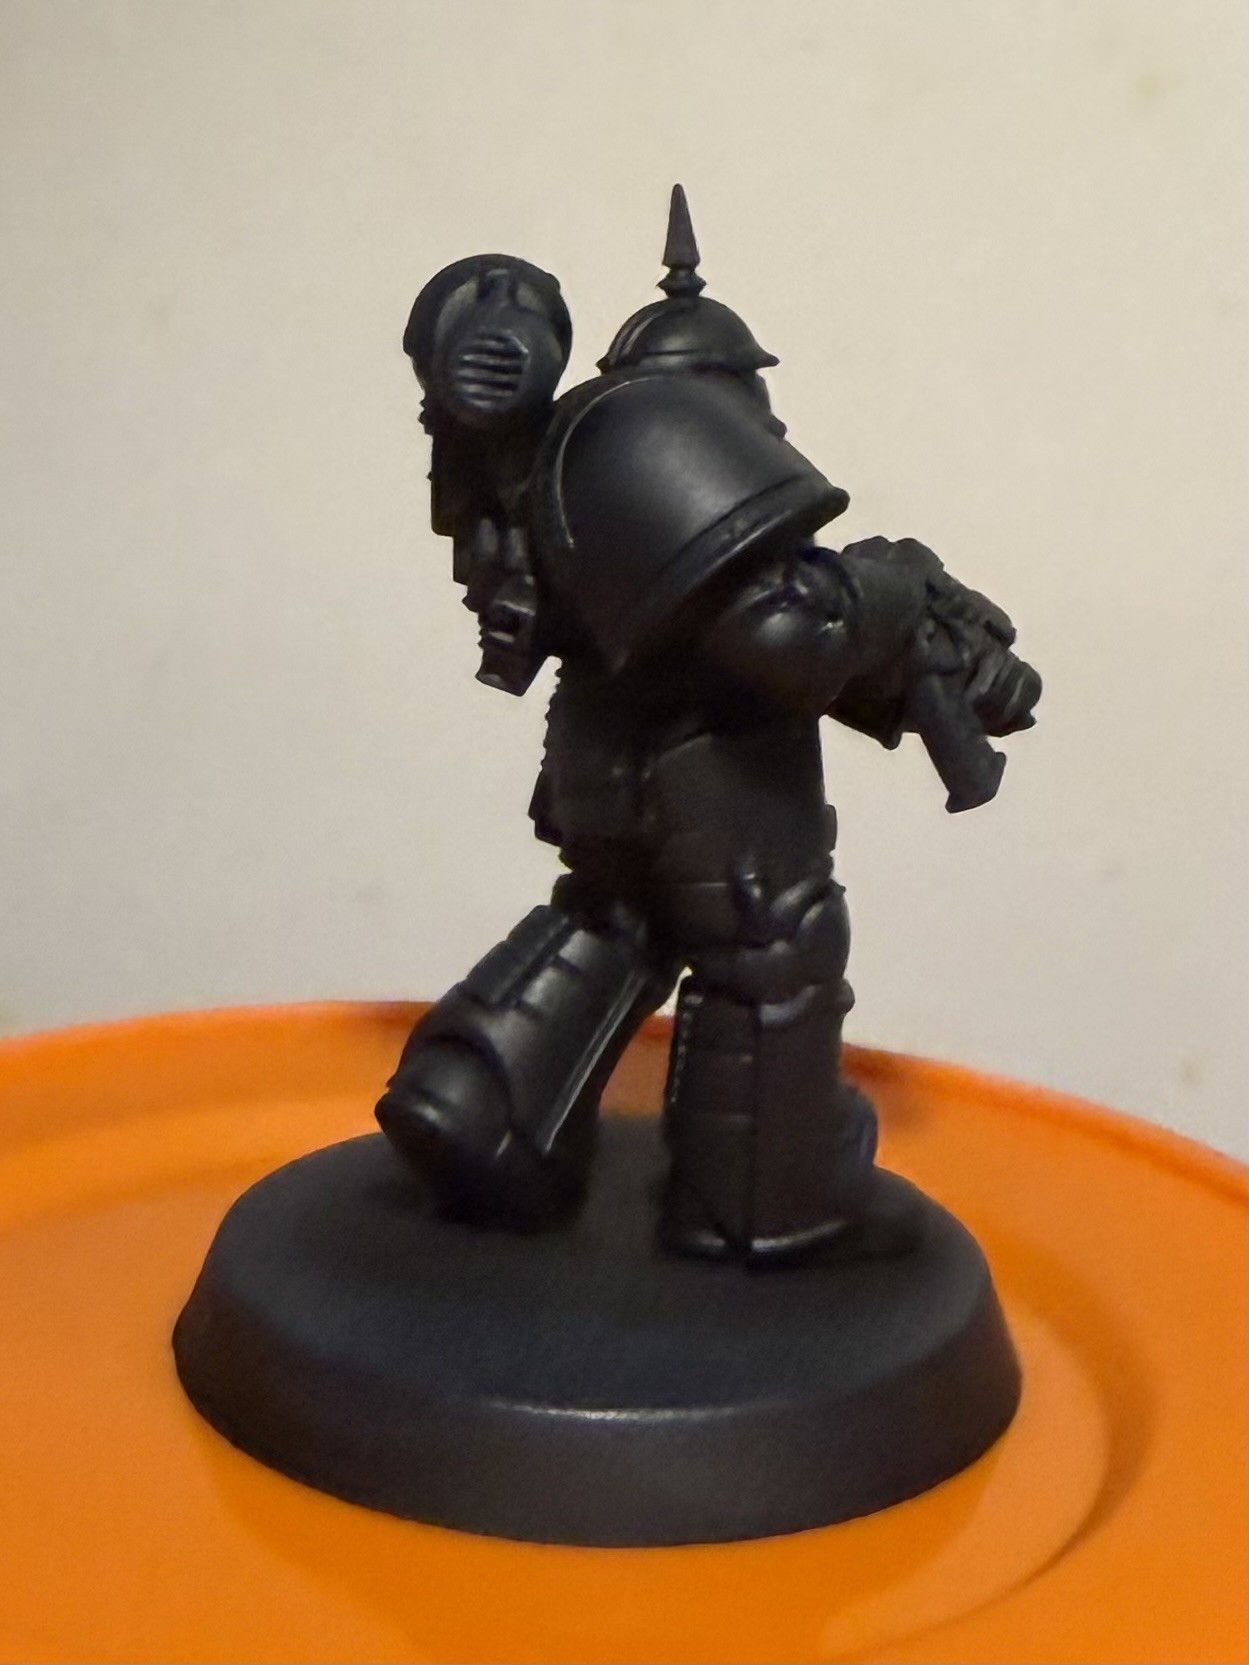
Lewis’s tip: The uneven sponge texture is intentional. It keeps the Horus Heresy armour gritty rather than smooth and airbrushed.
Step 4: Rebuild the black
Pull the armour back towards black while preserving the blue light map.
Paints and materials
- Army Painter Fanatic Matt Black
- Deep Ocean Blue remains visible beneath
Method
Use Army Painter Fanatic Matt Black as paint - not primer - to rebuild the shadowed and mid-tone armour. Leave traces of the Deep Ocean Blue visible on the upper planes. This is where the model stops looking blue-grey and starts reading as black armour with volume.
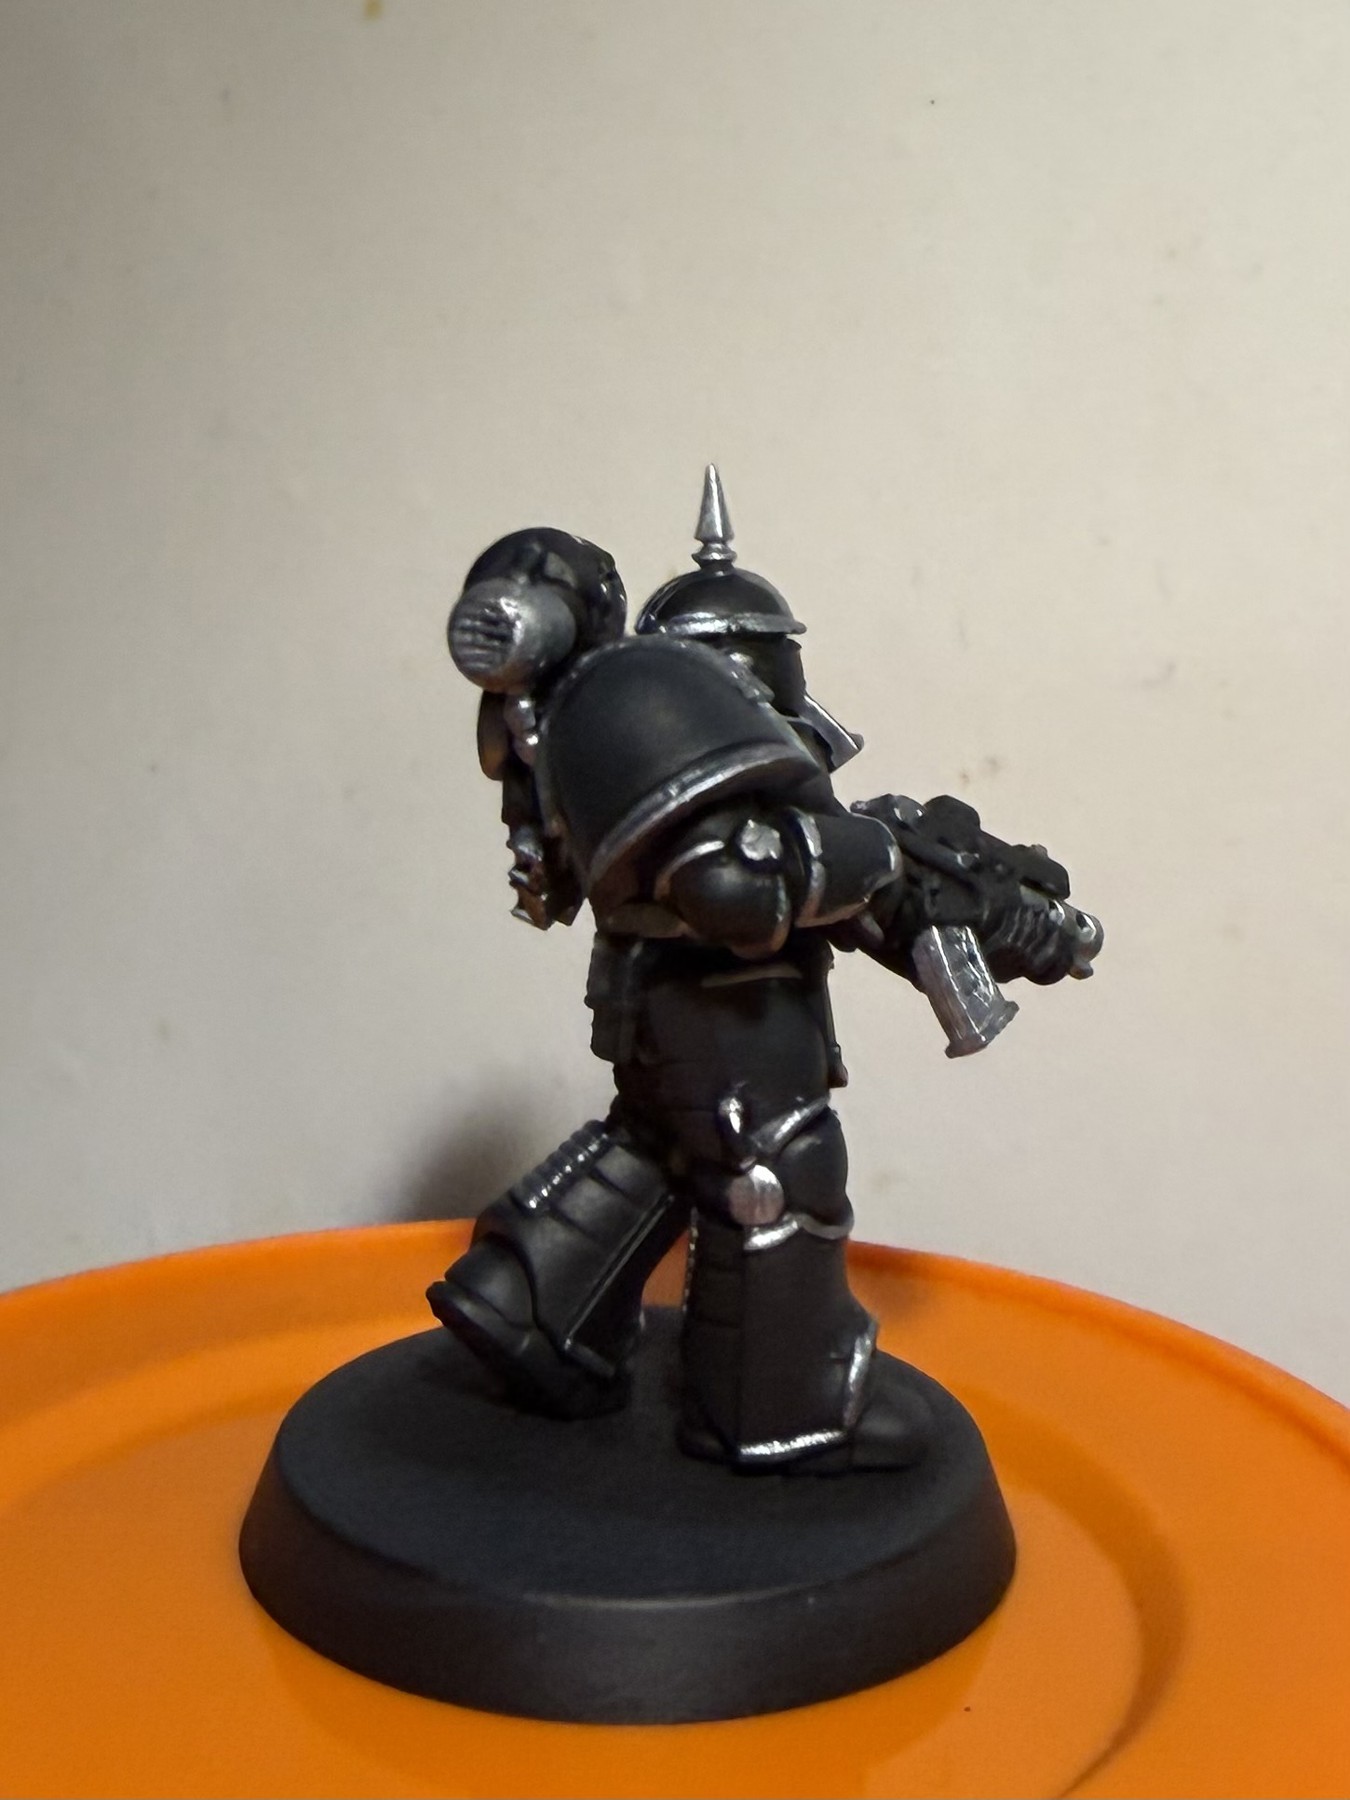
Lewis’s tip: If you cover every blue mark, you erase the work from Step 3. Think selective rebuild, not a complete second black coat.
Step 5: Leather Brown
Block the pouches and straps before the red and gold details.
Paints and materials
- Army Painter Fanatic Leather Brown
Method
Block the leather with Leather Brown. Keep the shape clean against the black armour and metallic fittings. At this stage the colour only needs to be opaque and tidy - Marine Juice will provide the later shared shading.
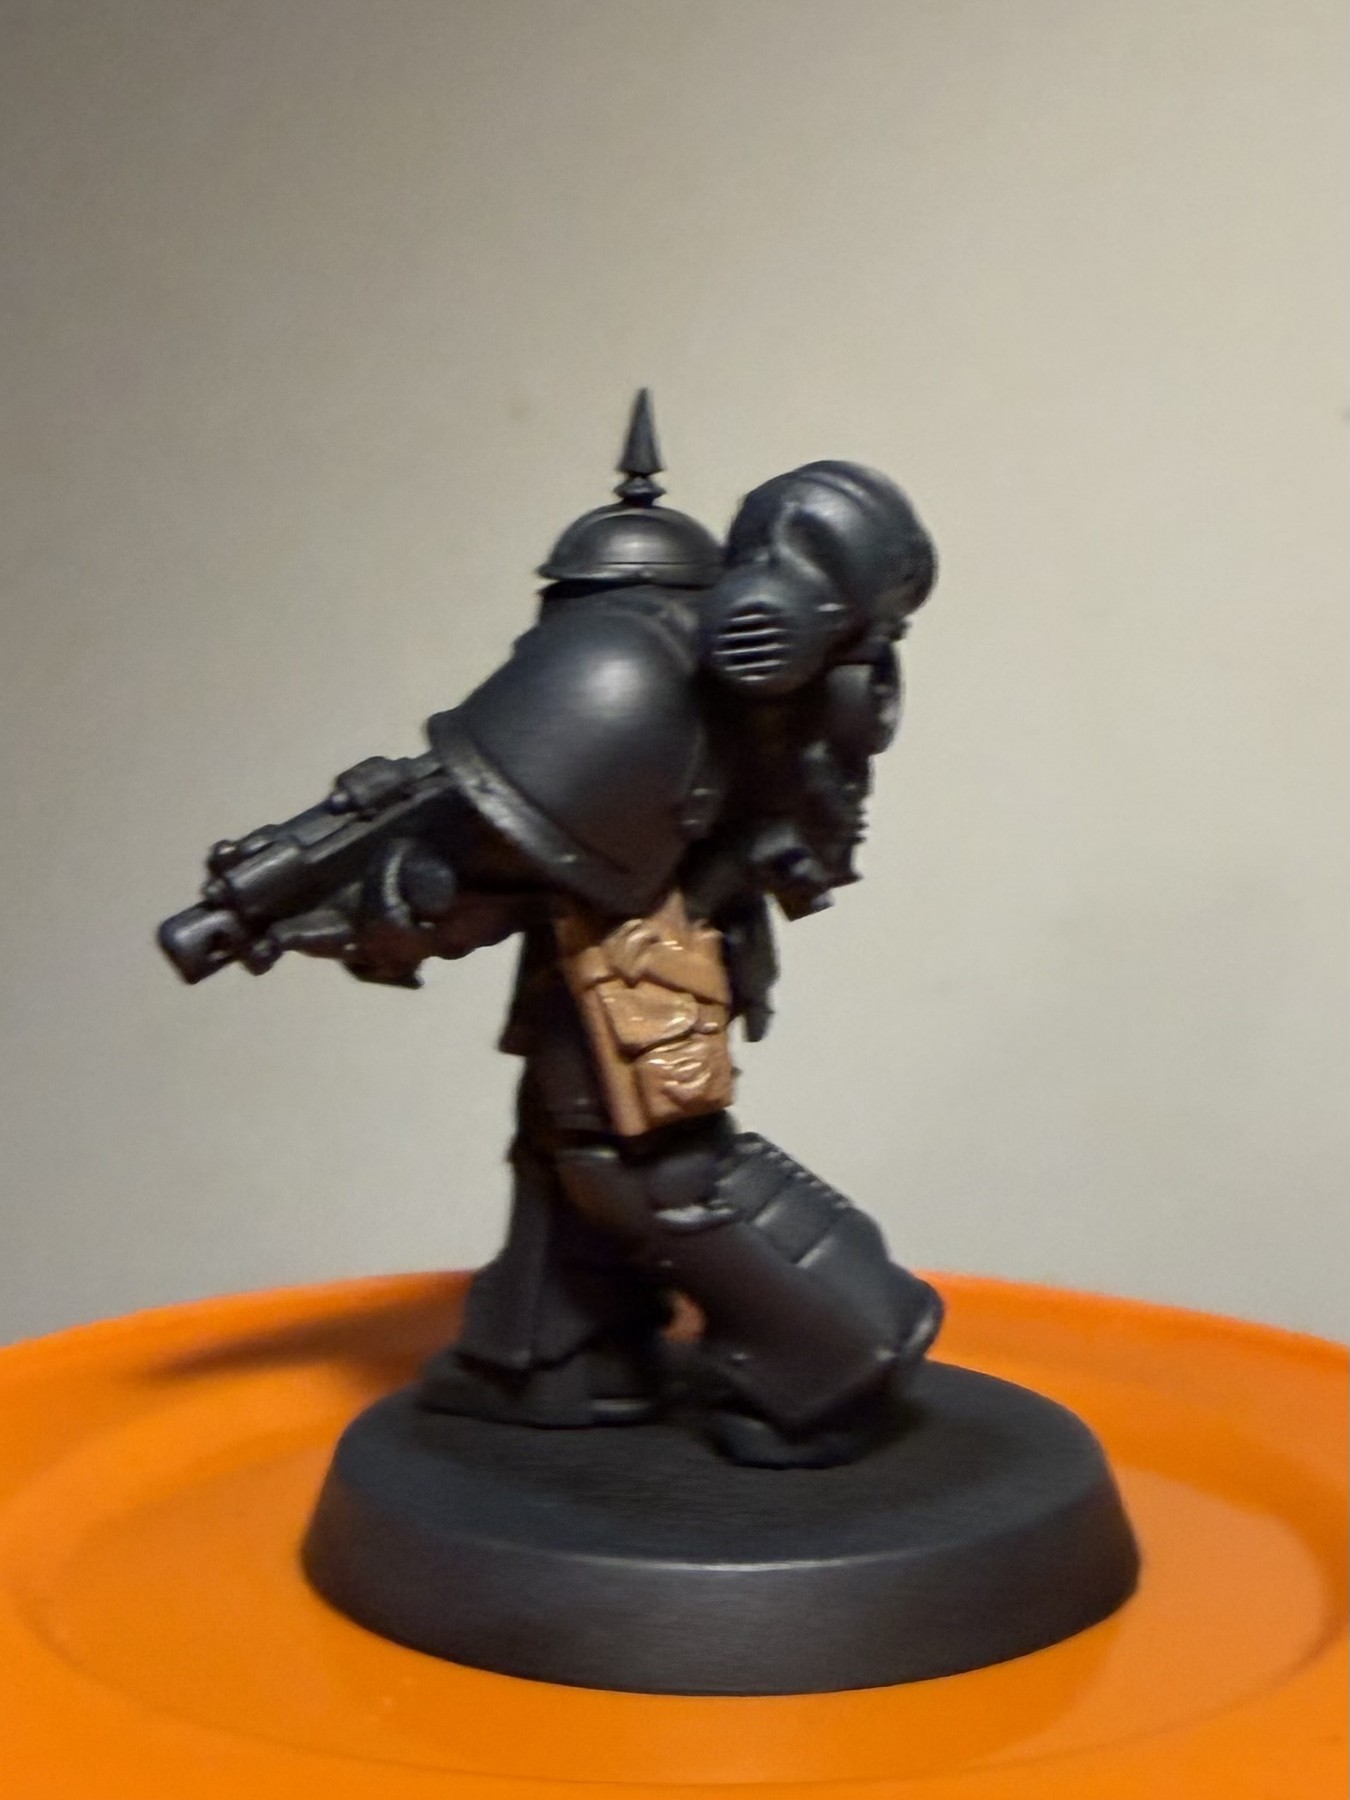
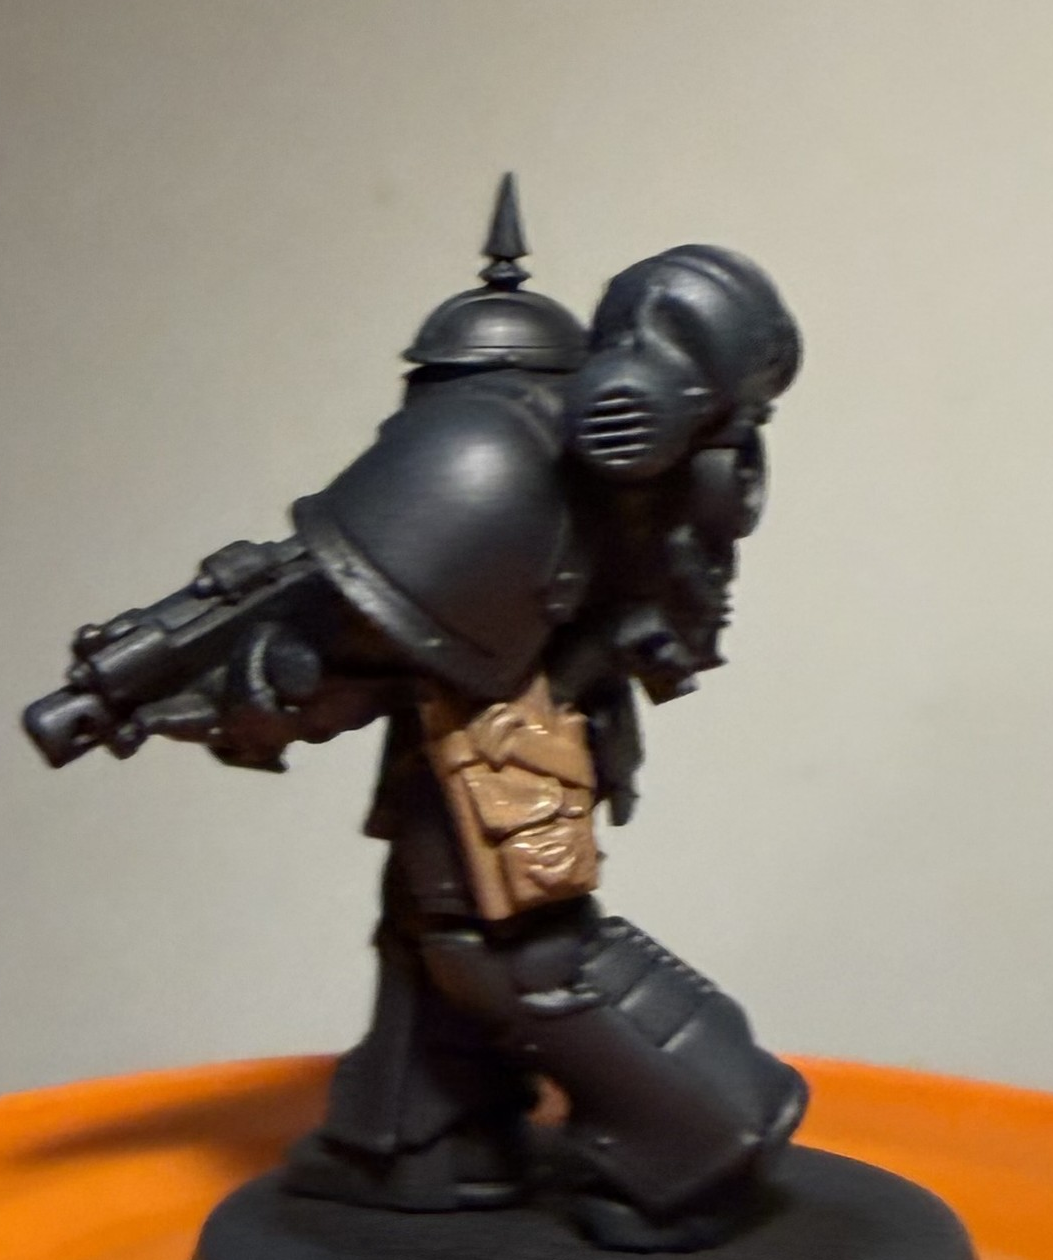
Lewis’s tip: Do not shade the leather separately yet. The whole miniature will receive Marine Juice after every major colour is blocked in.
Step 6: Silver TMM
Establish the cold metallic framework.
Paints and materials
- Vallejo True Metallic Metal — Sterling Silver
- Brush painted — no airbrush required
Method
Brush in the silver metallics: helmet crest and trim, shoulder rims, backpack vents, joints, weapon metal and other hardware. Keep the silver narrow around armour borders so the black remains dominant.
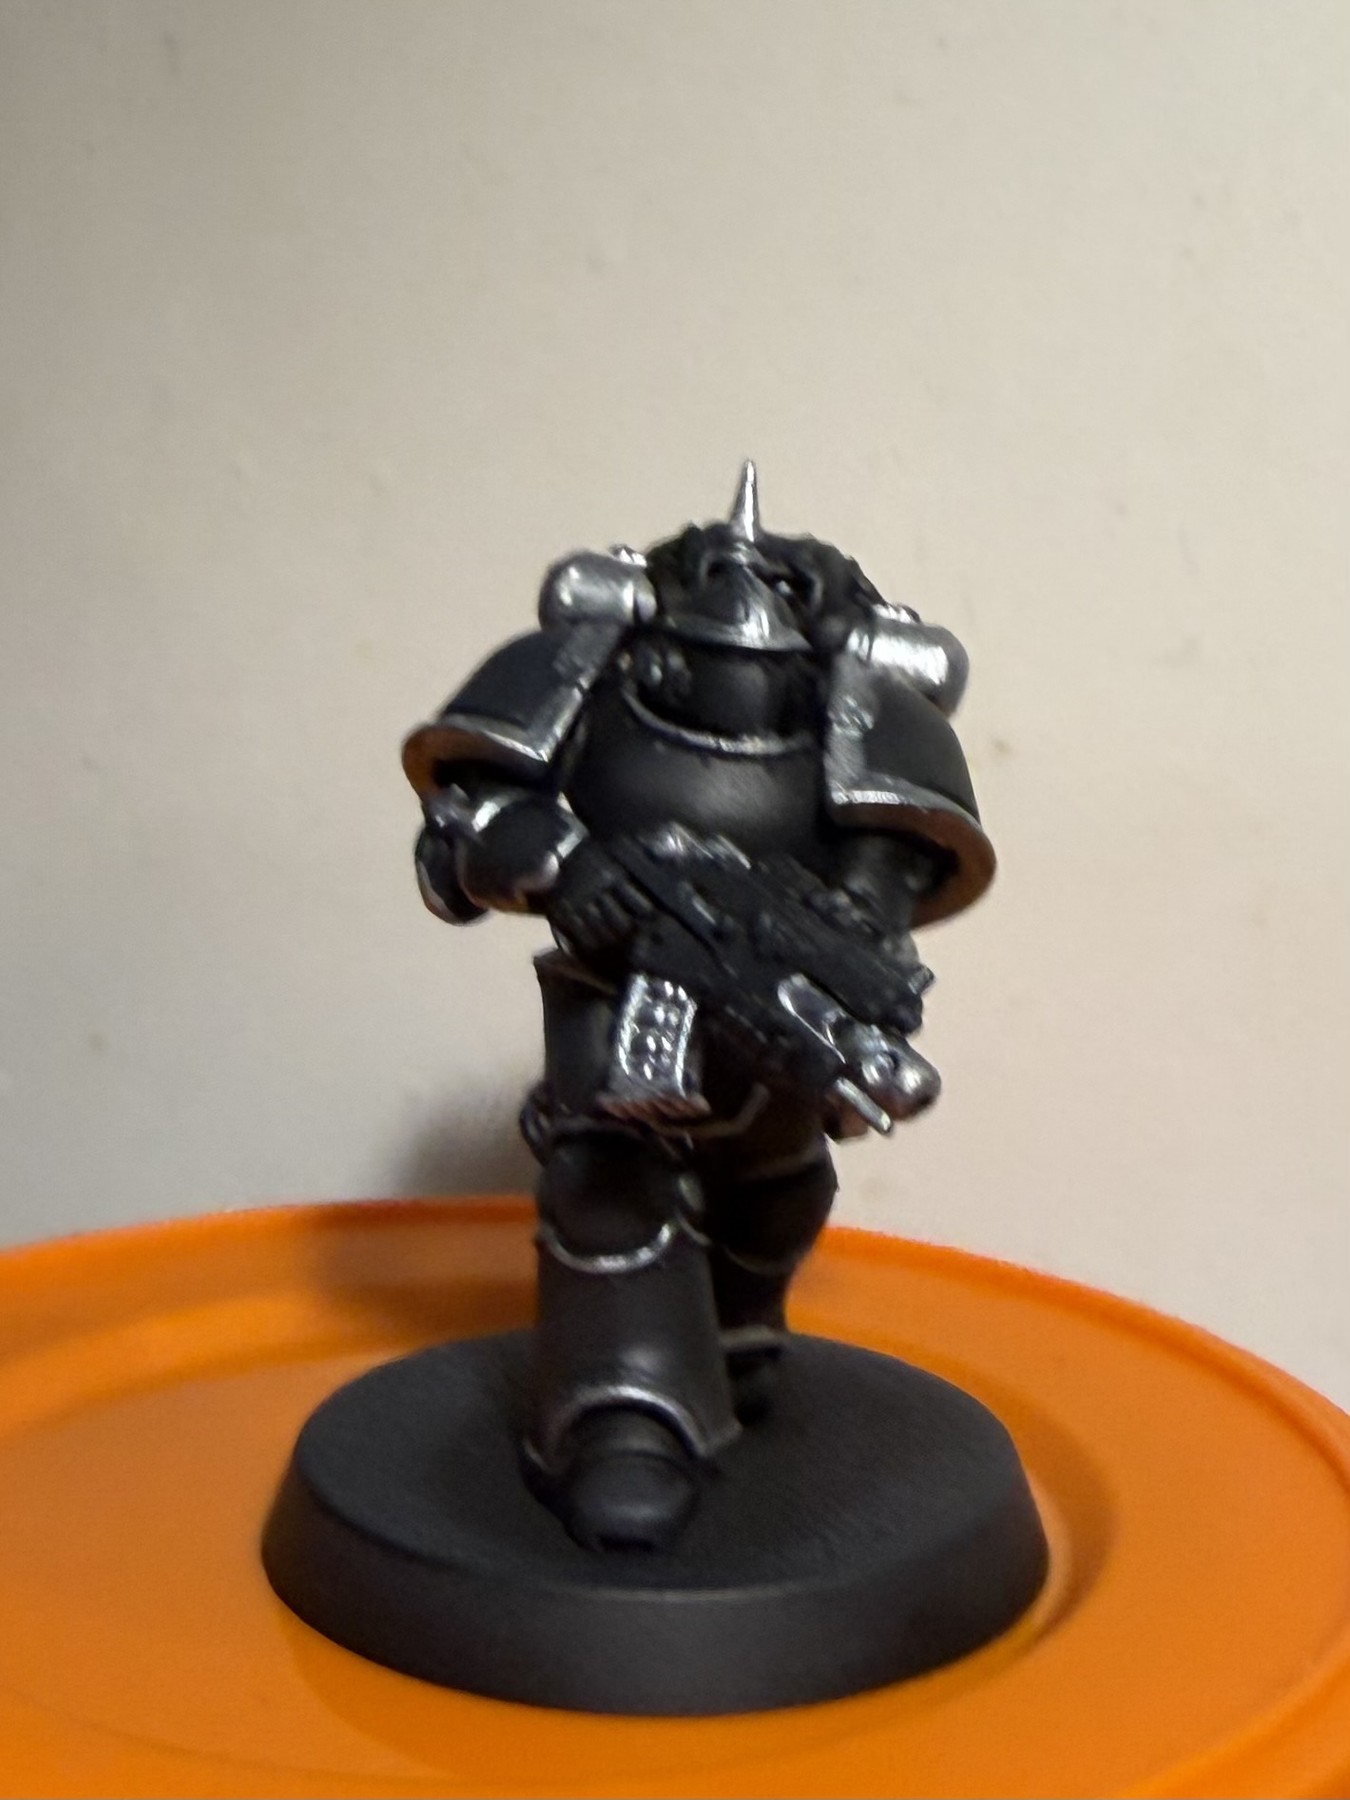
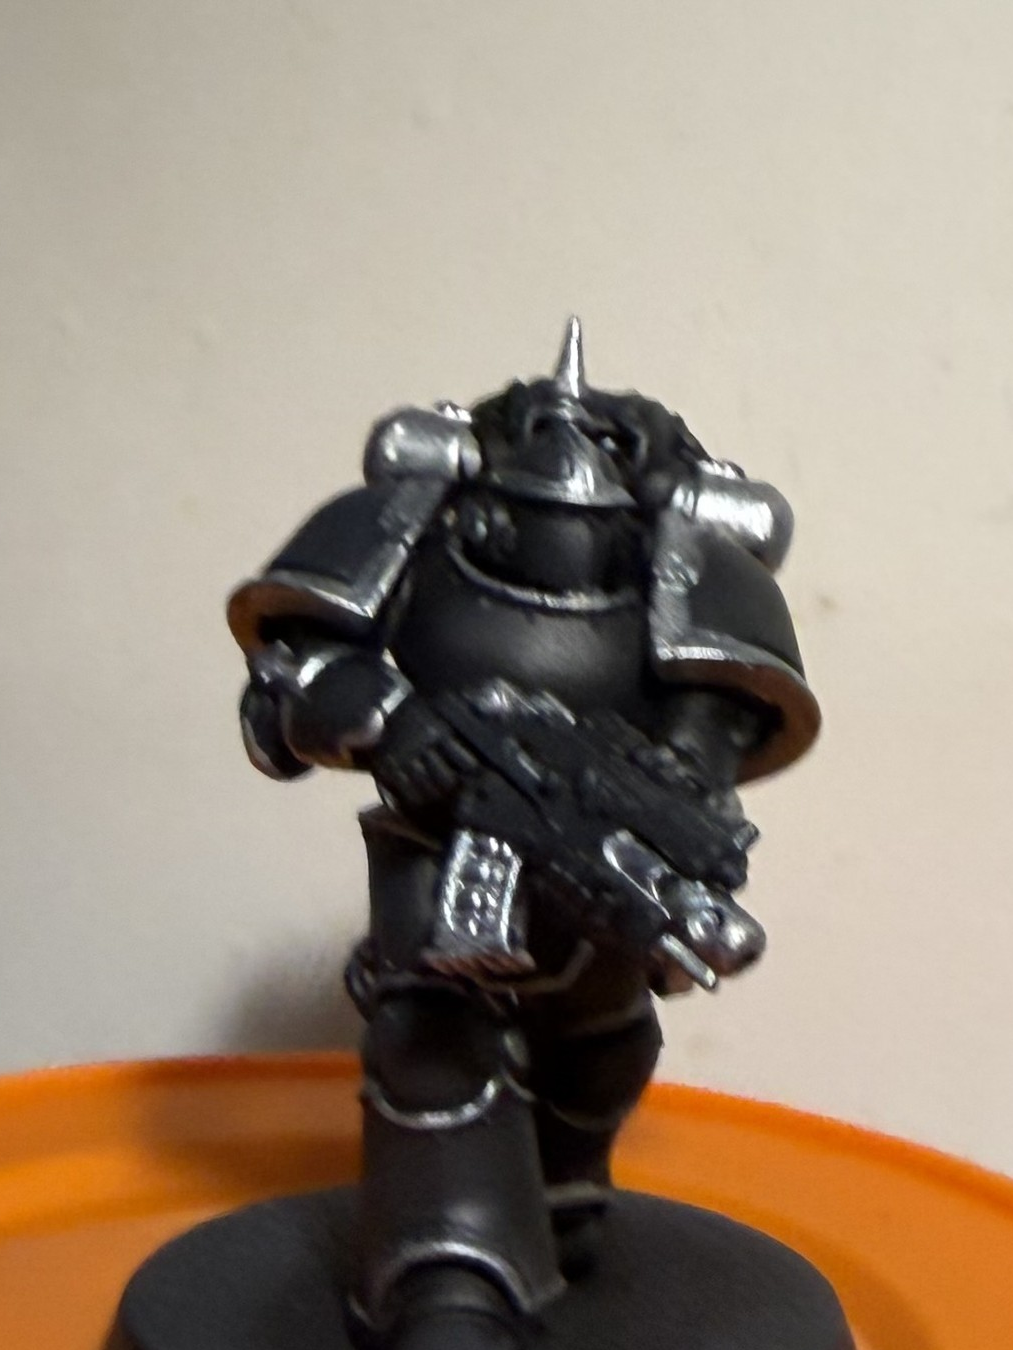
Lewis’s tip: A slightly rough metallic texture suits this scheme. Save the sharpest silver points for the refinement stage after Marine Juice.
Step 7: Resplendent Red
Add the bolter casing, knee plate and red checker squares.
Paints and materials
- Army Painter Fanatic Resplendent Red
Method
Use Resplendent Red for the weapon casing, the knee plate and the red parts of the checker pattern. Build solid coverage with thin coats and keep the edges against black and silver tidy. The red should be strong enough to survive the later Marine Juice shade.
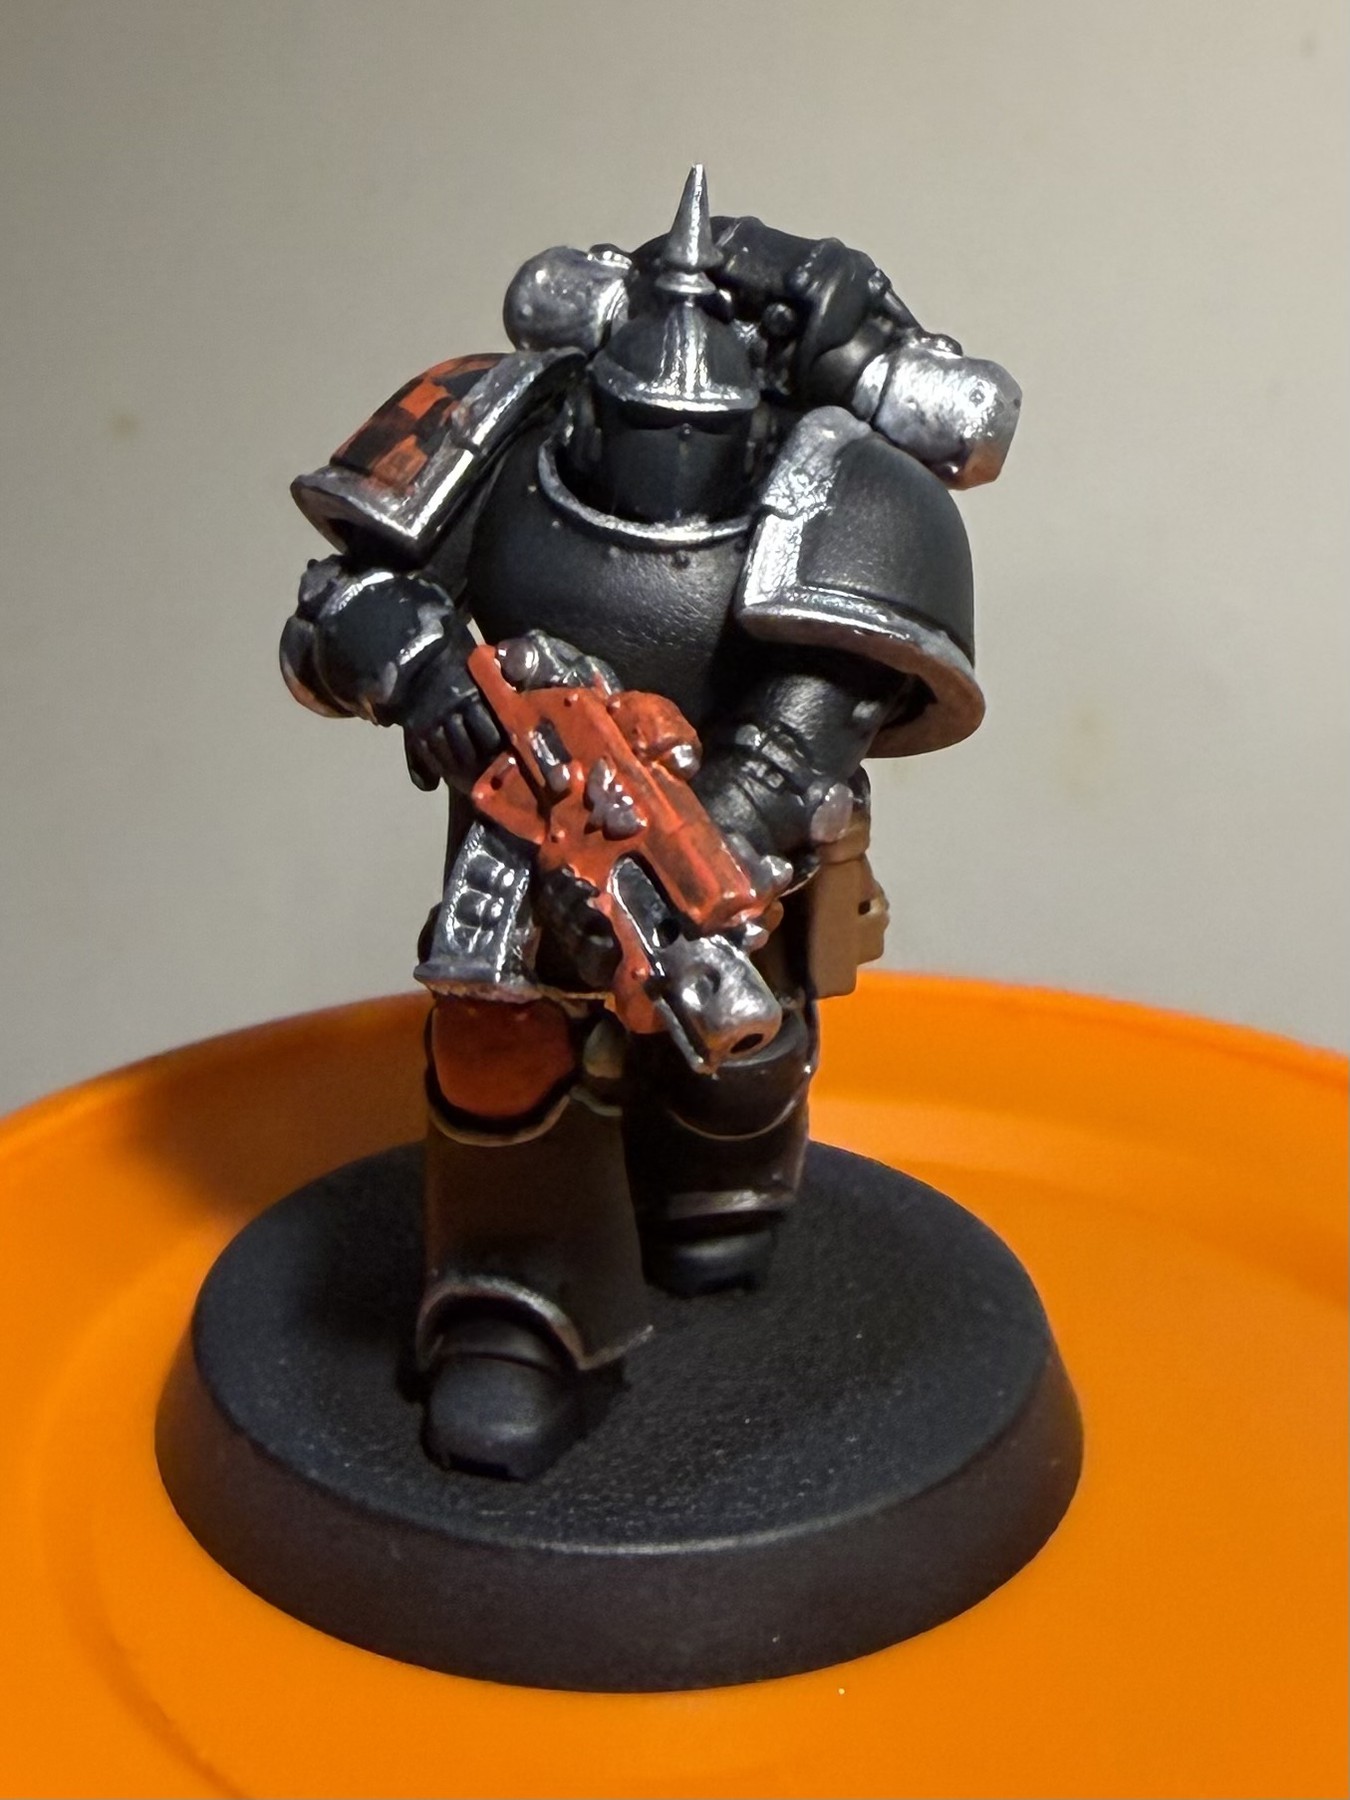
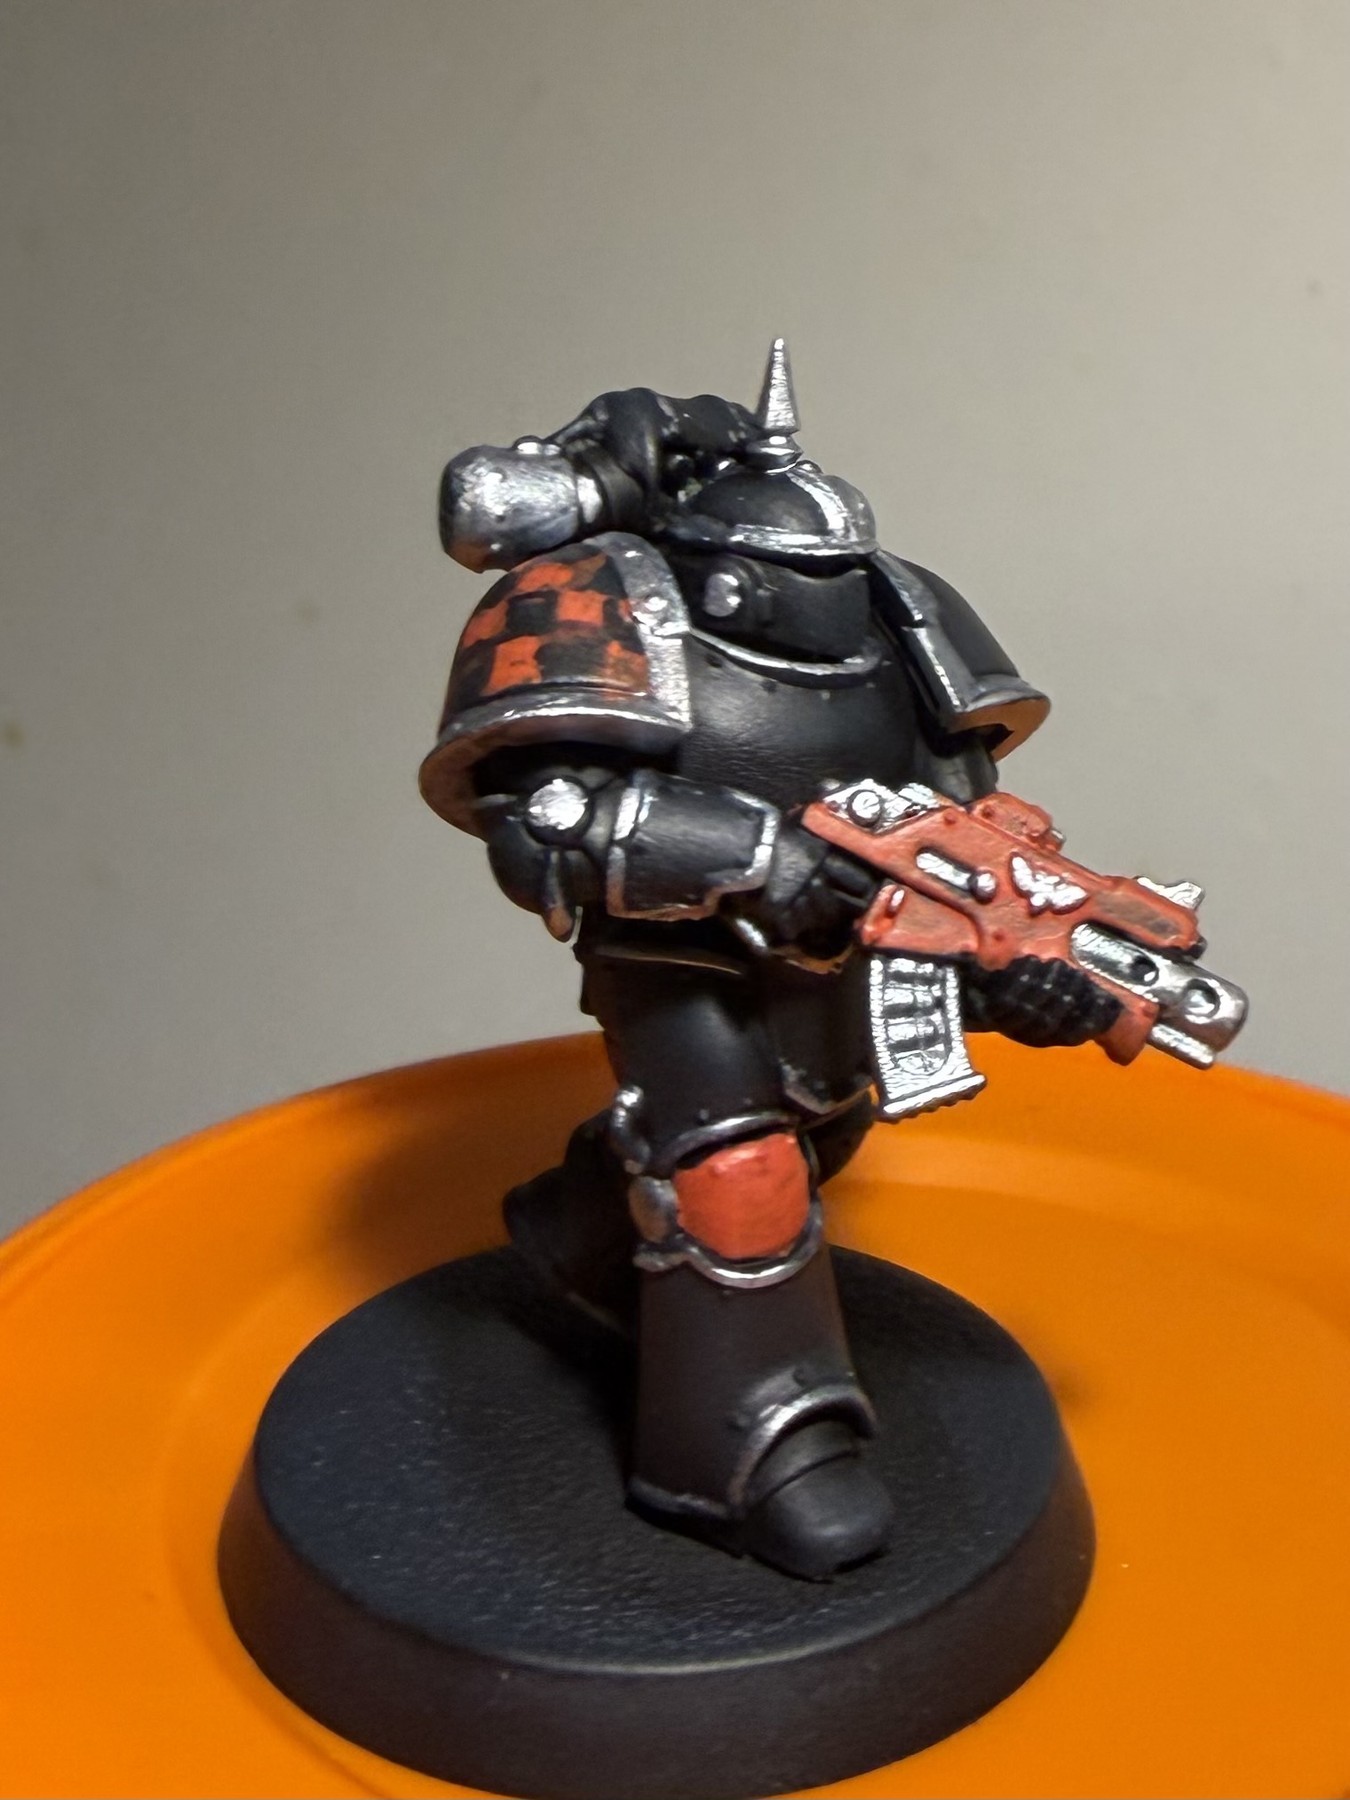
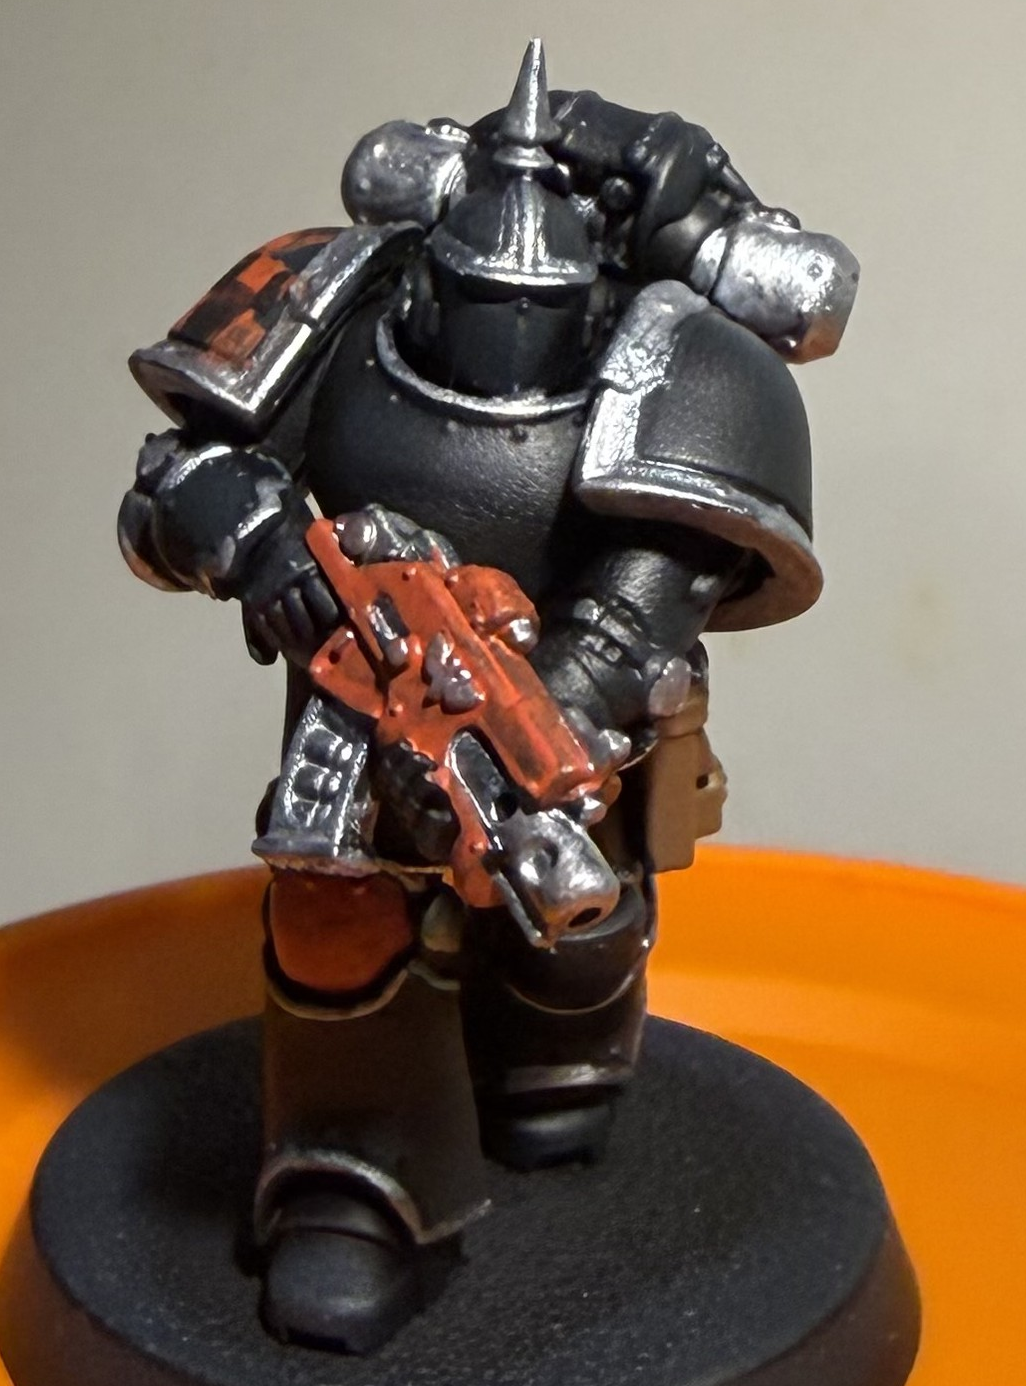
Lewis’s tip: Do not brighten the red too far yet. The later shade and re-layer are what give it depth.
Step 8: Imperial Gold + warm metals
Pick out the ammunition and small gold details.
Paints and materials
- Vallejo True Metallic Metal Airbrush — Imperial Gold (71.163)
- Vallejo True Metallic Metal — Red Copper (71.126), where used
Method
Add the gold ammunition and small decorative details with Vallejo True Metallic Metal Imperial Gold. Keep the gold controlled: it is an accent against the black, silver and red rather than a dominant colour. Warm metallic touches can use Red Copper where appropriate.
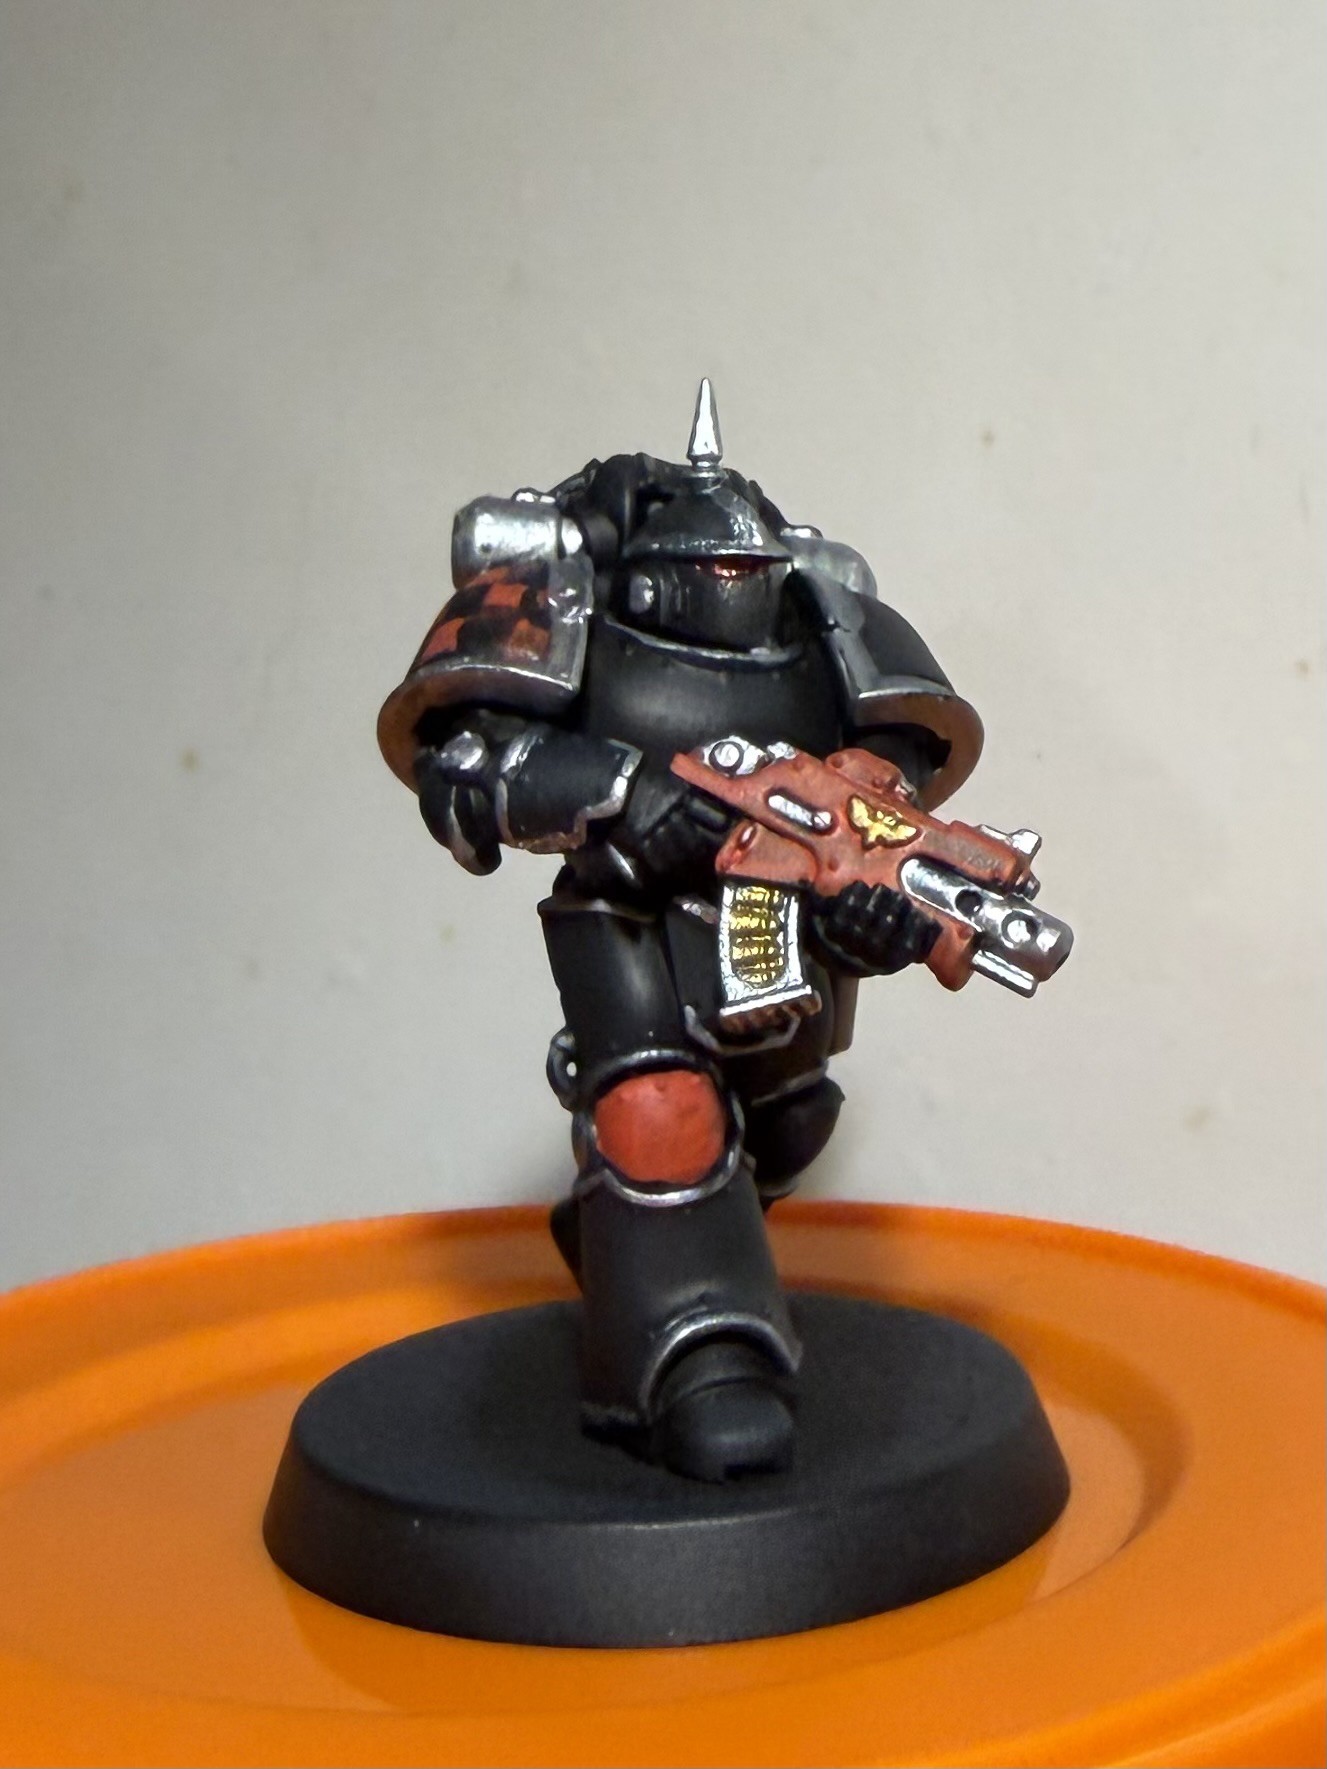
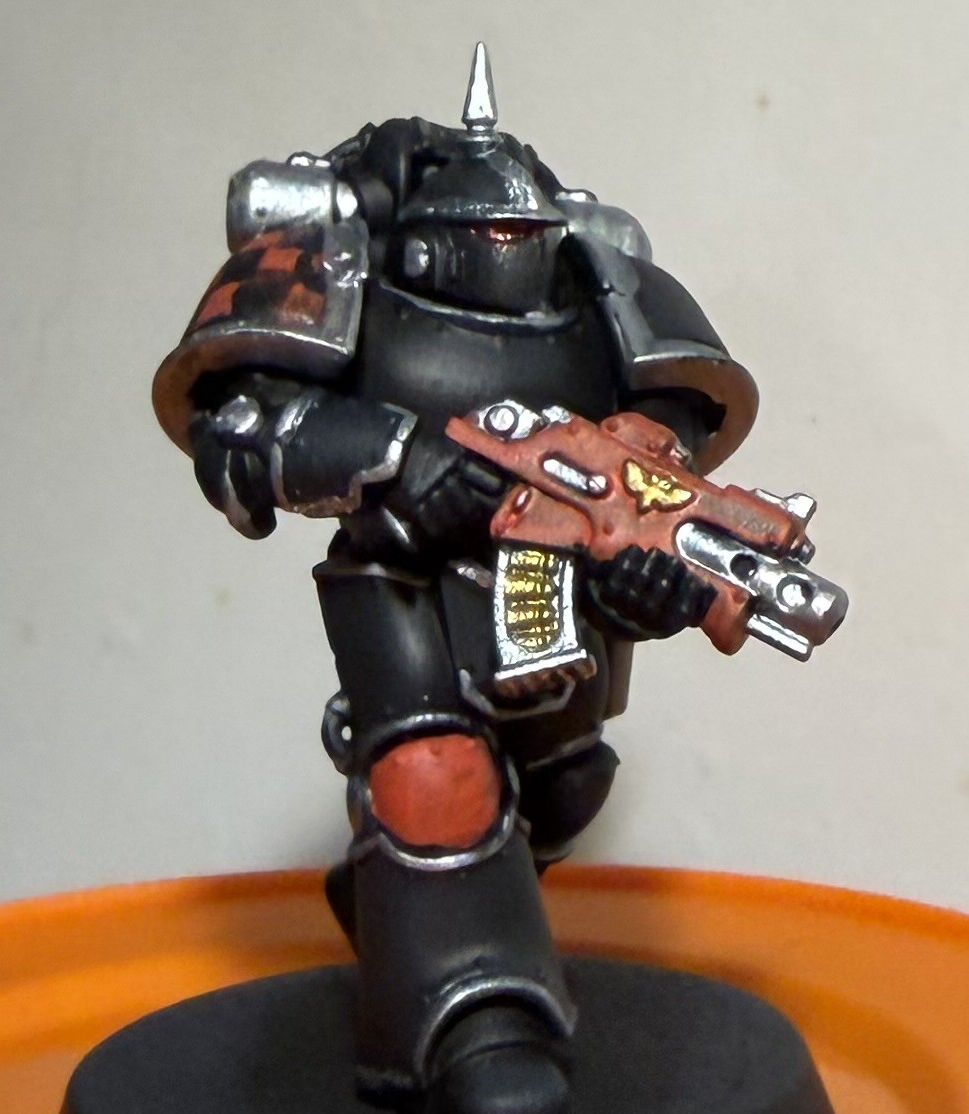
Lewis’s tip: The word Airbrush is the Vallejo range name here; the metallics are being brush painted.
Step 9: Checkers + heraldry
Add the Heresy identity, then tidy the pattern rather than chasing perfect squares first time.
Paints and materials
- Army Painter Fanatic Resplendent Red
- Army Painter Fanatic Matt Black
- Transfer / heraldry as used
Method
Build the checker pattern in red and black on the shoulder pad, then tidy the edges by cutting back with the opposite colour. Add the legion/heraldic marking once the panel is stable. Work around the curved shoulder rather than trying to force a flat grid onto it.
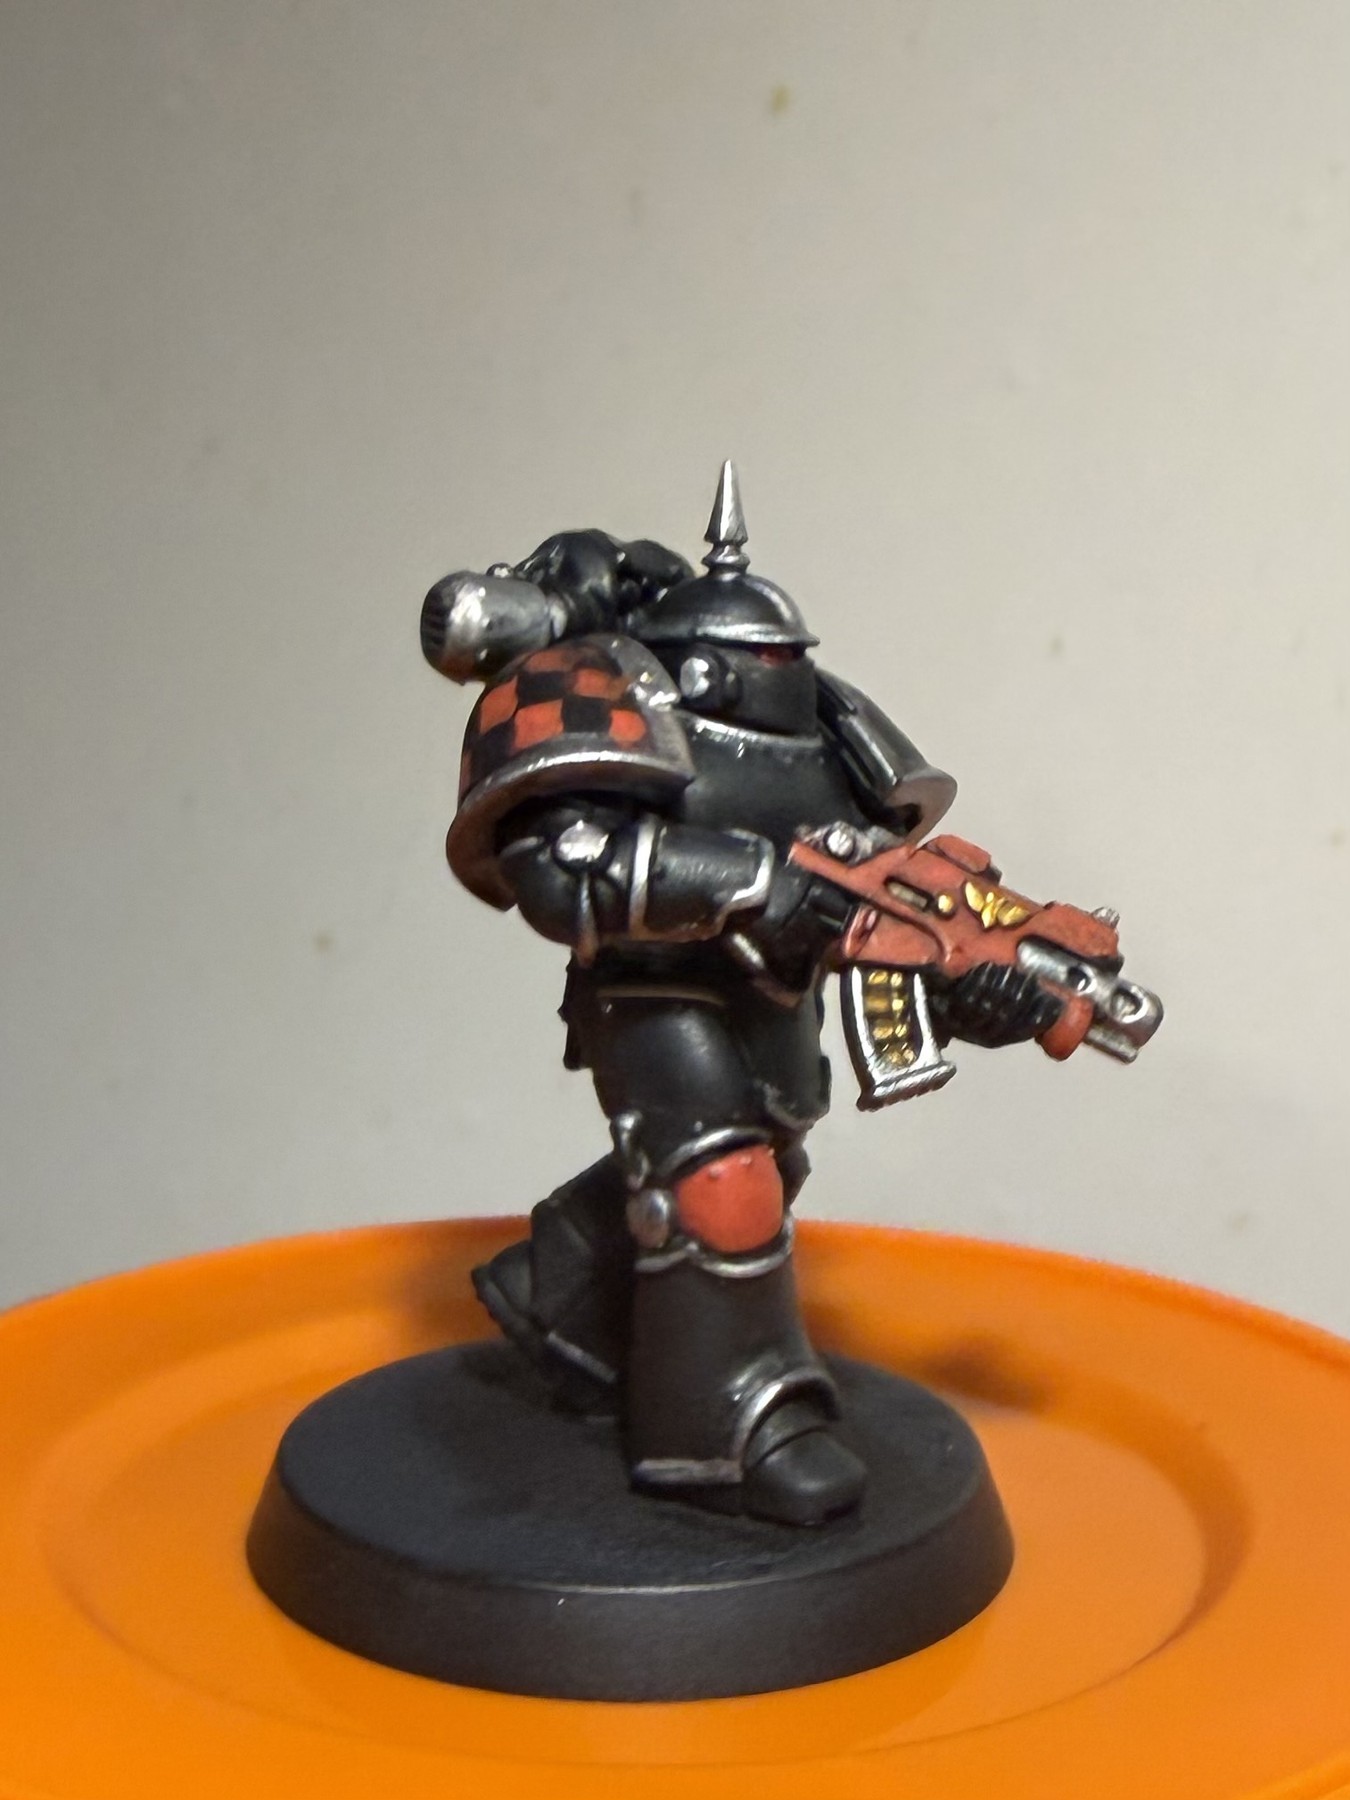
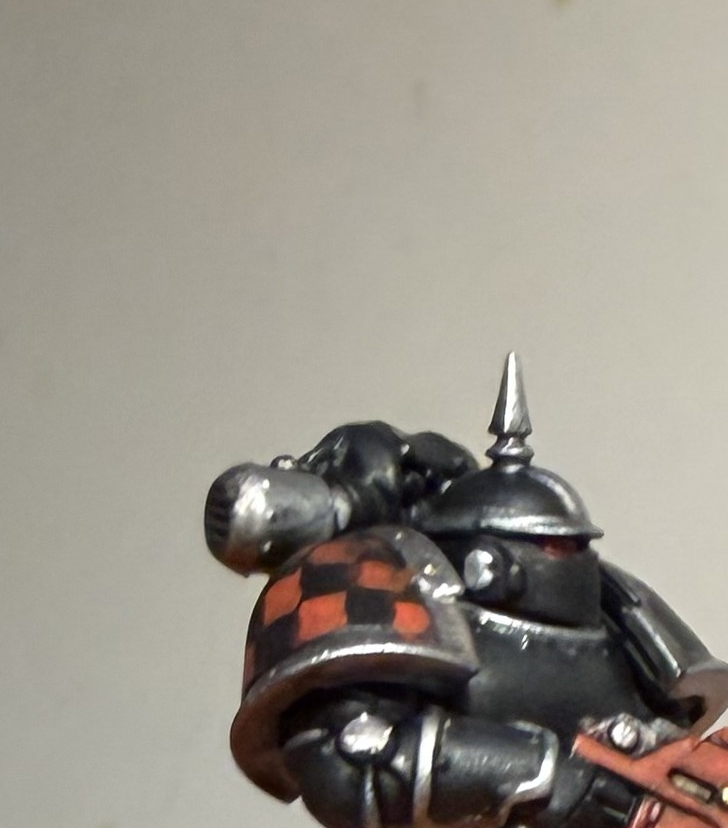
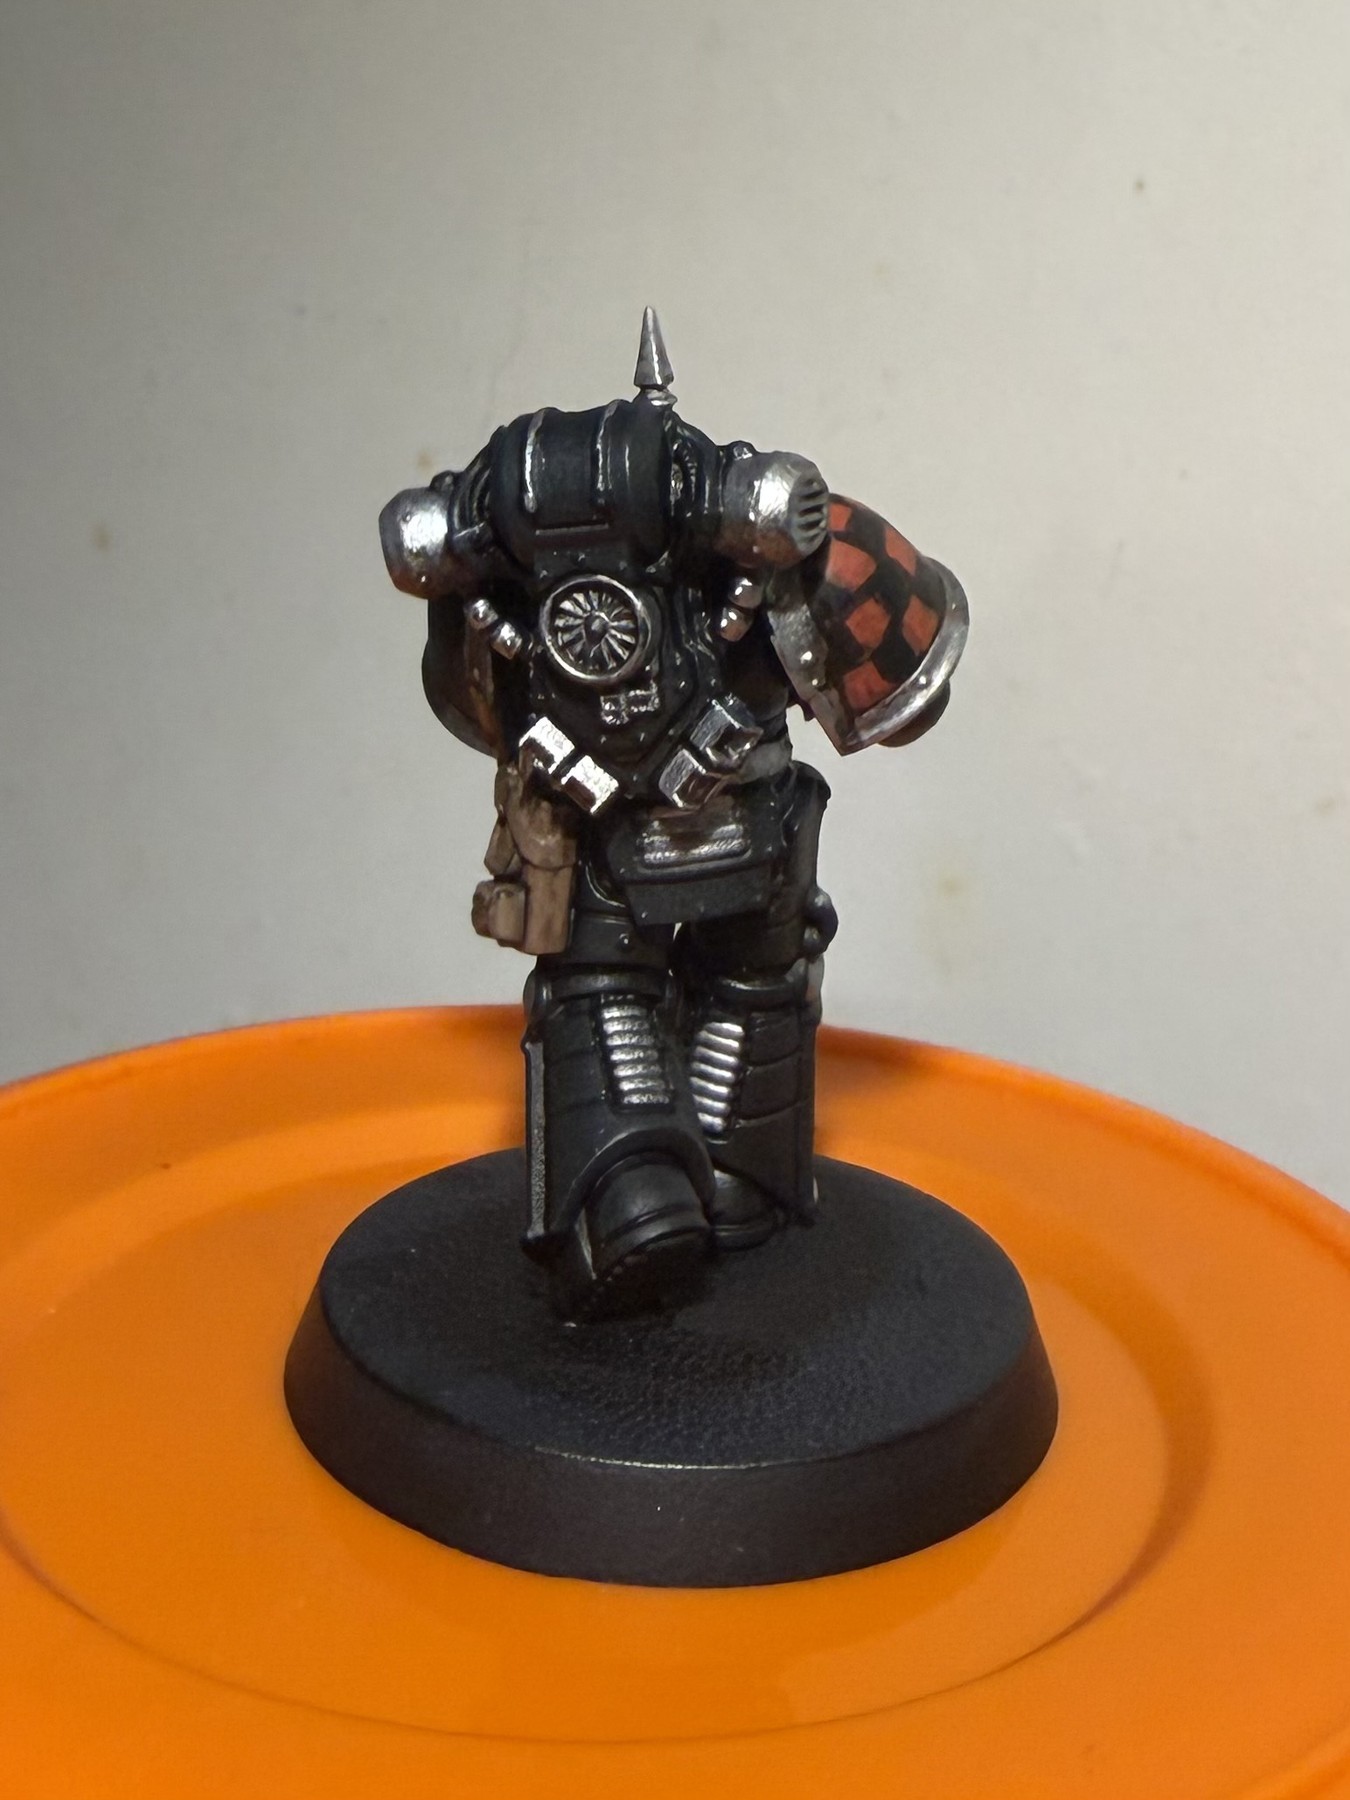
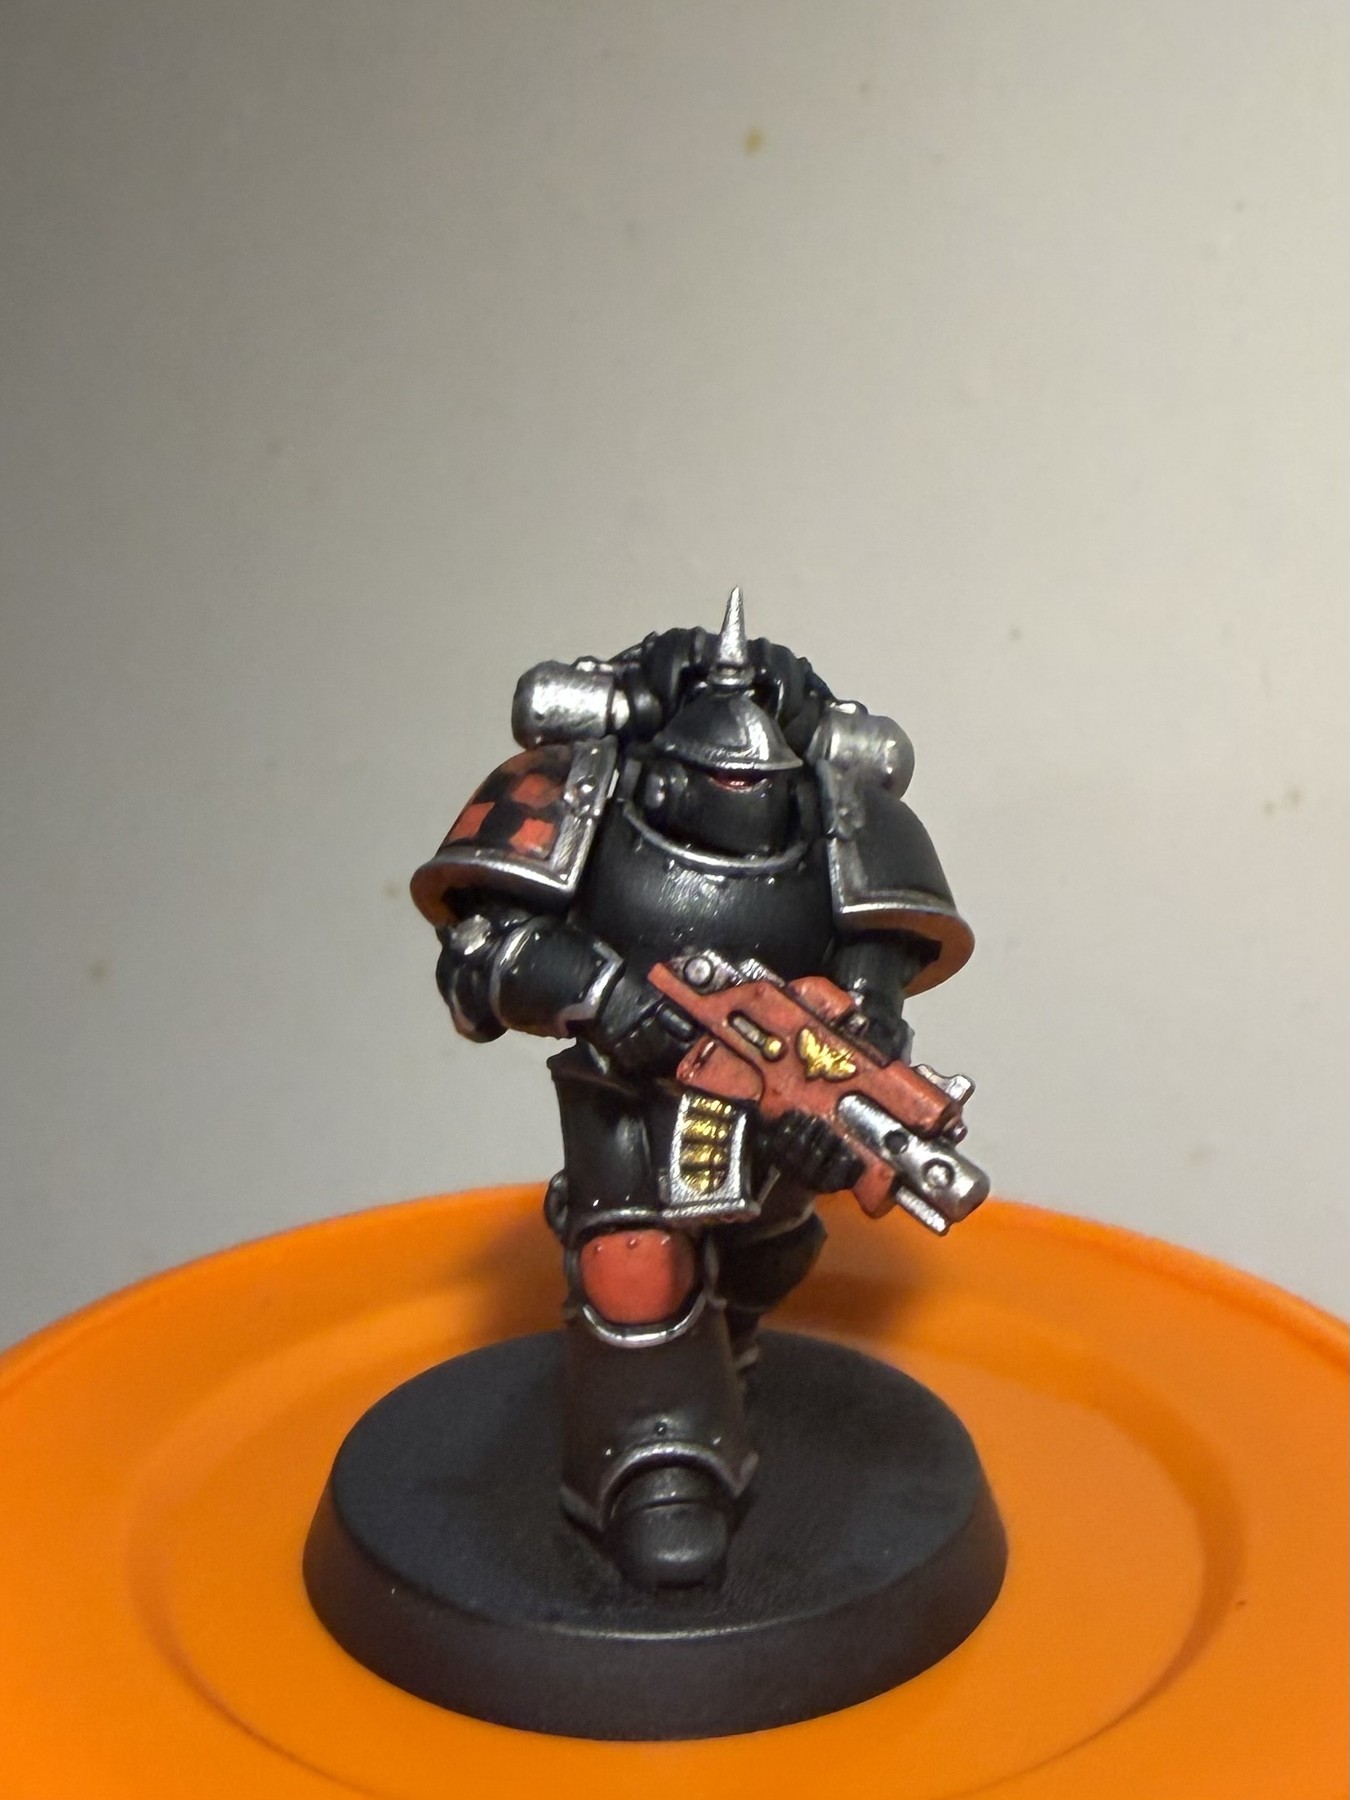
Lewis’s tip: The leg work is the pattern placement. Once the grid is there, a second pass with red and black can square up the rough edges.
Step 10: Eyes + full block-in check
Finish the small colour details, then stop and inspect before any shade.
Paints and materials
- Army Painter Fanatic Resplendent Red — eye slit
- All previous colours complete before shading
Method
Use a narrow red eye slit to give the helmet a controlled point of focus. Then check the whole miniature: black armour, Leather Brown, silver TMM, Resplendent Red, Imperial Gold, checkers/heraldry and small details should all be present. MARINE JUICE DOES NOT GO ON UNTIL THIS BLOCK-IN IS COMPLETE.
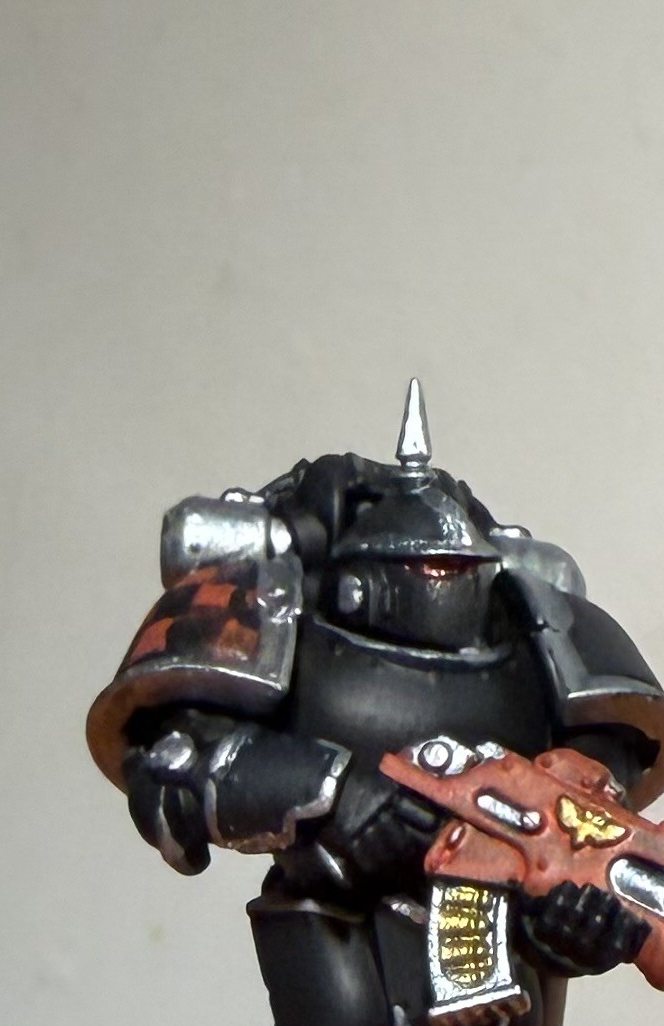
Lewis’s tip: This checkpoint prevents the wash from becoming a shortcut. The shade is there to unify finished colour blocks, not replace them.
Check before moving on
- Black armour is blocked in
- Leather Brown is complete
- Silver TMM is complete
- Resplendent Red is complete
- Imperial Gold is complete
- Checkers and heraldry are complete
- Eyes and small details are complete
Step 11: Marine Juice
Only now unify the miniature with the shared shade.
Paints and materials
- 1 part Army Painter Dark Tone
- 1 part Citadel Reikland Fleshshade
- 1 part Citadel Lahmian Medium
Method
Mix Marine Juice in equal parts and apply it as the unifying shade. Let it settle into recesses and around metallic joins, but wick away heavy pools from broad armour plates. Allow it to dry completely before touching the highlights again.
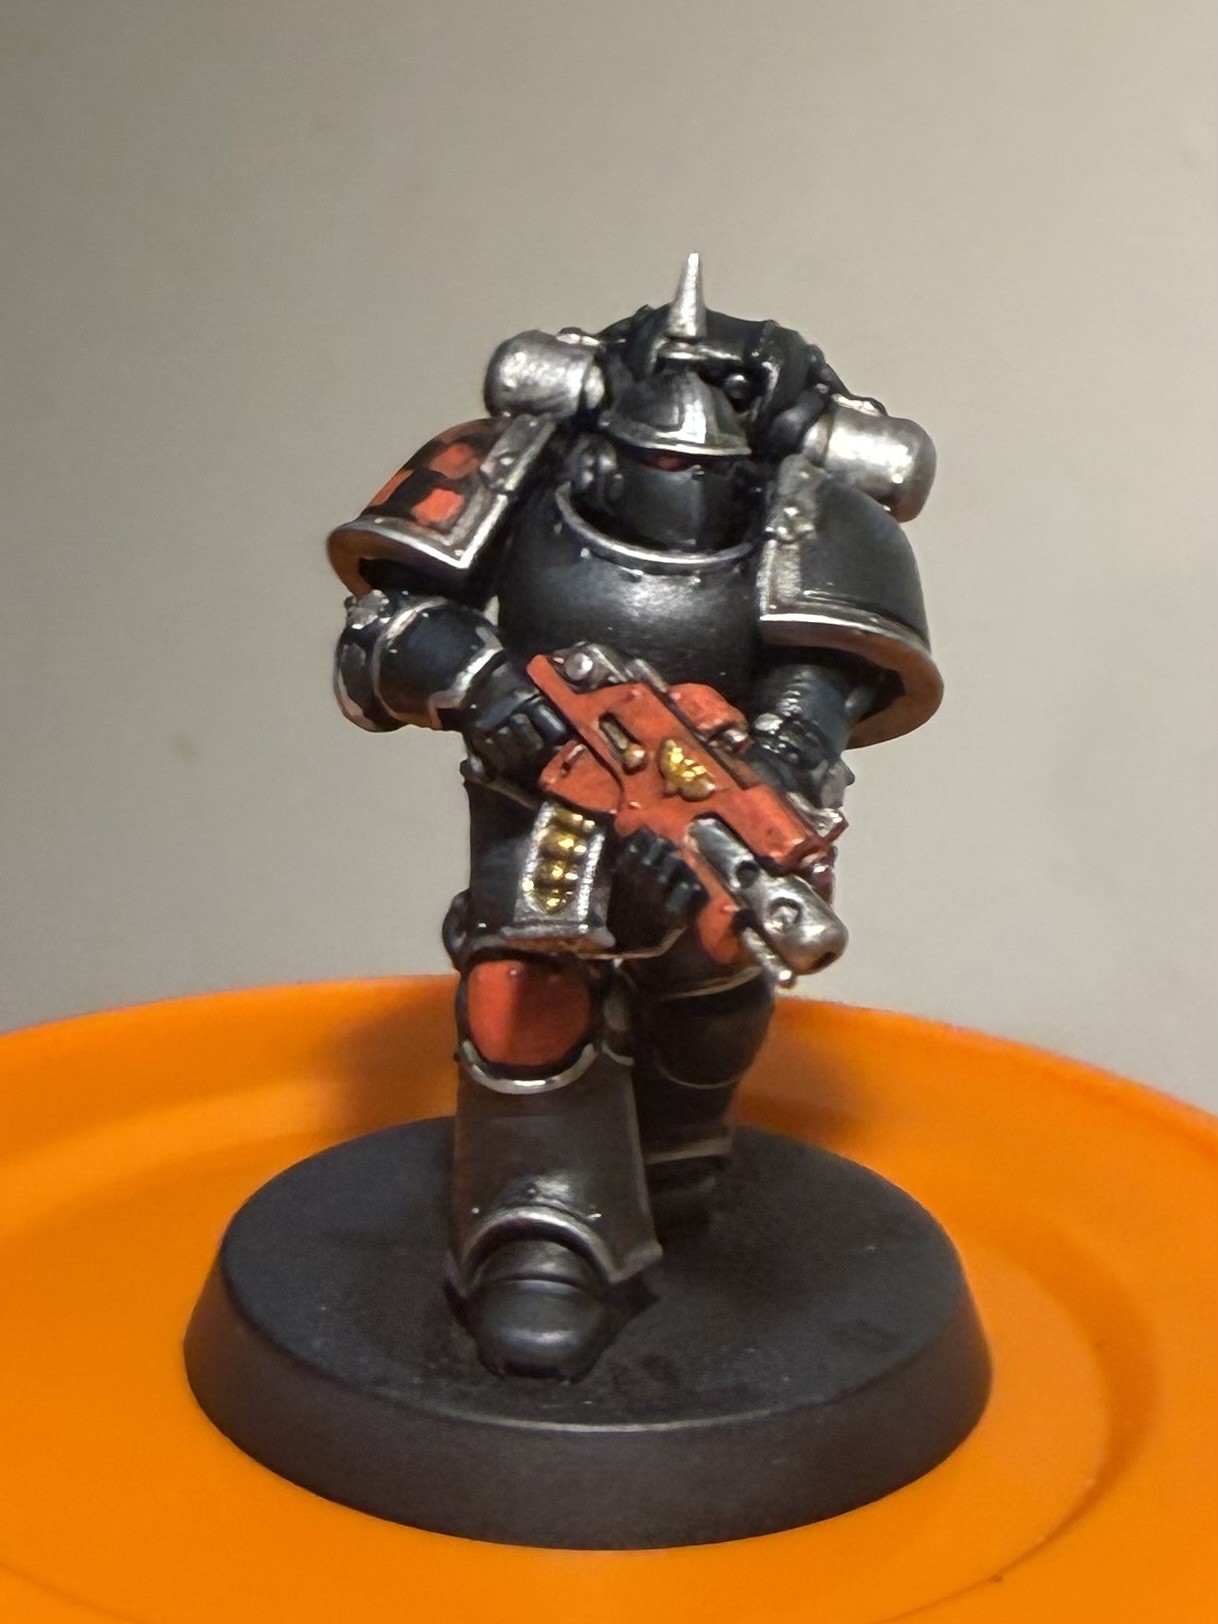
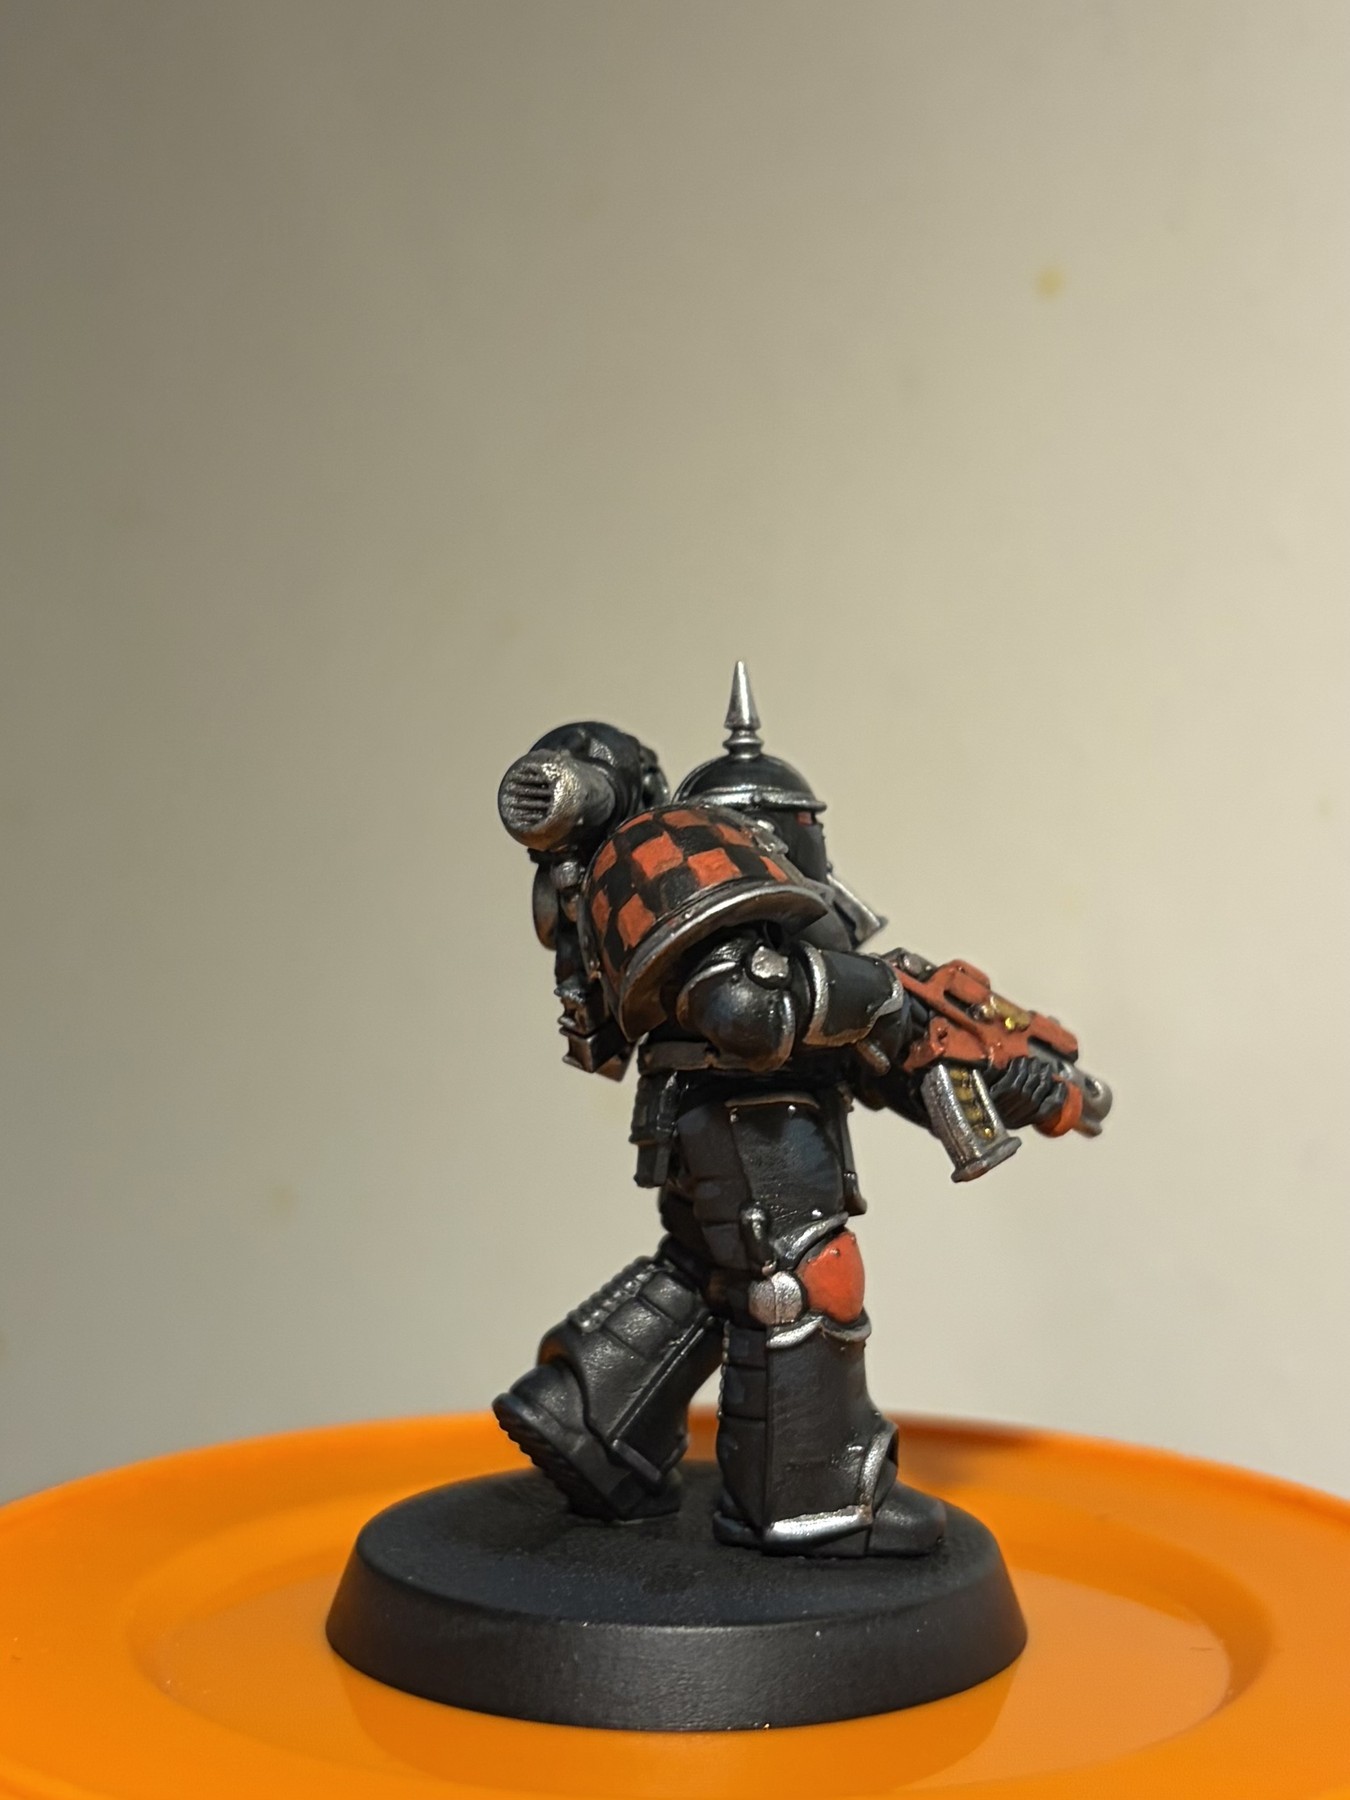
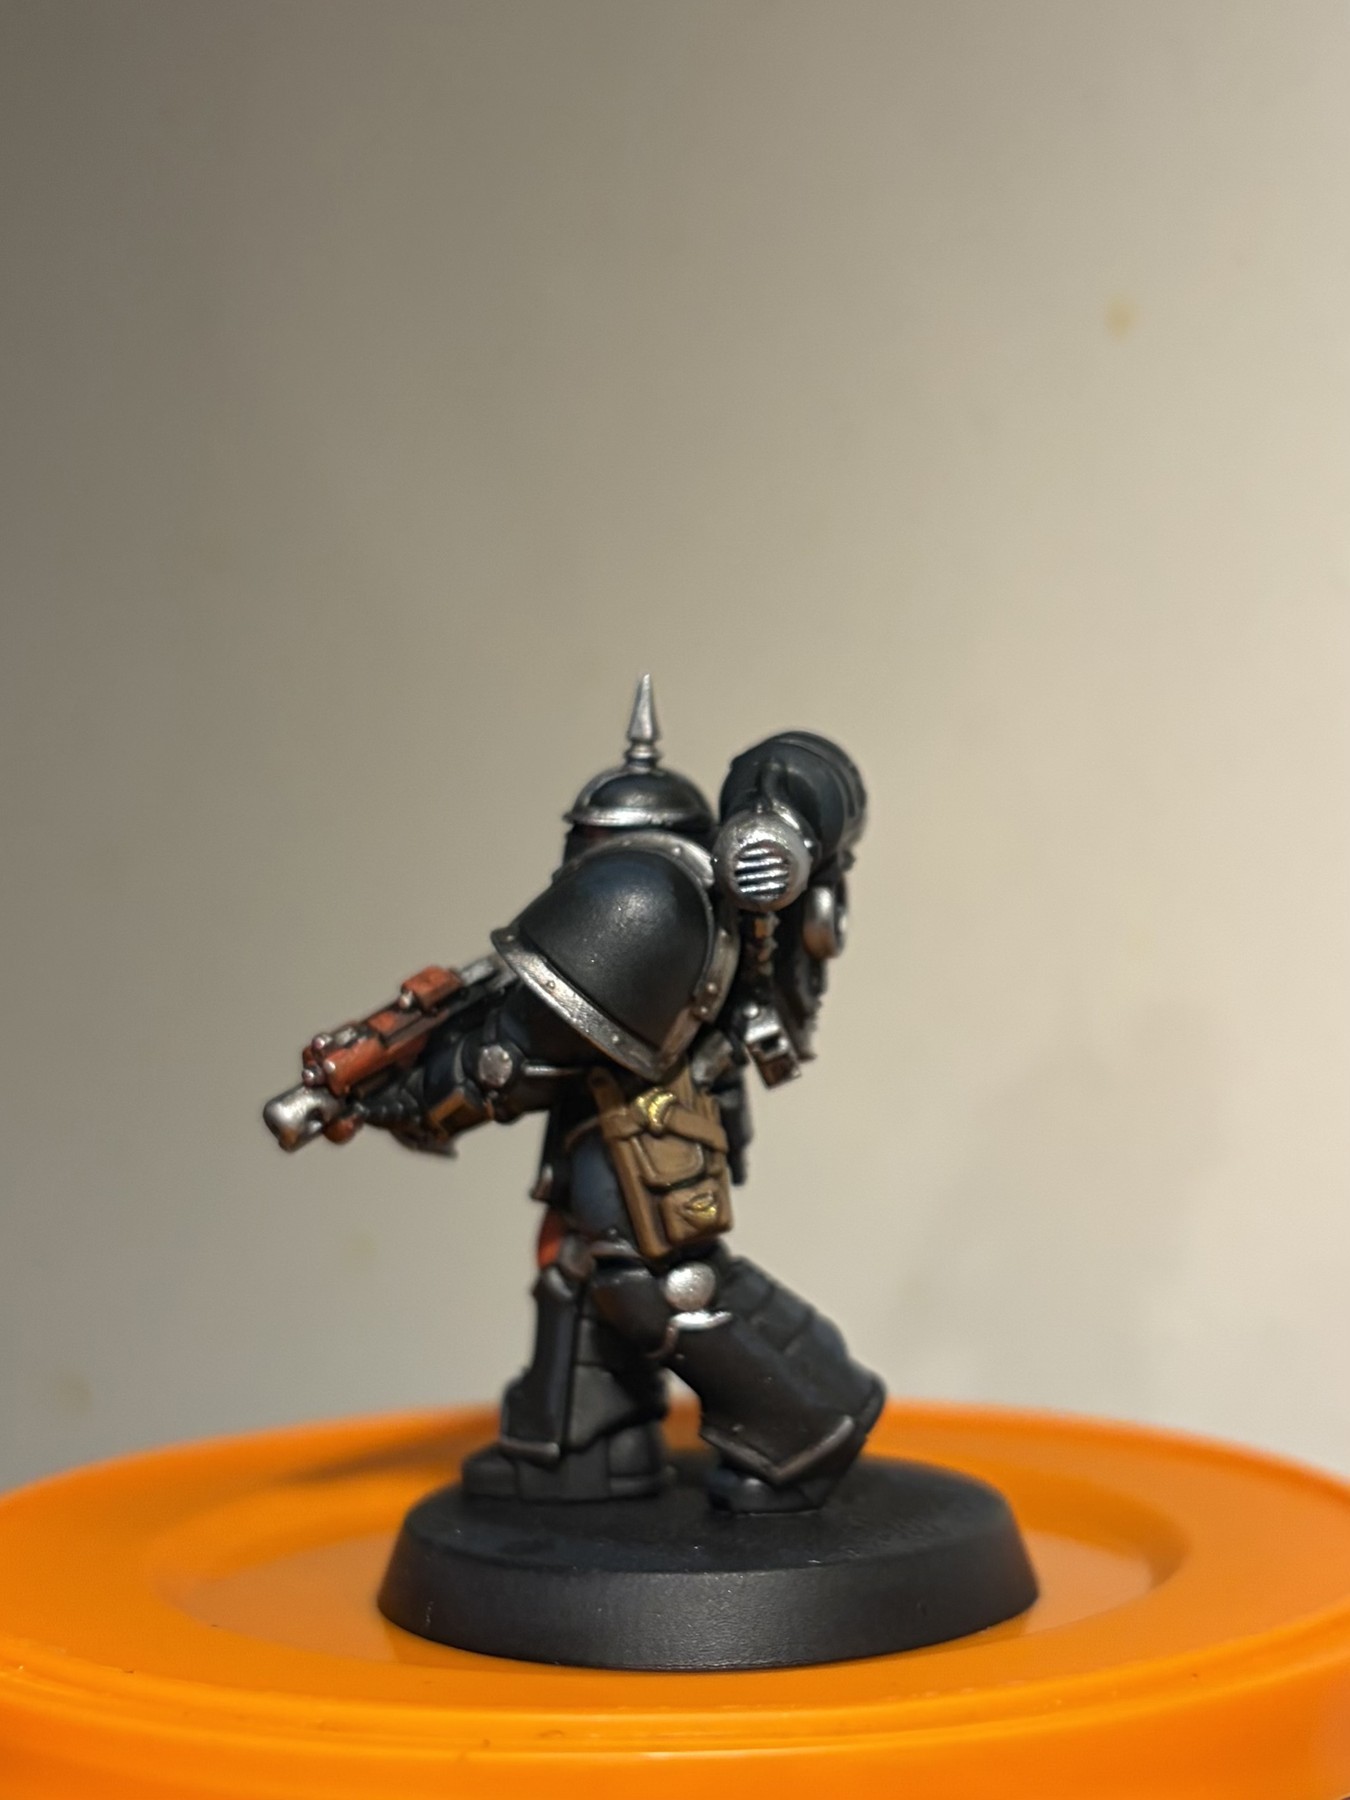
Lewis’s tip: Because the model was fully blocked first, the shade now ties black, red, leather and metal together instead of muddying unfinished areas.
Check before moving on
- The full block-in is complete before applying Marine Juice
- Heavy shade pools have been wicked away
- Marine Juice is completely dry before refining highlights
Step 12: Re-establish + refine
Bring back the important colours and the brightest metallic points.
Paints and materials
- Army Painter Fanatic Matt Black
- Army Painter Fanatic Resplendent Red
- Army Painter Fanatic Leather Brown
- Vallejo TMM Sterling Silver
- Vallejo TMM Airbrush Imperial Gold
Method
After the Marine Juice is fully dry, selectively re-layer the colours that need to come forward: Matt Black on key armour planes, Resplendent Red on the raised red areas, Leather Brown where the pouches need clarity, Sterling Silver on metallic edges and Imperial Gold on the brightest gold points. Keep the finish restrained rather than turning every edge into a bright line.
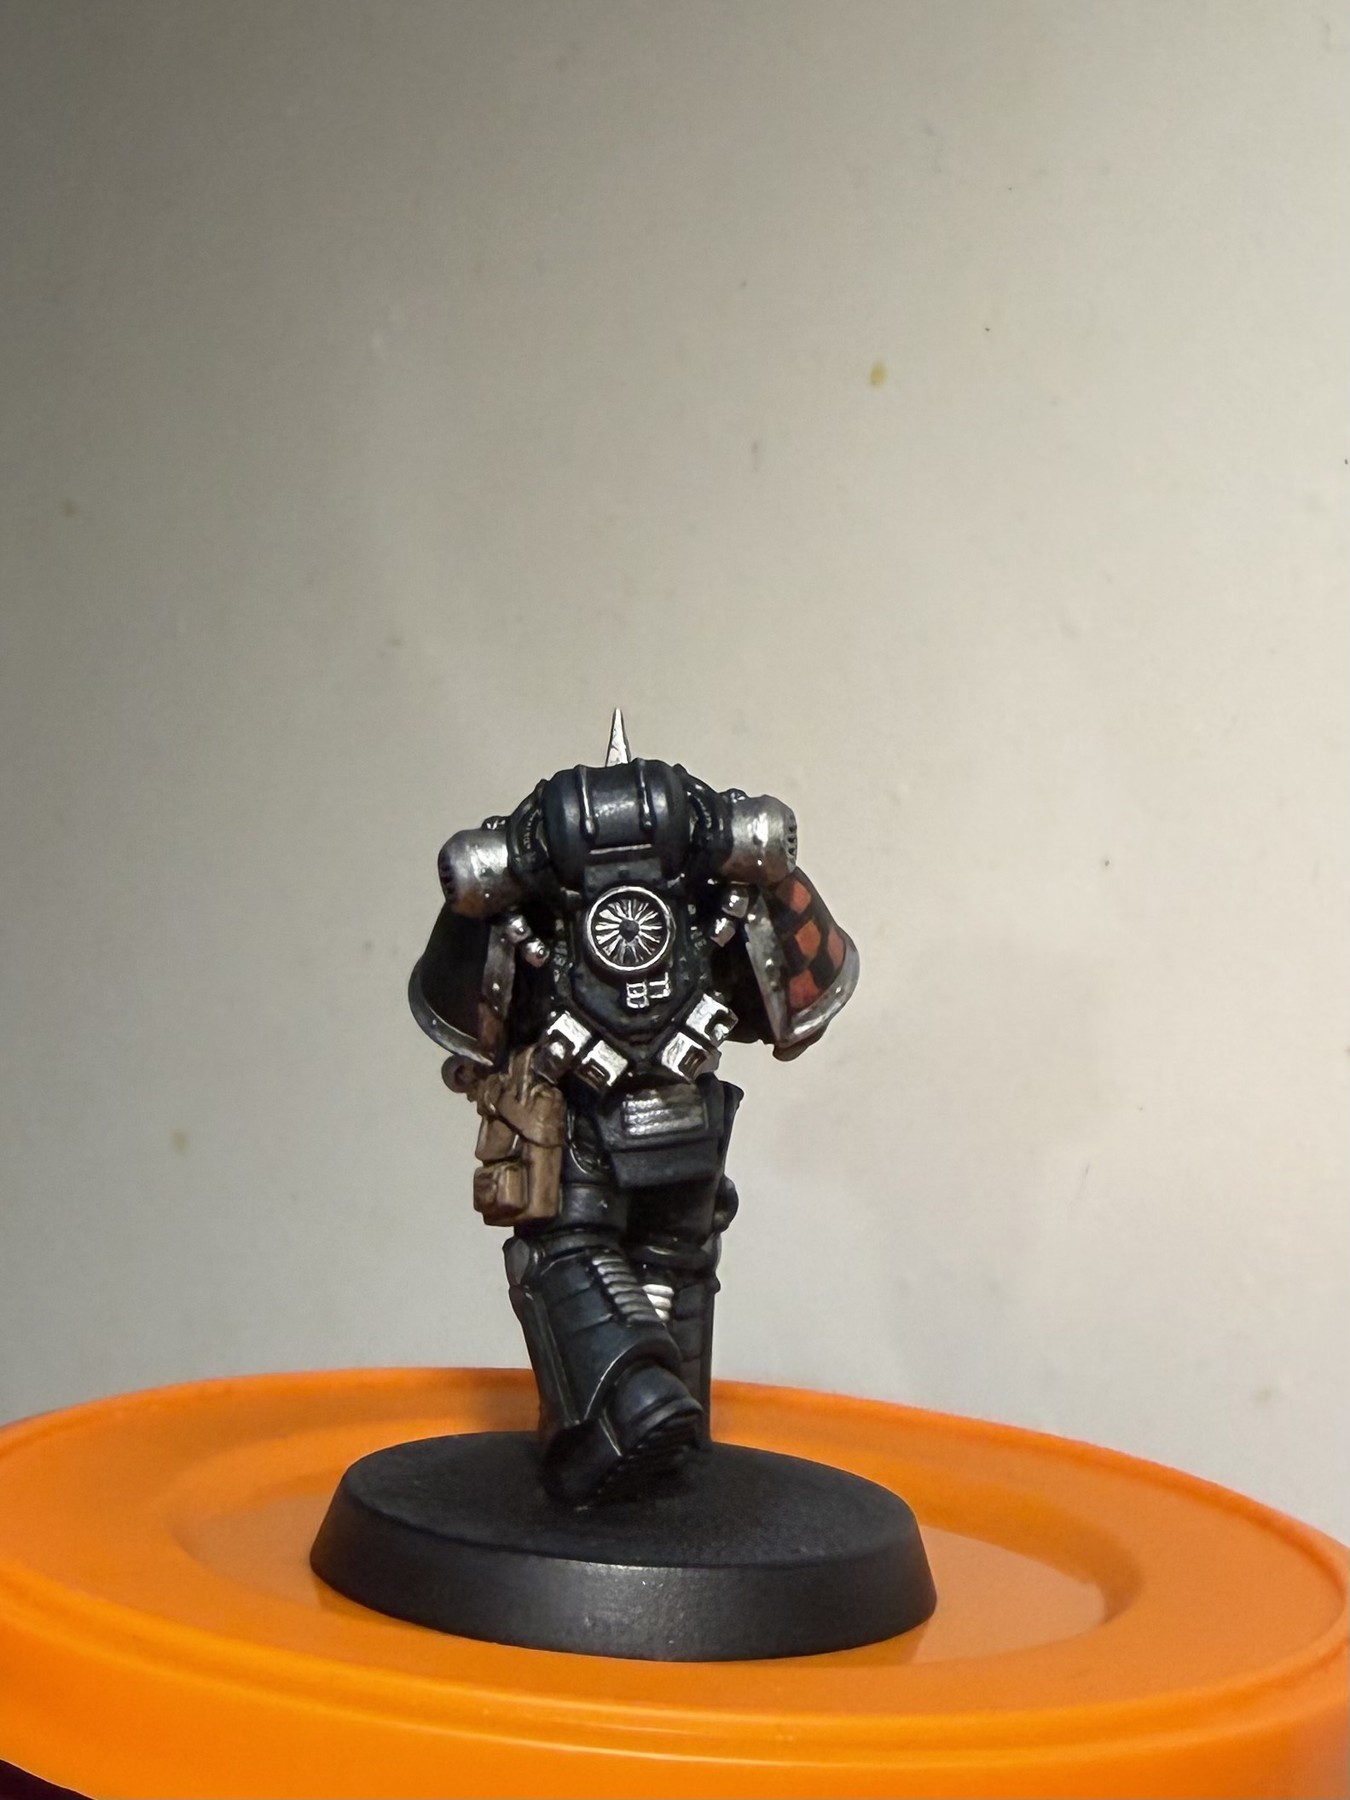
Lewis’s tip: The blue lighting should still be quietly visible beneath the rebuilt black. If it disappears completely, the armour loses the cold volume established at the start.
Step 13: Crackle base + finish
Green Stuff World crackle paint completes the red-earth base.
Paints and materials
- Green Stuff World crackle paint
- Army Painter Fanatic Matt Black — base rim / final tidy
Method
Apply the Green Stuff World crackle paint around the feet and allow the texture to form naturally. Once fully dry, clean the base rim back to Matt Black. Do a final pass for obvious slips, but keep the model gritty - this is Heresy armour, not a polished parade scheme.
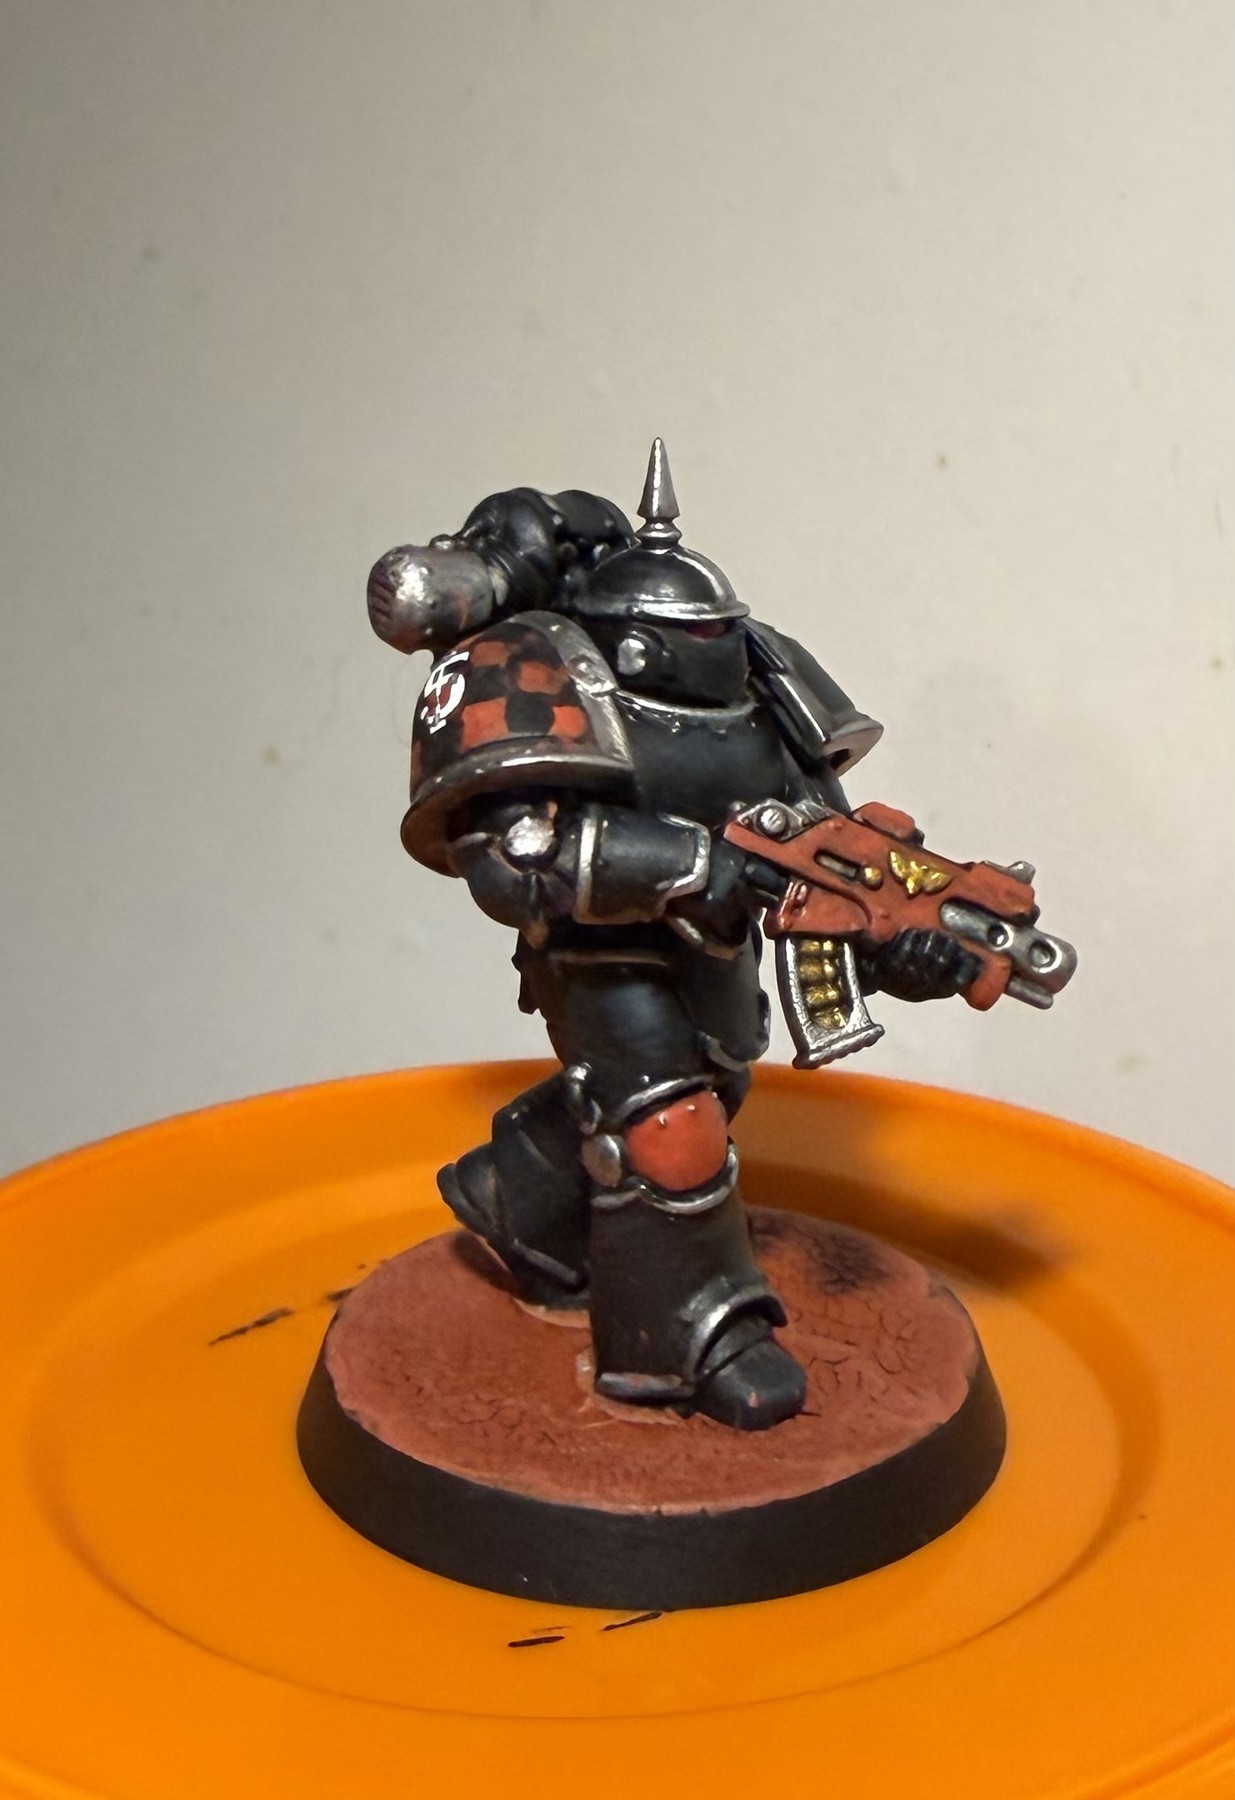
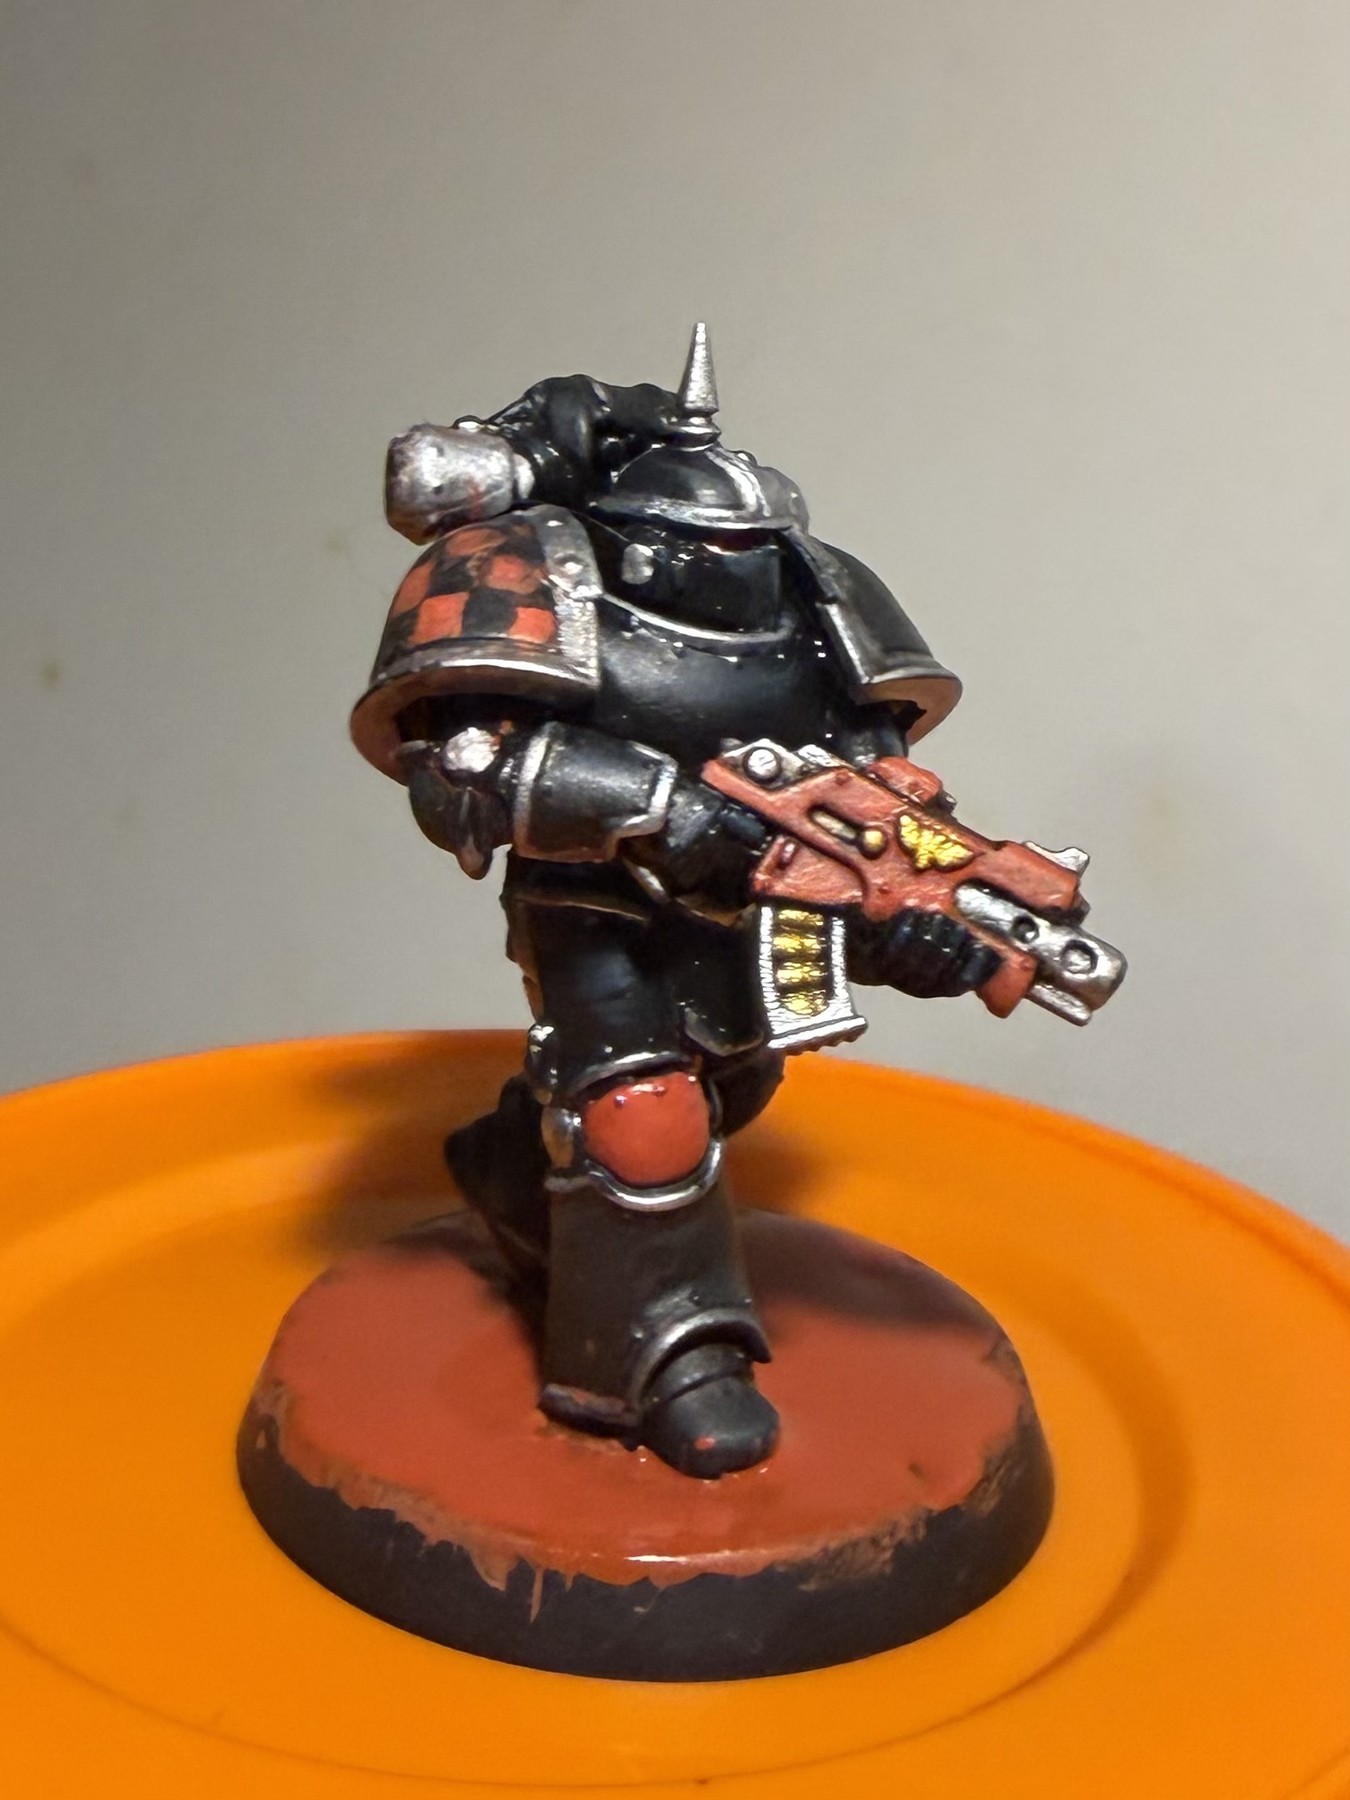
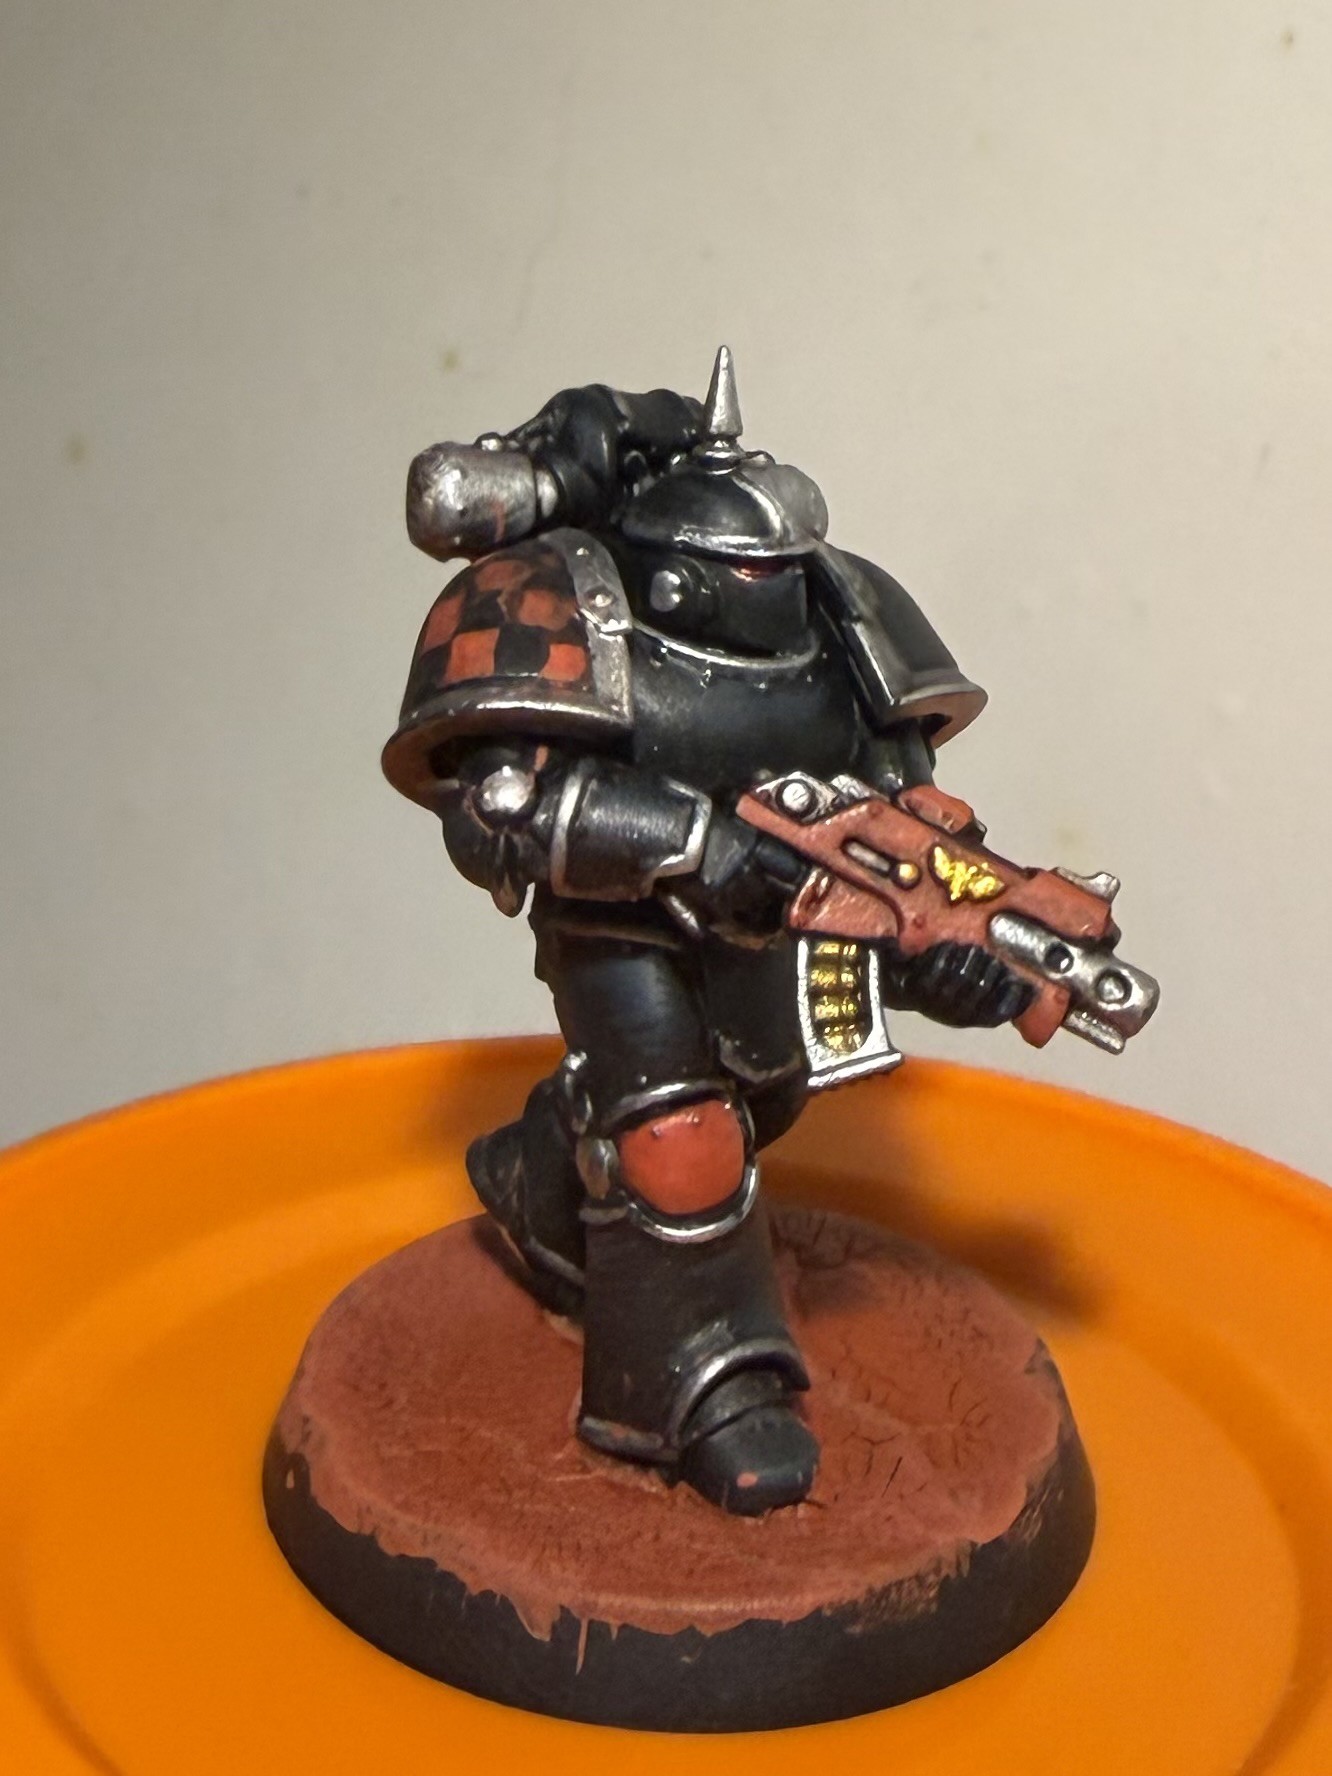
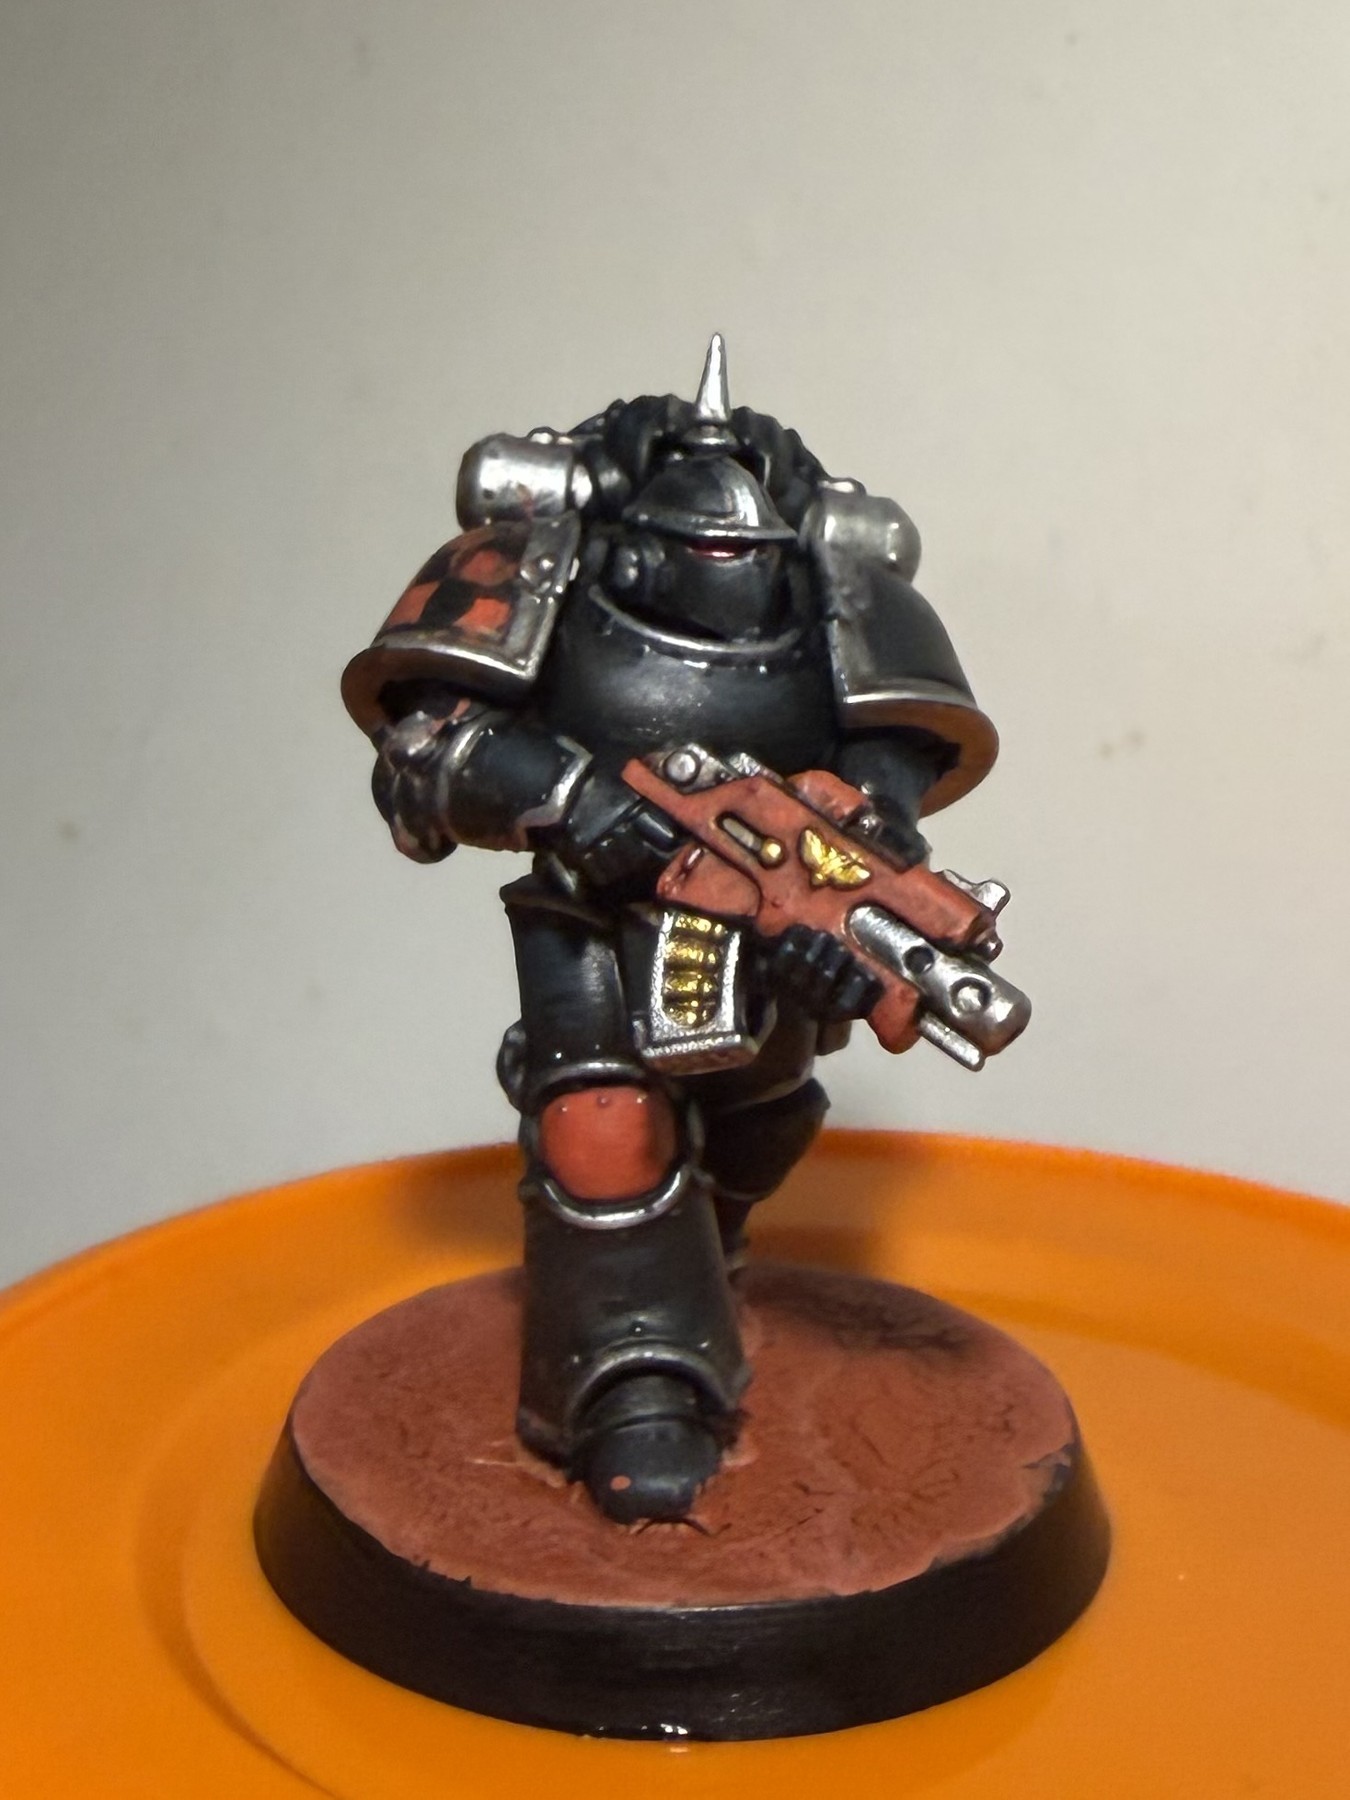
Lewis’s tip: Let the crackle paint dry on its own. Heavy touching while it forms can flatten or tear the texture.
Check before moving on
- Crackle paint is completely dry before tidying the base rim
Finished model and recipe recap
- Colour Forge Matt Black: a solid foundation.
- Sponge Deep Ocean Blue to establish cold lighting and texture.
- Rebuild with Fanatic Matt Black, keeping the blue volume visible.
- Block Leather Brown, Sterling Silver, Resplendent Red, Imperial Gold, checkers, heraldry and eyes.
- Apply Marine Juice only after the full block-in: Dark Tone, Reikland Fleshshade and Lahmian Medium in equal parts.
- Re-layer selectively, then finish with Green Stuff World crackle paint and a black rim.
Sponge, not airbrush: gritty texture is part of the look.